Prerequisites
● The spare part is on hand.
● Conguration data has been backed up.
● The BBU that you want to replace has been located.
You can locate a component in either of the following ways:
● Locating a component based on alarms in DeviceManager: On the Alarms and Events
page of DeviceManager, view the help information and determine the ID of the
component to be replaced. Then locate the component at your site based on its ID.
● Locating a component based on the status of its Running/Alarm indicator: For details
about the indicators on dierent components, see Indicator Introduction of each
component in the
Product Description
specic to your product model and version.
● The two BBUs are installed in two power modules. Therefore, remove the
power modules before removing the BBUs.
● When a BBU is being replaced, the power module where the other BBU
resides is working properly.
Precautions
● Remove and insert a BBU with even force. Excessive force may damage the
appearance or connectors of the BBU.
● Remove only one BBU at a time.
● When a BBU is being replaced, the storage system does not have BBU
redundancy. Therefore, you are advised to replace a BBU as quickly as
possible.
● A BBU must be replaced within three minutes. Otherwise, the system heat
dissipation is compromised.
Tools and Materials
● ESD wrist strap
● ESD bag
● Labels
Procedure
Step 1 Perform a pre-replacement check.
Check whether there is a redundant BBU and whether the Running/Alarm
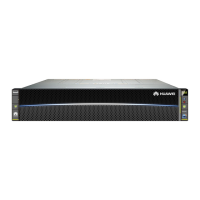
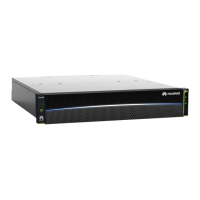
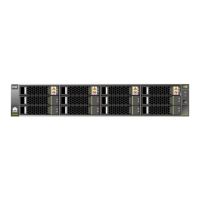
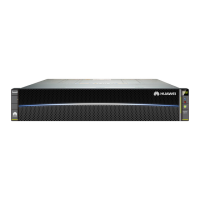
indicator of the BBU is steady green, as shown in Figure 6-63. For details about
the indicators on
dierent components, see Running/Alarm Indicators on a 2 U
Controller Enclosure.
OceanStor V5 Series
Parts Replacement 6 Replacing CRUs
Issue 15 (2019-12-30) Copyright © Huawei Technologies Co., Ltd. 68
 Loading...
