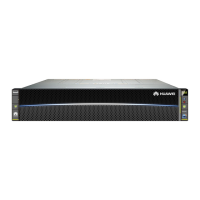
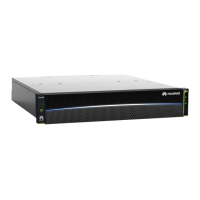
Figure 6-119 Installing an optical module
Step 8 Remove the dustproof cap. Point the white dot of the optical ber downward and
insert it directly to the optical module. Grip the black connector and push it
forward until you hear the click or feel the vibration, as shown in Figure 6-120.
Do not look into the optical port without eye protection. The laser beam on the
optical interface board or from the ber may cause injuries to eyes.
Figure 6-120 Installing an optical ber
Step 9 View the Port indicator, and determine whether the installation is successful.
● If the indicator is steady green or blue, the optical module has been
successfully installed.
● If the indicator is steady red or o, the newly installed optical module is
faulty, the slot that houses the optical module is faulty, or the optical module
is incorrectly installed.
Step 10
Conrm the replacement.
1. Perform a post-replacement inspection.
After the parts replacement, return to the SmartKit page and click Replaced.
Then complete the parts check after the replacement as prompted.
2. Check system status.
Choose Home > Storage > Routine Maintenance > Health Check to check
the system status again. If any inspection item fails, rectify the fault based on
the suggestions in the inspection report.
3. After the preceding procedure is complete, check services on the host for
storage-related errors.
----End
OceanStor V5 Series
Parts Replacement 6 Replacing CRUs
Issue 15 (2019-12-30) Copyright © Huawei Technologies Co., Ltd. 127
 Loading...
