3399
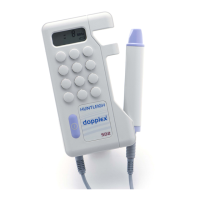
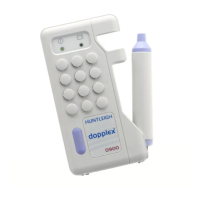
Probe Head Replacement Procedure
Plleeaasee
nootee:
Reemoovee
thhee
proobbee
hheeaadd
froom
thhee
PCB
iif
fiitteedd.
7.7b Reassembly Procedure - D920-P, D930-P, FD1-P & FD3-P
Slide the copper screen over the probe
and position so that the internal fold is
located against the edge of the PCB.
Re-solder in place using tinned copper
wire.
1.
2.
Slide the case moulding over the probe, ensuring
that the holes are fully aligned.
3.
4.
Before attaching the Head Assy ensure the 4
way connector on PCB is sitting flush with the
PCB, and that no pins are bent.
Slide Head Assy toward the probe assy.
The pins of the PCB on the probe assy must
fully locate into the socket on the head assy.
Slide/push the two parts together.
Ensure holes are fully aligned.
Fill both wells at the head end with Silicon.
Insert the clips
5.
 Loading...