| Installation and Upgrades | 20
b) Set the SSH host key fingerprint in aspera.conf. (Go to the next step to set the host key path instead).
# asconfigurator -x
"set_server_data;ssh_host_key_fingerprint,fingerprint"
This command creates a line similar to the following example of the <server> section of aspera.conf:
<ssh_host_key_fingerprint>7qdOwebGGeDeN7Wv+2dP3HmWfP3
</ssh_host_key_fingerprint>
Setting the host key path: To set the SSH host key path instead of the fingerprint, from which the fingerprint will
be extracted automatically, run the following command:
# asconfigurator -x "set_server_data;ssh_host_key_path,ssh_key_filepath"
This command creates a line similar to the following in the <server> section of aspera.conf:
<ssh_host_key_path>/etc/ssh/ssh_host_rsa_key.pub
</ssh_host_key_path>
2.
Restart the node service to activate your changes.
Run the following commands to restart asperanoded:
# systemctl restart asperanoded
or for Linux systems that use init.d:
# service asperanoded restart
Testing a Locally Initiated Transfer
To make sure the software is working properly, set up a connection with the Aspera demo server and test downloads
and uploads.
1.
Download test files from the demo server.
Use the following command to download, press y to accept the server's key, and enter the password
demoaspera when prompted:
# ascp -T aspera@demo.asperasoft.com:aspera-test-dir-large/100MB /tmp/
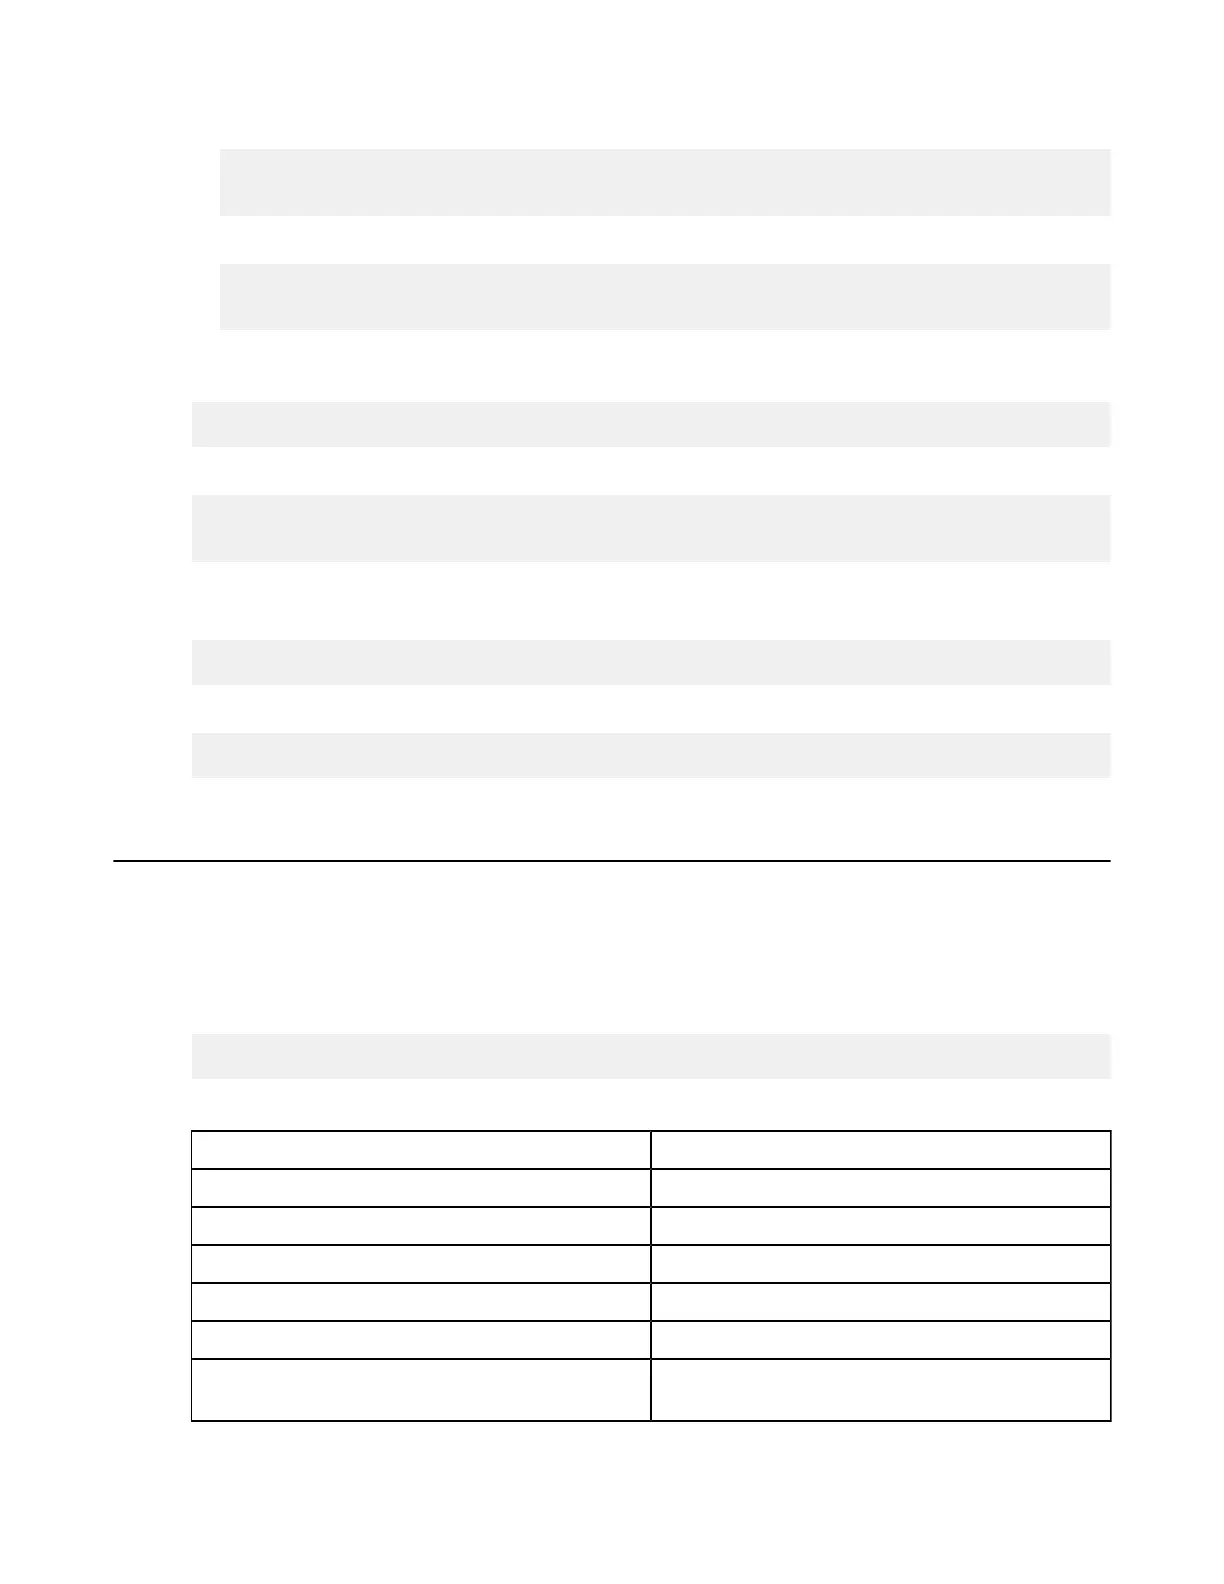
The transfer command is based on the following settings:
Item Value
demo server address demo.asperasoft.com
Login account aspera
password demoaspera
Test file /aspera-test-dir-large/100MB
Download location /tmp/
Transfer settings Fair transfer policy, target rate 10M, minimum rate
1M, encryption disabled.
You should see a message similar to the following: