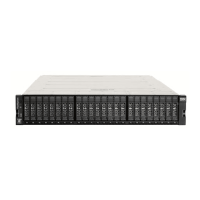
1. Install five clip nuts into each front column of the rack. The grey clip nuts
indicate the position of the trim brackets. The upper grey clip nuts are used for
racks with a 55 mm (2.2 in.) bezel depth. The lower grey clip nuts are used for
flush-mount racks.
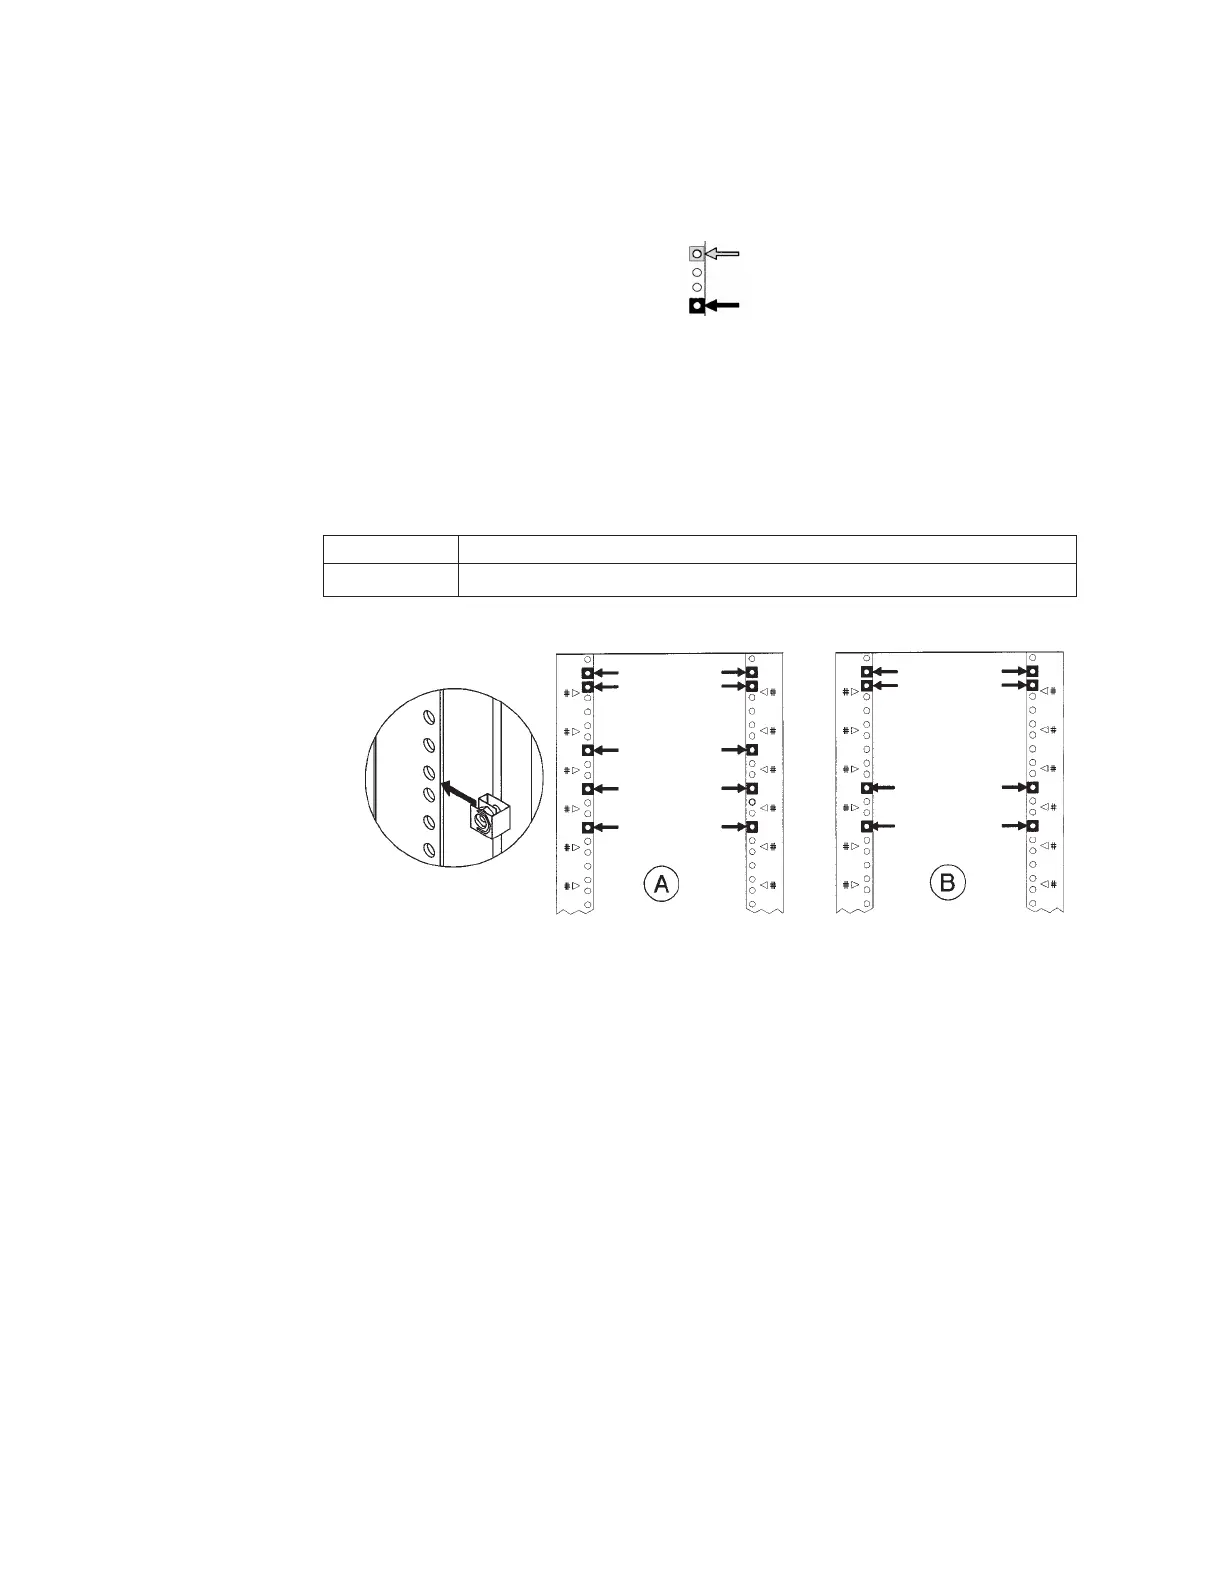
Note: Use the EIA markers as a reference point to ensure that the holes on the
rack correspond to the holes on the template. The EIA markers on the
template are represented by #>.
Your rack might look different from the illustration. If the holes in the
rack do not align with the template, move the template up one or two
holes to create proper alignment.
«A¬ Indicates the template for the front of the rack
«B¬ Indicates the template for the back of the rack
2. Align the upper (black) rail with the top two clip nuts and loosely install a
screw into each clip nut. Slide the rail out so that it equals the rack depth, and
attach to the back clip nuts. Do not tighten these screws until you have
installed the library.
Note: Be sure to use the holes pictured below to provide enough clearance. The
clearance between bottom and top rails must be at least 21.6 cm (8.5 in.).
3. Align the lower (black/silver) rail with the lower two clip nuts. Install a screw
into each clip nut, and slide the rail out so that it equals the rack depth. After
you have installed all of the screws loosely, go back and tighten all of the
screws.
4. Install the library. With the help of another person, use the lifting straps built
into the sides of the library, and slide the library between the upper and lower
sets of mounting rails. Remove the lifting straps after the library is partially
installed. Save these straps for future use.
Attention: The majority of the weight is toward the rear of the library. Use
appropriate force when lifting the library.
5. Tighten the screws on the top mounting rail to secure the library.
6. Insert trim brackets into the slots on each side of the library. The illustration on
the left shows the trim brackets for a rack bezel depth of 55 mm (2.2 in.). The
10 LTO Library: User’s Guide
 Loading...