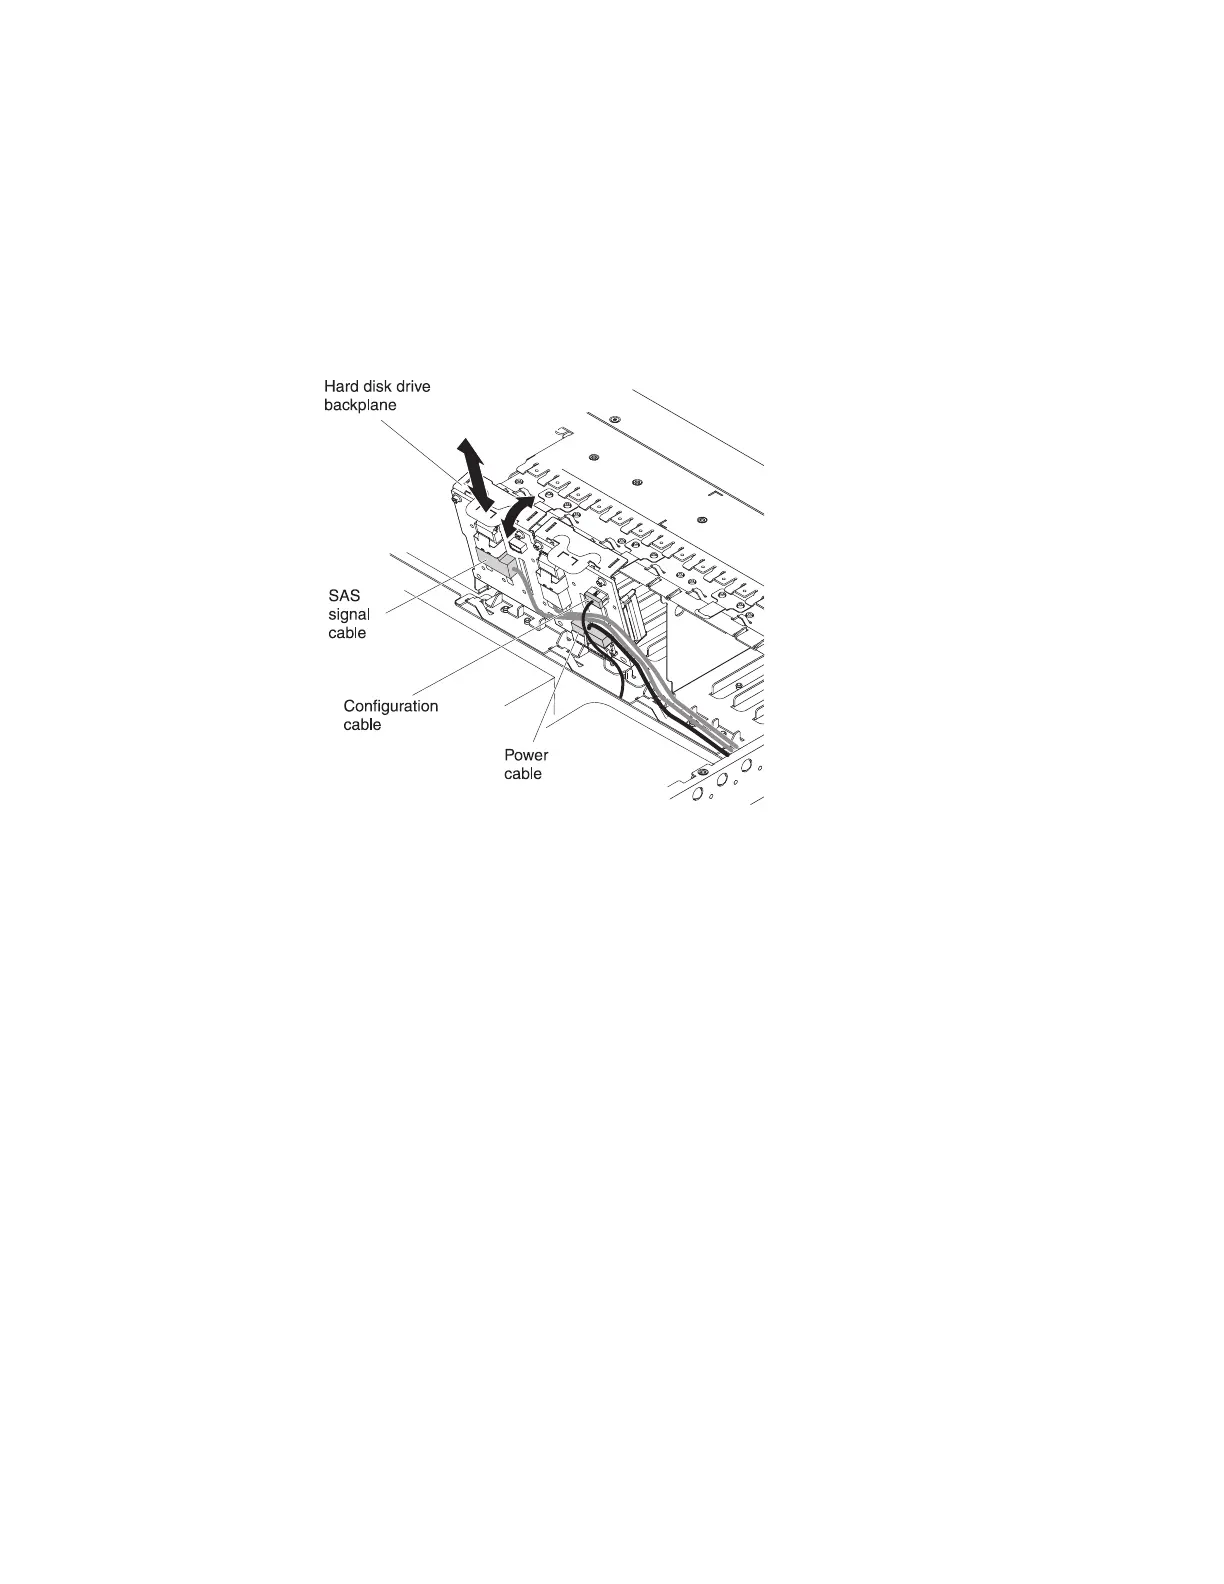
v SAS signal cables into the SAS connectors on the hard disk drive
backplanes
v SAS backplane power cable (that is connected to the system board) to the
hard disk drive backplanes
v Configuration cable to the configuration connector on each hard disk drive
backplane
9. Connect the tape-enabled configuration cable to the system board.
10. Install the hard disk drive backplanes.
a. Align the backplane with the backplane slot in the chassis and the small
slots on top of the hard disk drive cage.
b. Lower the backplane into the slots on the chassis.
c. Rotate the top of the backplane until the front tab clicks into place into the
latches on the chassis.
d. Insert the hard disk drives or the filler panels the rest of the way into the
hard disk drive bays.
11. Make sure that the tape cables are connected securely to the following
connectors on the SAS riser-card:
v Tape power cable: tape power connector
v Tape signal cable that came with the tape drive: SATA tape signal connector
(SATA drive only) or USB tape connector (USB drive only)
The following illustration shows how to connect the SATA tape drive cables.
Figure 105. Hard disk drive backplanes installation
106 System x3650 M3 Types 4255, 7945, and 7949: Installation and User’s Guide
 Loading...


