P27
the appropriate template and press the
ENT
button.
b. You will be asked for three parameters: An Area num-
ber, an initial Scene number and a common fade time:
Use the keypad to enter the rst two items, and the
and
buttons to adjust the fade time. The buttons
will all be programmed with the same Area and Fade
details and increment Scene numbers from your initial
Scene parameter.
Advanced
a. The initial advanced screen will show all of the but-
tons. Highlight a button and press the
ENT
button.
b. You can now adjust the Area, Scene and Fade details
for the chosen button. Use either the keypad (not for
fade) or the
and
buttons to adjust each entry
and then press the
ENT
button to send your changes to
the wallstation and return to the main advanced screen.
c. When you have nished programming the buttons, press
the
ESC
button to return to the ‘Select Wallstation’ screen.
Step 11: Congure wallstations using the Wallstation Wizard
2. Go to each wallstation and prompt each one in turn
to send out an ‘announcement’ message over the
iCANnet network. The Wallstation Wizard will listen for
announcements and will add any response to its list of
devices.
Note: The various models of wallstations each have their
own method to cause an announcement message. Please
see Appendix 1 of this guide for more information.
When the rst announcement message is received, the
Wallstation Wizard will list the device:
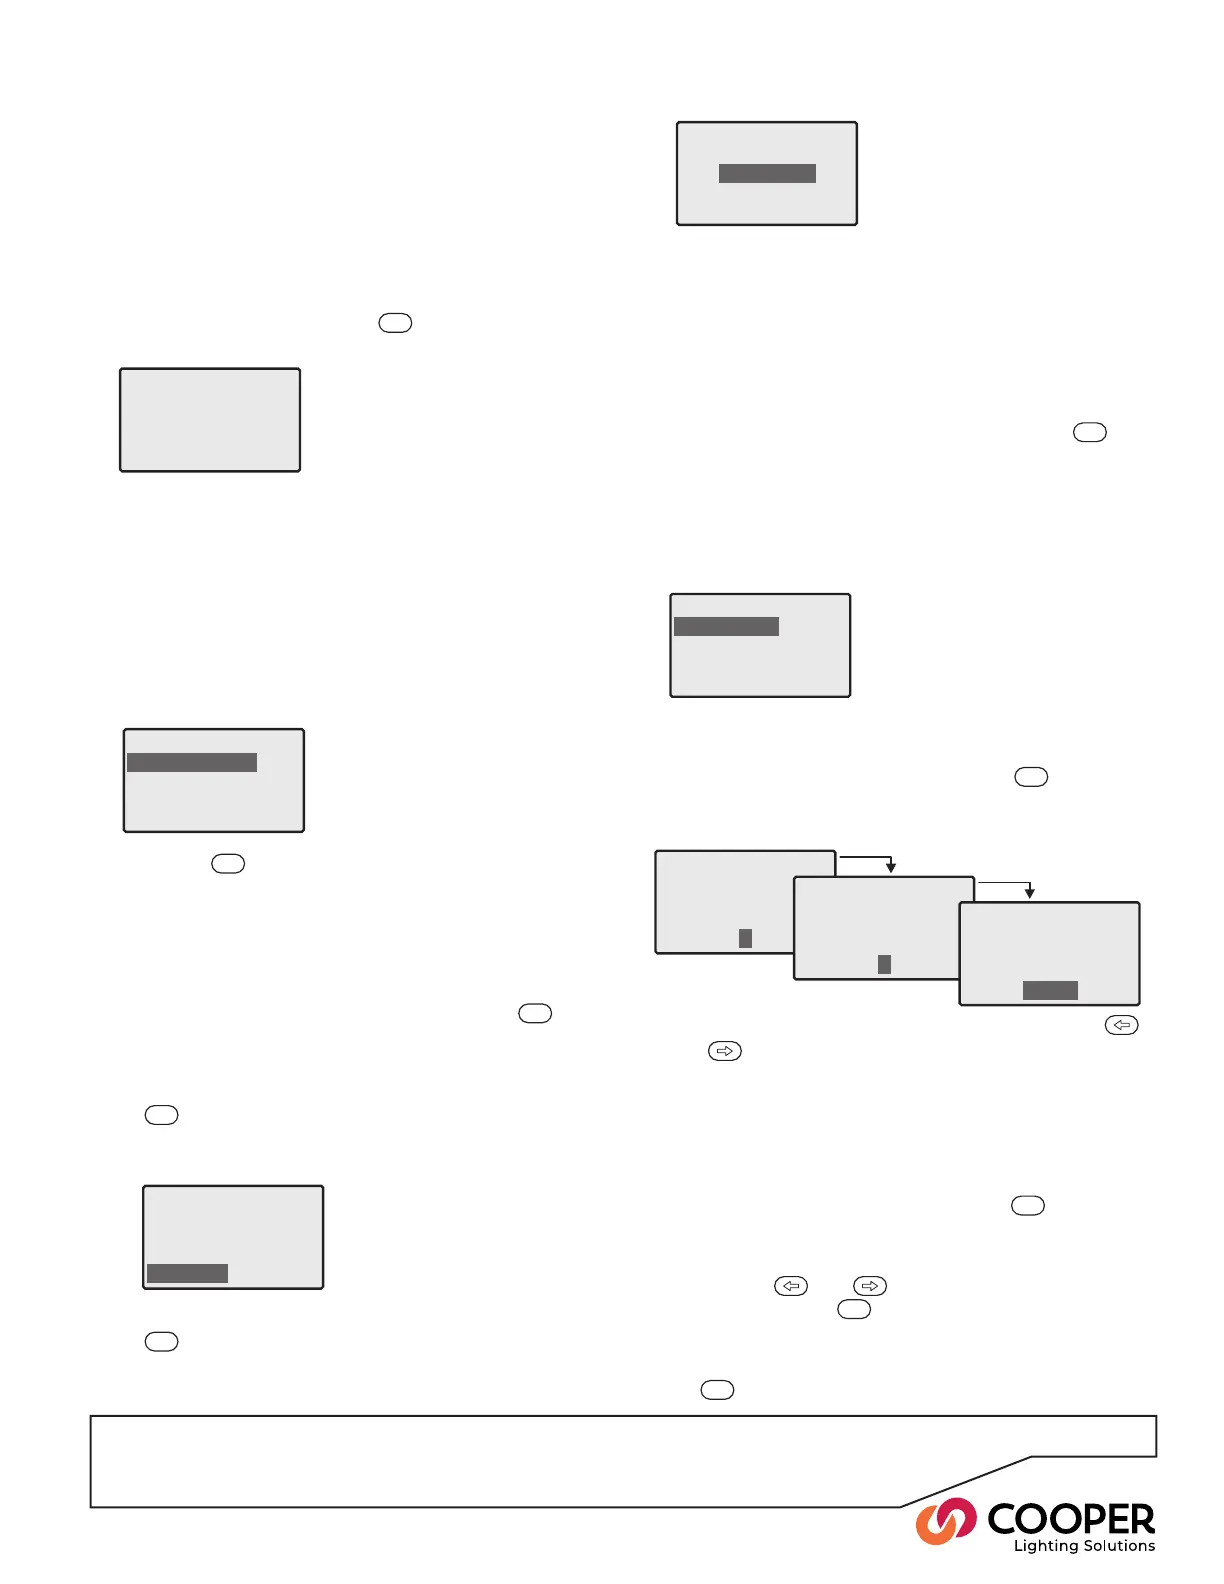
Wallstation Wizard
Please identify
Wallstations
3. Press the
ENT
button to select the highlighted device.
The screen will now show the expected style for the
wallstation. This relates to the button layout, of which
there can be many for each type of wallstation. You
may need to check the details of the wallstation to
discover its exact style options.
• If the button layout style is correct, press the
ENT
but-
ton to choose the highlighted ‘OK’ option - go to step 4.
• If the button layout style does not match the wallstation,
move the highlight to the ‘Change’ option and press the
ENT
button. Each wallstation contains a style number.
Select the style that matches the style number printed
on the wallstation. The available styles will be listed:
Select Wallstation
1 Ineo6scsmall
WS1Style 10
CLS-2-TSB-RL
CLS-4-TSB
CLS-4-TSB-RL
CLS-6-TSB
Move the highlight to the desired style and press the
ENT
button to select. The Select Template screen
will be displayed - go to step 5.
4. The screen will now allow you to choose between the
‘Quick Set Up’ or ‘Advanced’ methods:
• Quick Set Up creates standard settings for the
whole wallstation based upon just three details that
you provide.
• Advanced allows you to program each button
individually.
Highlight the required mode and press the
ENT
button.
5. Use the chosen mode to program the wallstation:
WS1Set Up
Quick SetUp
Advanced
Quick Set Up
a. In Quick Set Up, your rst action is to choose the pro-
gramming template to be used:
In many cases there may just be one template, however,
some wallstations may provide a choice. If so, highlight
WS1SelectTemplate
176scsmall
WS 1Parameters
Select an Area for
the Wallstation
1
WS 1Parameters
SelectaScene number
for the first button
1
WS 1Parameters
Selectacommon
Scene fade time
1.3 sec
Objective: Use the Wallstation Wizard to quickly locate
wallstations and program them directly from the SCRP
control panel. If you do not need to congure wallstations
as part of your commissioning process, then go straight to
Step 12.
To use the Wallstation Wizard
1. From the Conguration menu, highlight the ‘Wallstation
Wizard’ option and press the
ENT
button. The display
will request you to identify: