P29
Step 12: Verify each Wallstation
Objective: To conrm the conguration of each
wallstation.
To verify a wallstation
1. Go to the wallstation and, in turn, press the buttons
that are known to have been programmed to select
Scenes.
2. Check that the response of the controlled lighting cir-
cuits to each button press match what is expected.
3. Repeat steps 1. to 3. for each wallstation.
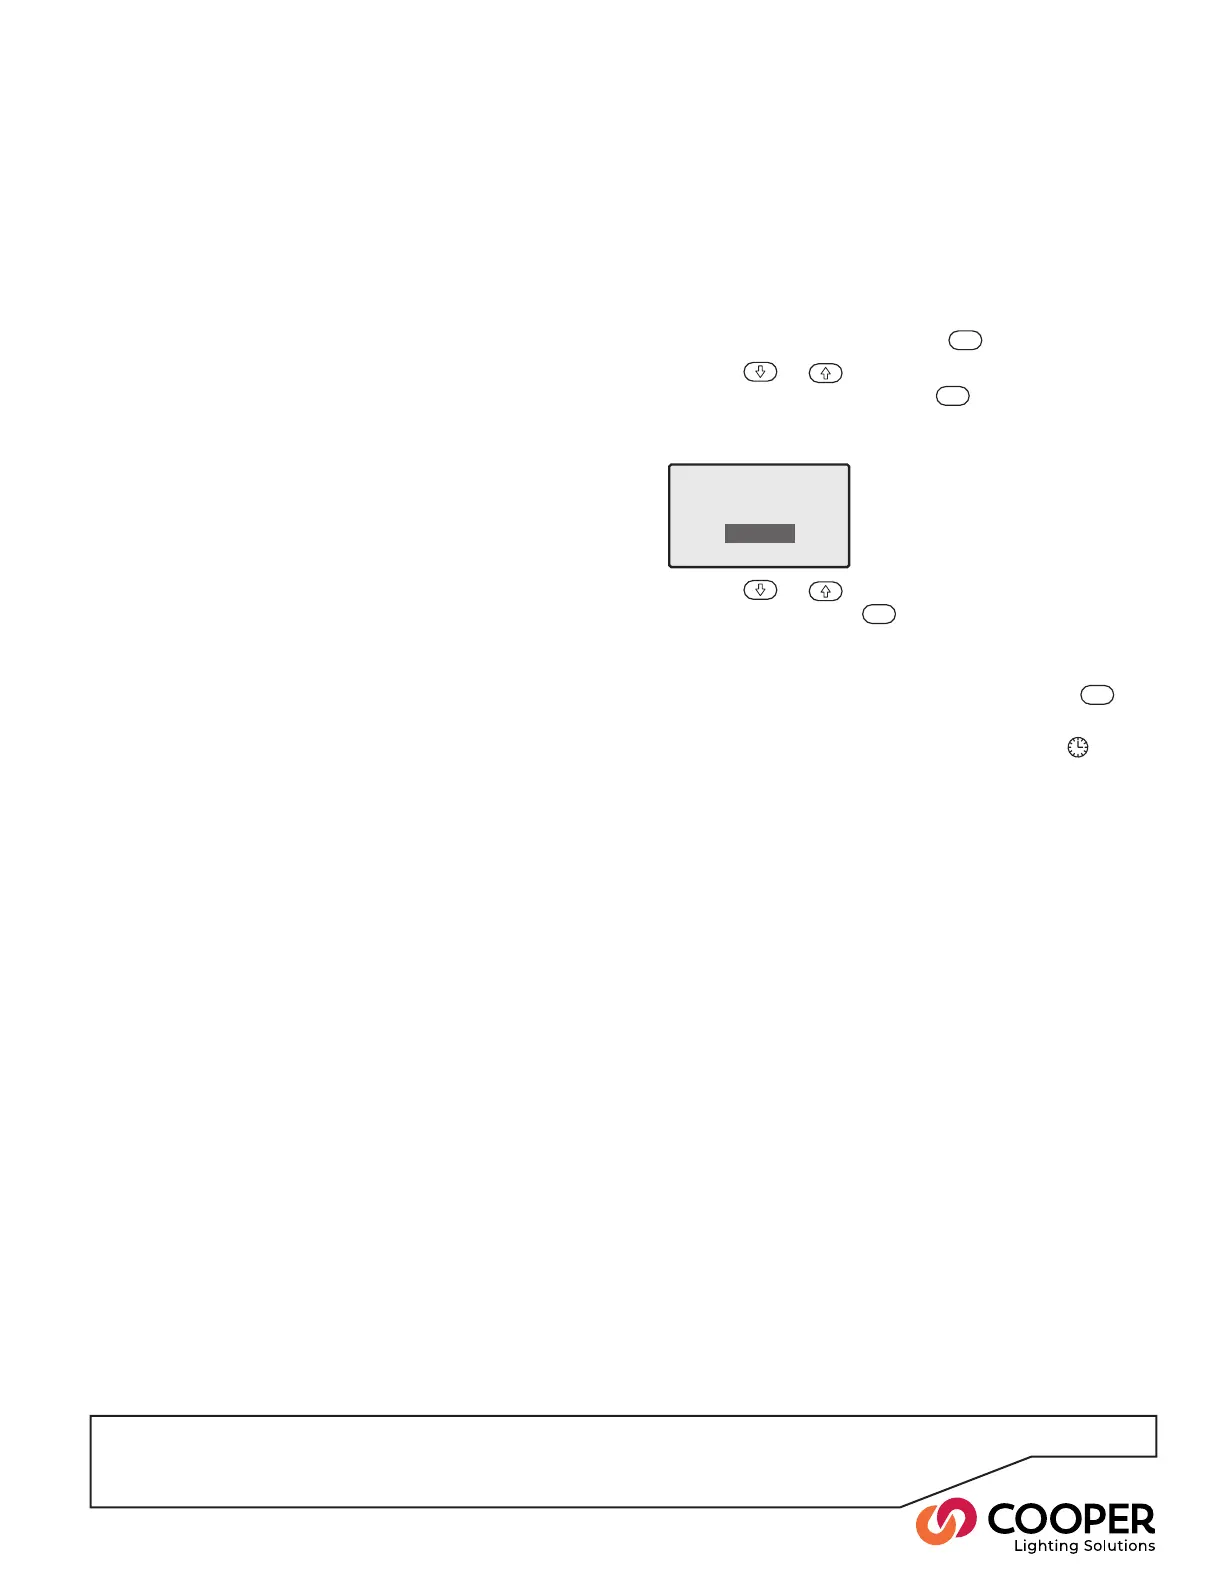
Timeclock Manager
Timeclock
Enabled
Disabled
*
Step 13: Enable the Timeclock
Objective: Enable the timeclock on one SCRP Switched
Relay Controller.
Note: We recommend using only one SCRP Switched Relay
Controller Timeclock to control all of the devices on a Segment.
To enable the timeclock
1. From the Operation menu, highlight the ‘Timeclock
Manager’ option and press the
ENT
button.
2. Use the
or
buttons to highlight the ‘Enable/
Disable’ option and press the
ENT
button. The display
will show the timeclock options with the currently ac-
tive setting marked with an asterisk:
3. Use the
or
buttons to highlight the desired
setting and press the
ENT
button. The chosen
setting will be saved and the display will return to the
Timeclock Manager menu.
To exit without saving any changes, press the
ESC
button.
Note: When the timeclock feature is enabled, the will
illuminate in red.