Operation Manual Page 25
The seven control buttons in the lower part of the screen control the output modes.
As default the output mode Show is selected. After clicking onto the button Preview or
onto the button Scan Now a window opens and shows the image.
When selecting Save the scanned image will not be displayed. Instead of the second
window a box opens where the desired directory can be set.
Selecting Print will display the scanned image in a second window and direct the scanned
image to locally available printers.
Selecting Copy prints directly to a previously installed network printer.
Selecting FTP Upload scans directly a FTP server.
Selecting Mail sends the scanned image directly to a previously defined e-mail address.
Selecting Network uploads the scanned image directly to a previously defined workstation
in the network.
The frame on the left side shows the buttons for preview scan and main scan.
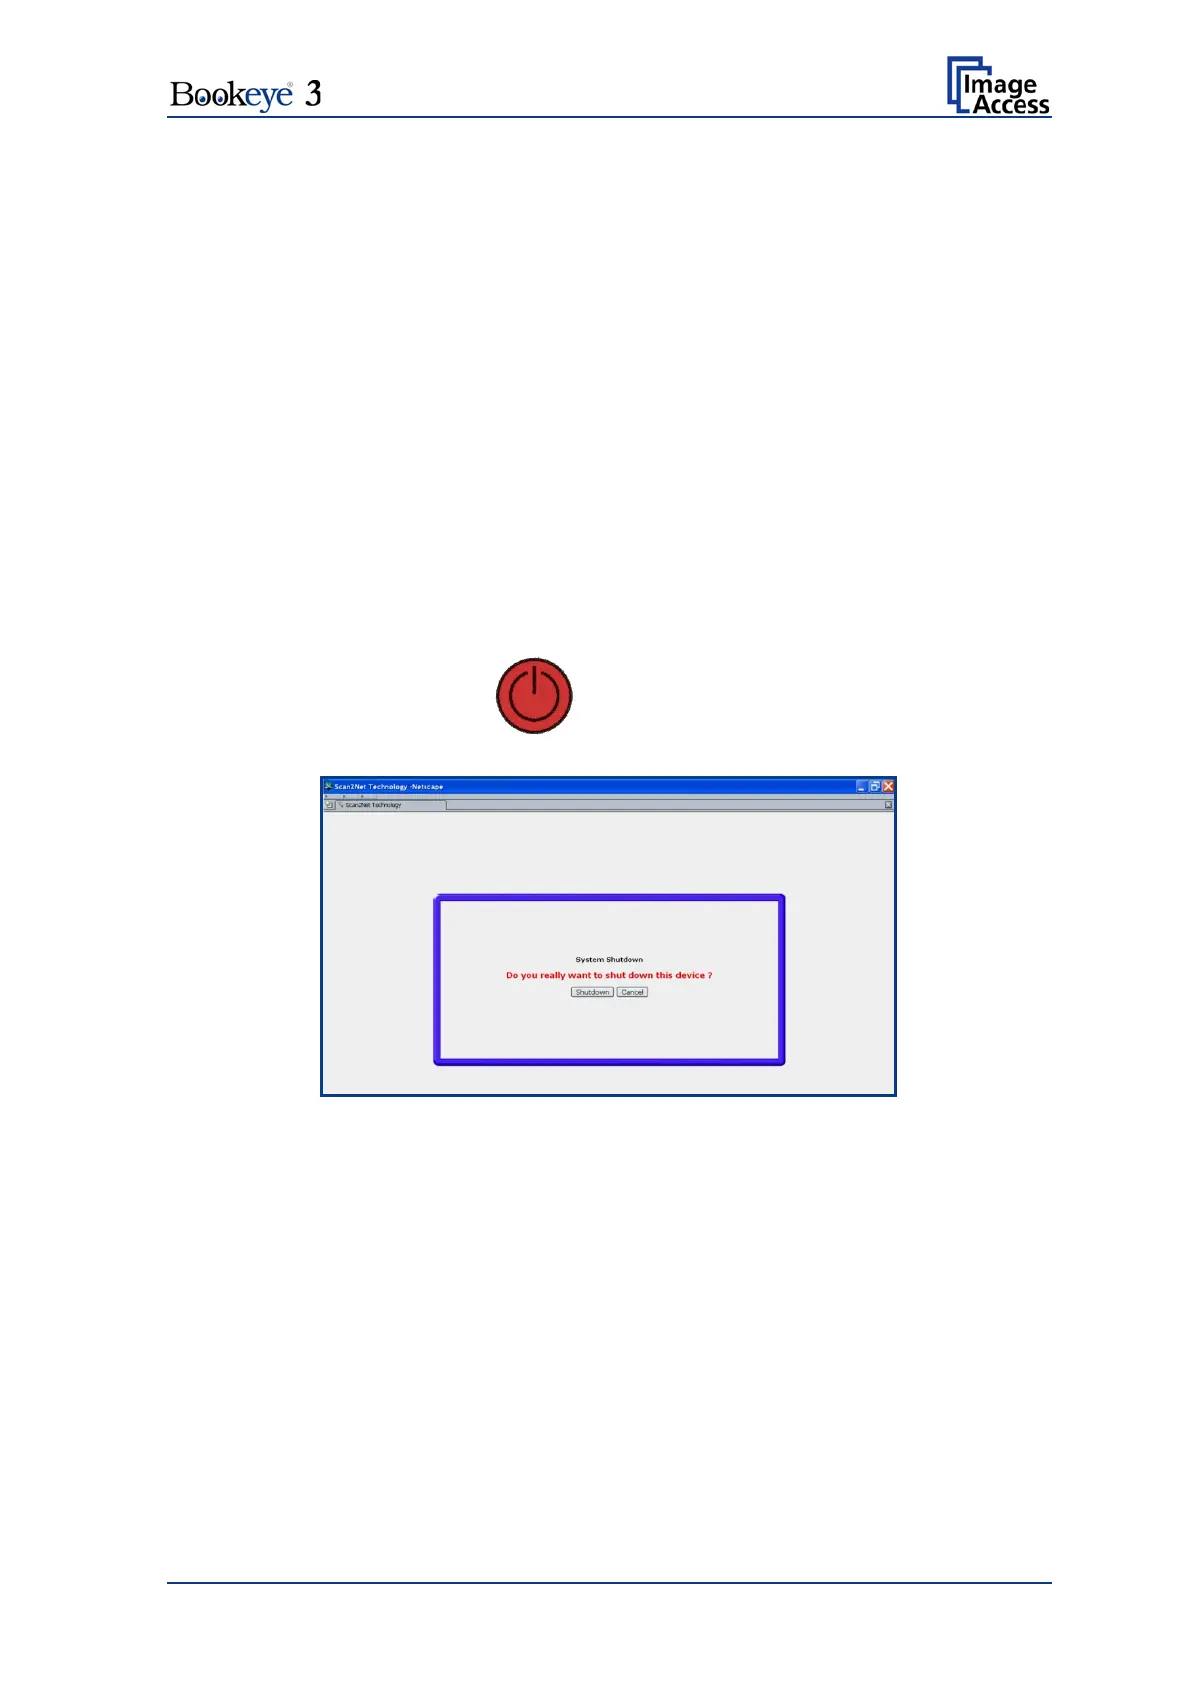
Note: Pressing the red button
switches the scanner off.
If the red button is pressed, the following window will appear.