3. Printer Operation
3.1 Commission
Printer needs to be filled with ink and exhaust air before use.
1. Open the lower cabin door and install the correct ink and makeup to the correct
position according to the label .
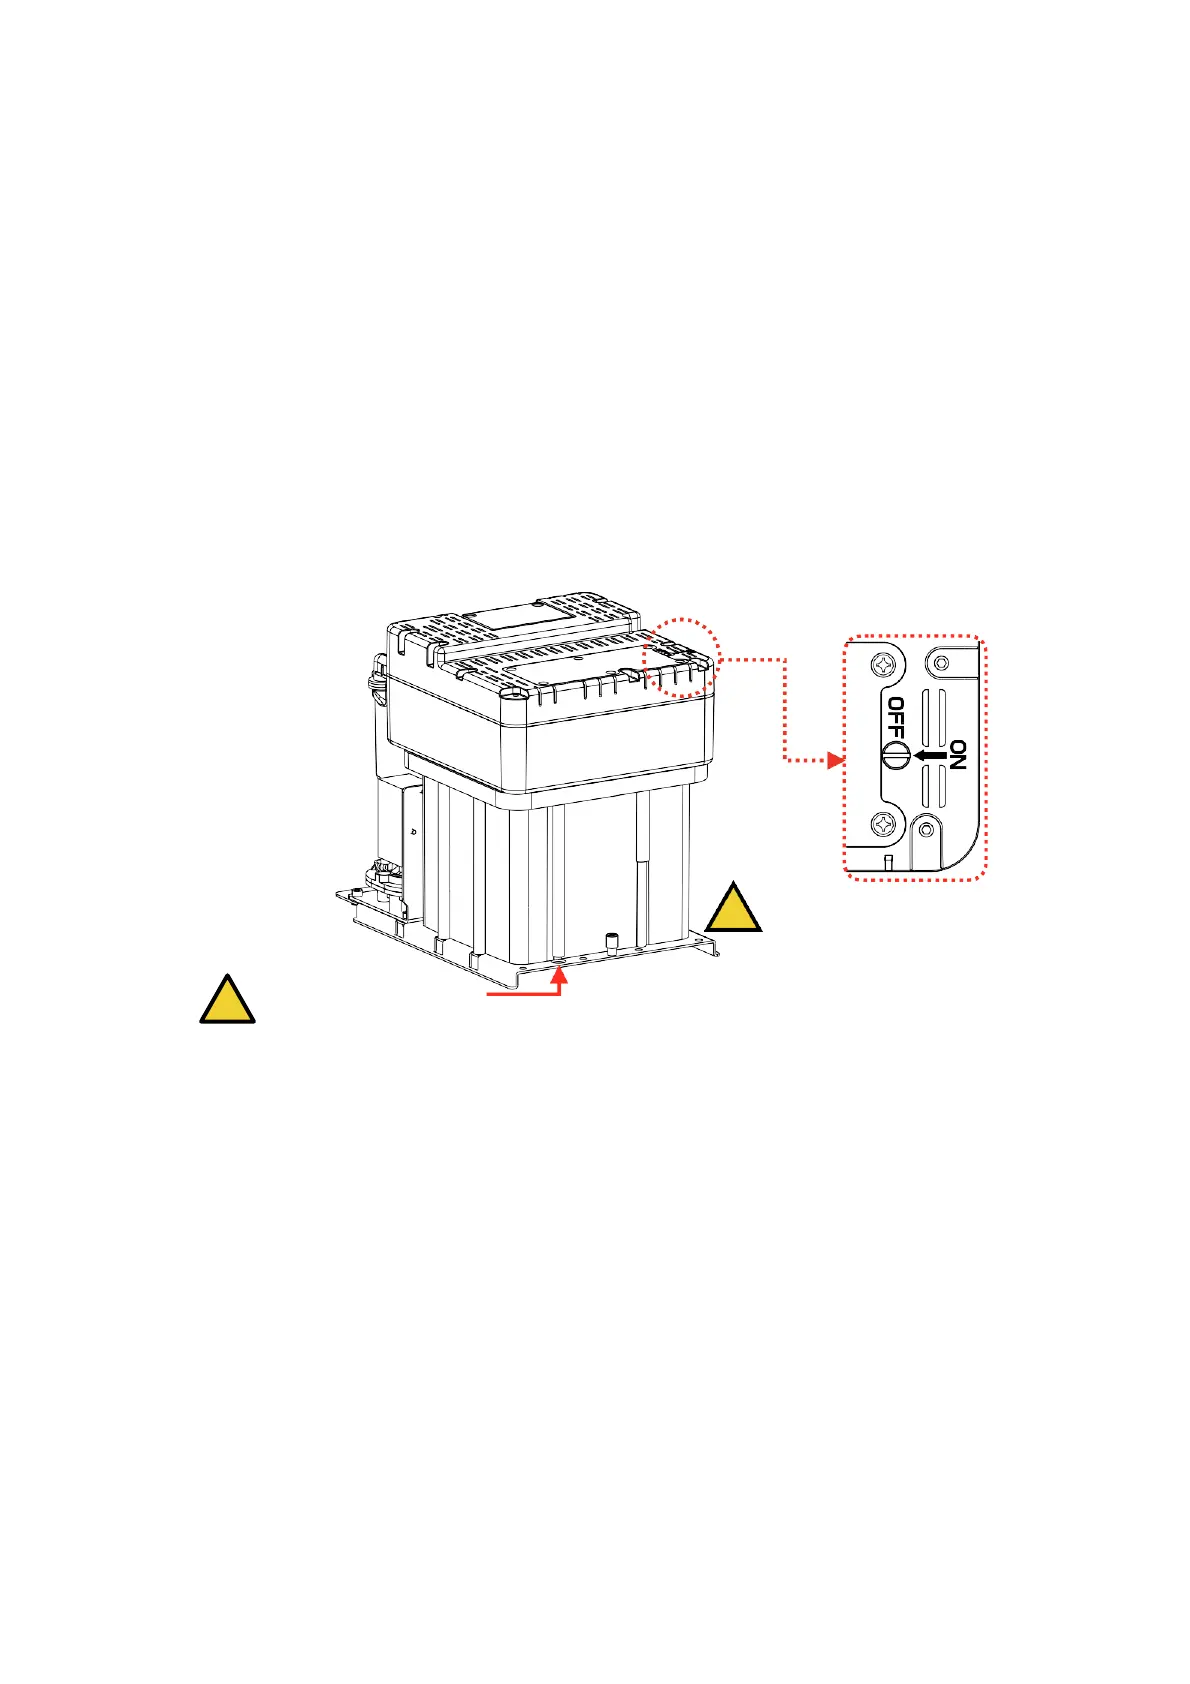
2. Pull out the ink system, remove the exhaust air plug at the bottom (Refer to step A.)*,
and use a screwdriver to open the top exhaust air switch (Refer to step B.)* as shown in
figure:
B. The exhaust air switch must
! be turned on before use.
A. Remove the exhaust
air plug
3. Push the ink system into the cabin and close the lower cabin door .
4. Enter the INK SYSTEM menu, perform the A)Fill Mixer program wait for about 30
minutes until the screen shows “Fill Mixer Tank Finish”.
5. Enter the INK SYSTEM menu and perform E) Exhaust Air program to complete ink
way priming. Screen prompt will advise when complete. NOTE: Ink will come from the
gutter, place a catcher under the printhead.
6. Clean the printhead.
*
During normal use of the printer, the exhaust vent plug A needs to be removed, and the exhaust
air switch B needs to be opened , otherwise it will cause printer failure.
*
Executing a Fill Mixer may result in an ink remaining percentage deviation.