RFX Load Stick Systems
7005195 Rev A, August 2021
Page 22
LOAD STICK OPERATION
RIDE HEIGHT (STATIC POSITION)
1. Set racecar at ride height (static position).
2. Remove the shock from the wheel location where you will be installing the Load
Stick.
a. Note if you are installing the Load Stick at a wheel location where a coil
over setup is used. Do not remove the coil over and instead install the
Load Stick where the shock is installed next to the coil over.
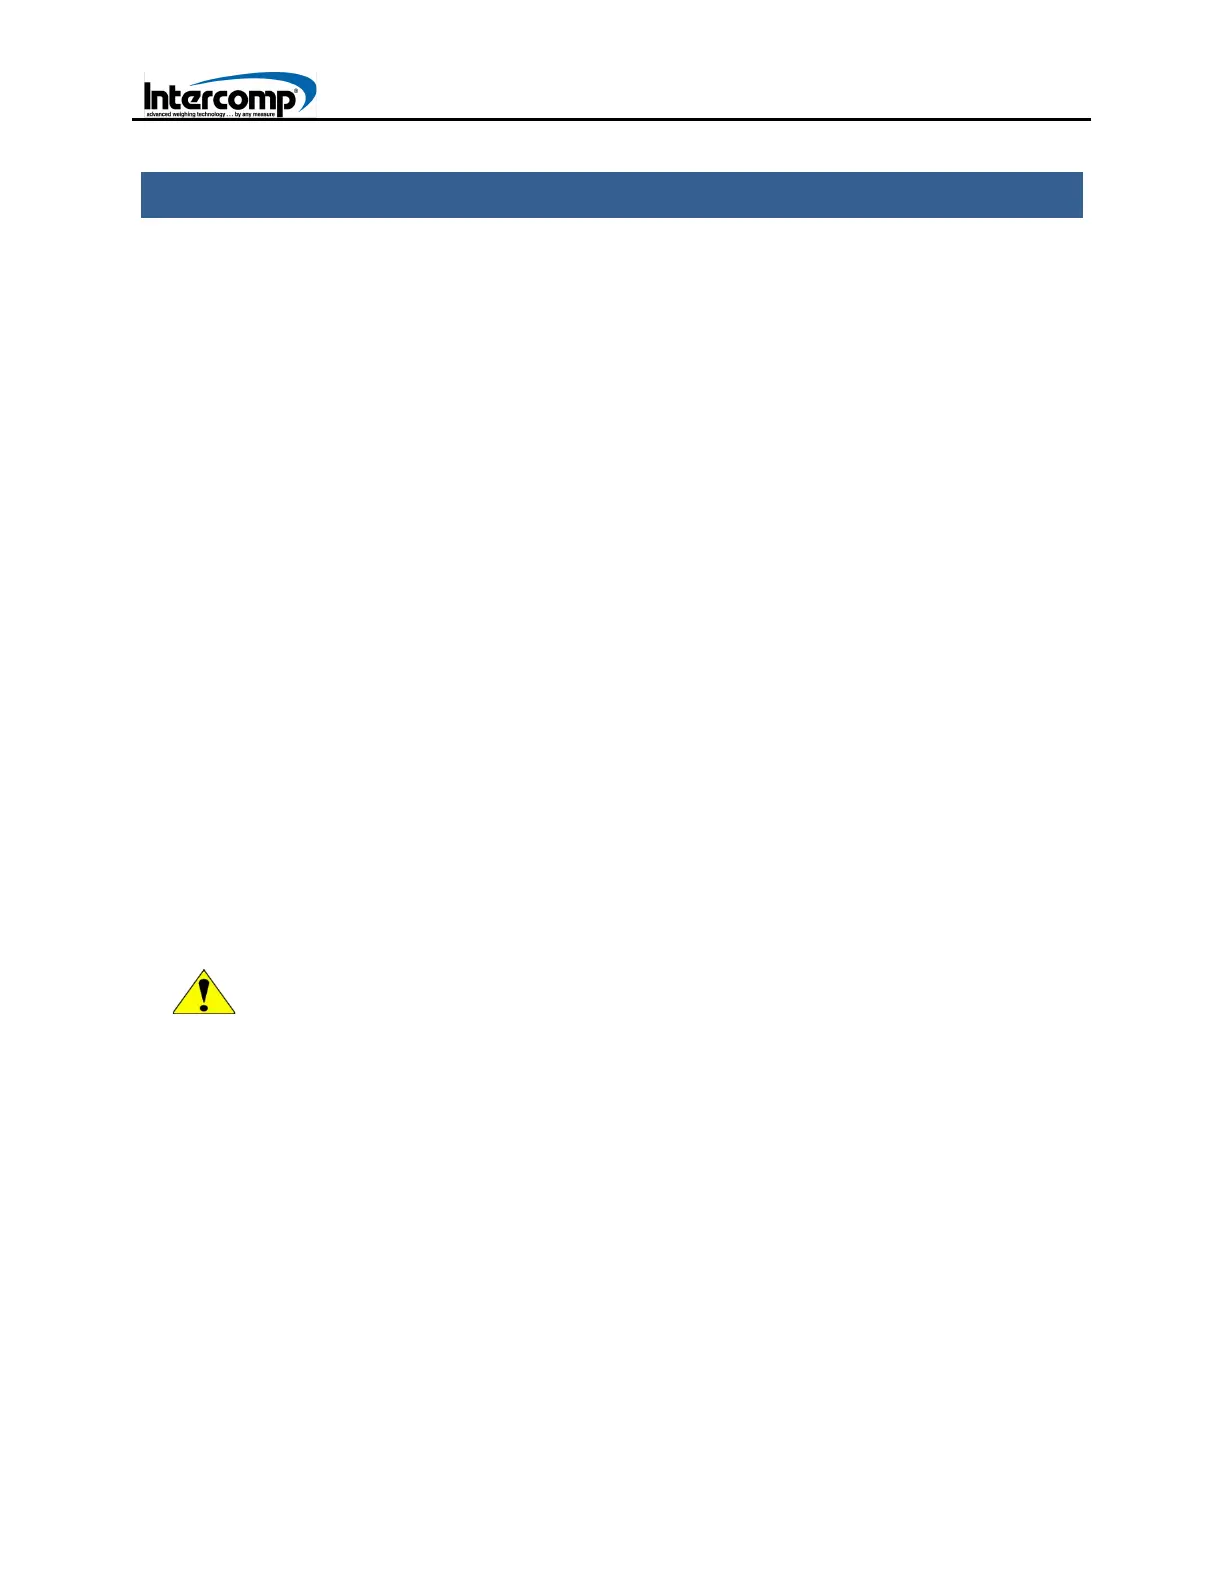
3. With the Load Stick and Indicator on.
4. Zero the Load Stick before installing it on the racecar.
5. Install the Load Stick using 0.5 inch diameter bolts that hold the shock in place.
When the Load Stick is initially installed, there should be very little tension on the
Load Stick before lifting up the racecar.
6. Once the Load Stick is installed, lift the entire racecar up or at minimum the
corner of the racecar where the Load Stick is installed.
7. Then look at the indicator for the load number where the Load Stick is installed.
That number is the load number at ride height for that wheel location where the
Load Stick is installed.
ATTITUDE (DYNAMIC POSITION)
1. To measure the load number in attitude (dynamic position) at a wheel location
follow steps 1-6 in previous section.
2. Then adjust the Load Stick by turning the hex body clockwise or
counterclockwise until that wheel is at the travel at which you want to measure
the load number.
ATTENTION: When using the Load Stick, do not extend the Load Stick past
the limiting cables. So that the Load Stick does not come apart while under
load.