TempScan / MultiScan User's Manual Chapter 2: TempScan/1100 & MultiScan/1200 25
Expanded Memory Configuration
Either the TempScan/1100 or MultiScan/1200 can accommodate up to 8 MBytes of memory, which is
ideal for both high-speed and long-term data logging. Measurements can be stored in memory and read
out by a controlling computer as time permits. Readings may be transferred at up to 300 KBytes per
second over the IEEE 488 bus, or up to 9600 baud using the unit’s standard RS-232/RS-422 port.
Three memory options are provided for expanding the standard 256 KB memory: 1 MB (TempMEM1
or MultiMEM1), 4 MB (TempMEM4 or MultiMEM4), or 8 MB (TempMEM8 or MultiMEM8). To
install a memory option into the unit, it is necessary to perform the following steps:
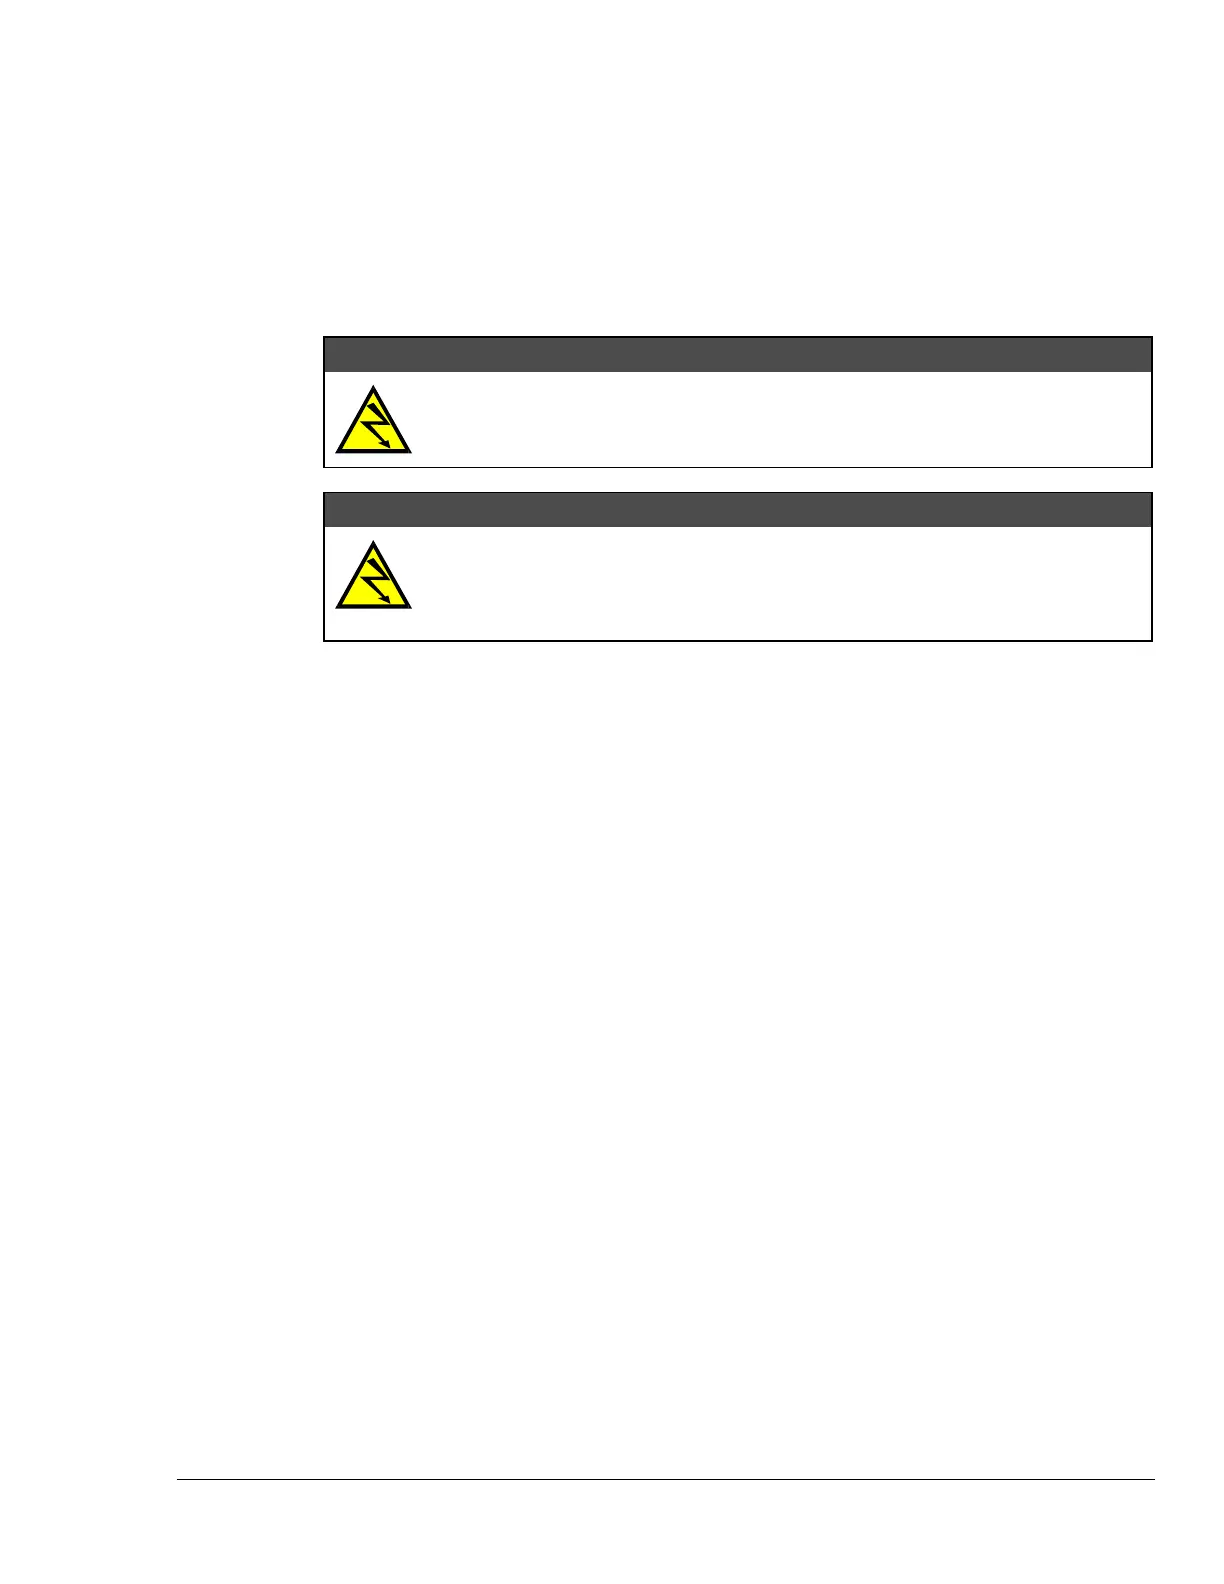
WARNING
WARNINGWARNING
WARNING
Never disassemble the case while it is connected to the AC power line! Internal
voltage potentials exist which could cause bodily injury or death!
WARNING
WARNINGWARNING
WARNING
Never disconnect the AC power line from the TempScan/1100 or MultiScan/1200
while its scanning cards are connected to an external device! Common mode
voltage potentials exceeding 60 VDC or 30 Vrms at the terminals, may exist which
could cause bodily injury or death!
Note:
If disassembly or disconnections are necessary, first turn off the power, then disconnect the
scanning cards, next disconnect the AC power line, and then any other cables, prior to
disassembly.
To Install a Memory Option
1. Turn off the power, disconnect the scanning cards, the power line cord, and then all other cables
from the unit. For more information, see section Disconnecting & Reconnecting the System
During Setup on page 6.
2. Place the unit on a flat surface. Remove the six screws on top of the case and remove the top
cover.
3.
Located on the main circuit-board assembly, alongside the scanning card enclosure, are SIMM
memory module slots JP8 and JP7. Install your memory option according to the instructions in the
following list:
For 1 MB (TempMEM1 or MultiMEM1): Remove the 256 KB module from JP7 and insert the 1
MB module in its place.
For 4 MB (TempMEM4 or MultiMEM4): Remove the 256 KB module from JP7 and insert the 4
MB module in its place.
For 8 MB (TempMEM8 or MultiMEM8): Remove the 256 KB module from JP7, insert one 4
MB module in its place, and insert the second 4 MB module in JP8.
4.
Carefully reassemble the unit, replacing the top cover and screws.
Note:
For re-assembly, first reconnect the AC power line (with the power OFF), next reconnect the
scanning cards, and then any other cables, prior to reapplying power to the entire system.
 Loading...