TempScan / MultiScan User's Manual Chapter 8: ChartView & ChartView Plus 69
Remember, you can enable additional channels from the Channel and Alarm Setup window. Enabling
additional channels allows you to acquire more data; however, it will not change your display on
ChartView’s Main Window. In other words, you can acquire data from channels which you do not
monitor.
Channel Configuration
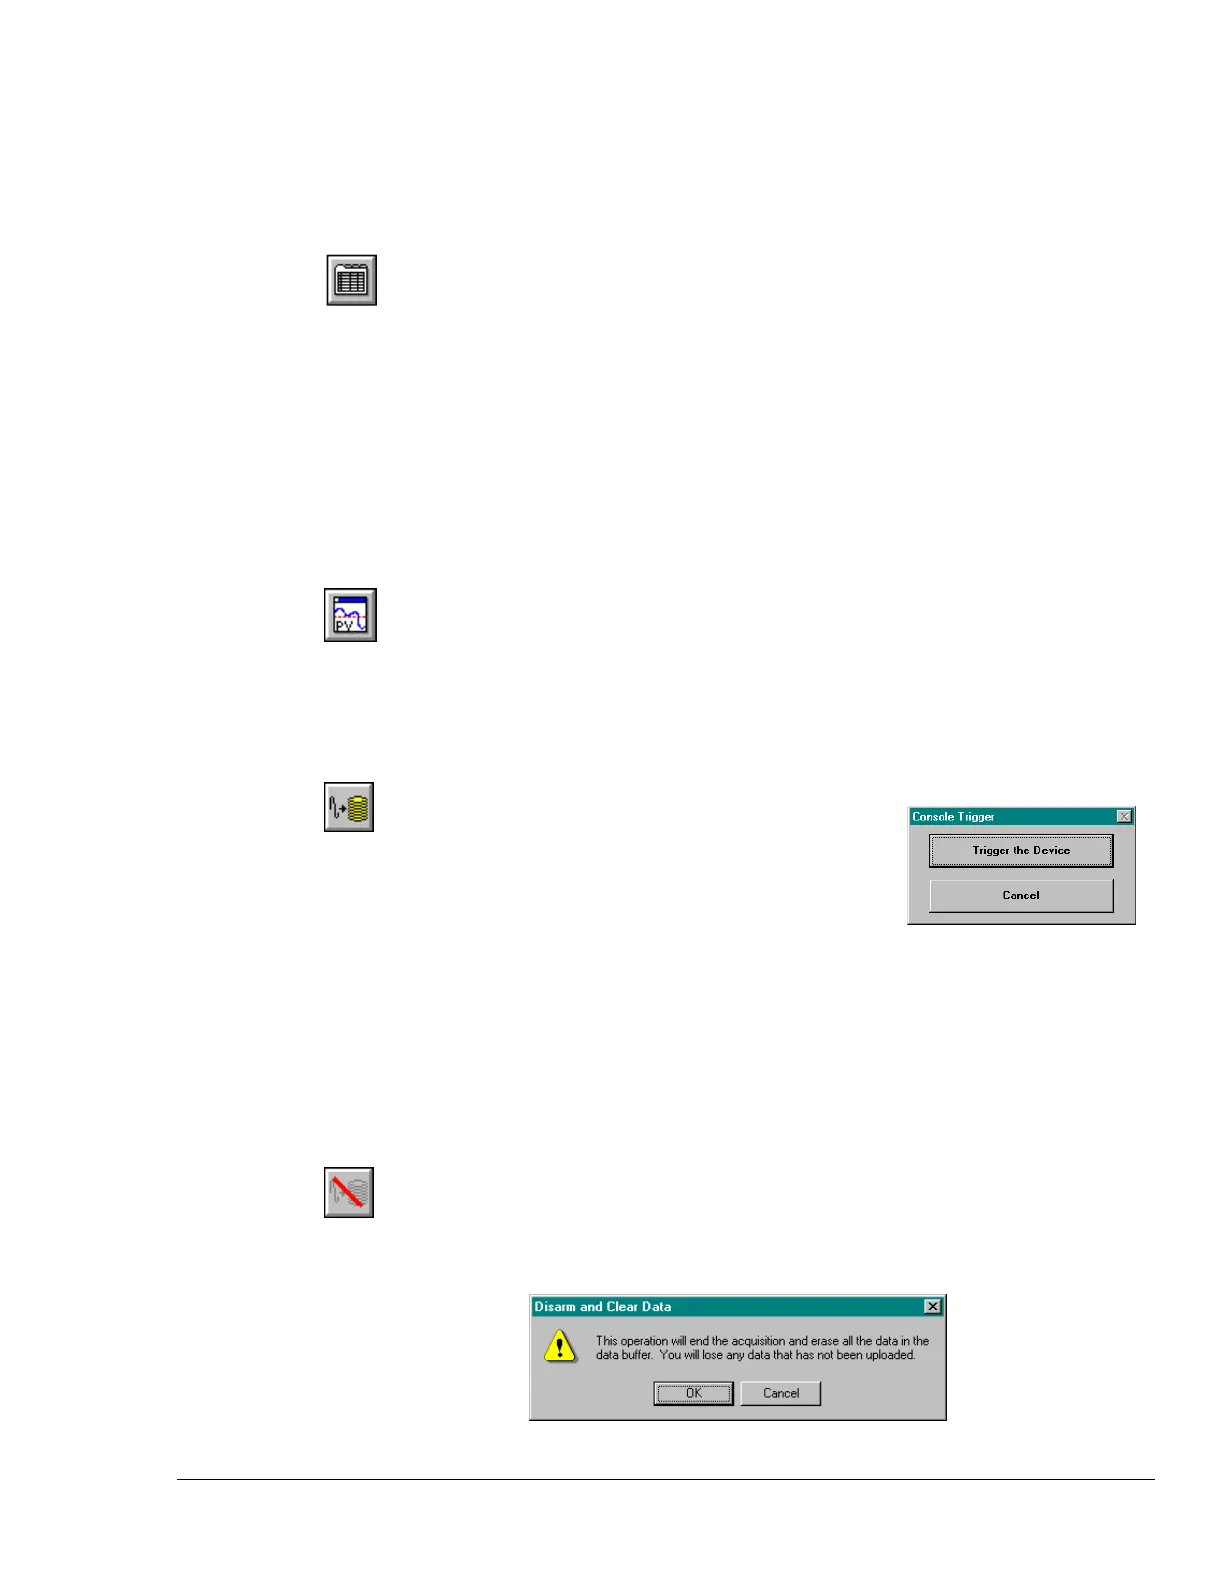
The “Channel Configuration” button brings up the Setup Window with one of three “tabbed” dialog
boxes displayed: Acquisition Setup (page 88), Channel & Alarm Setup (page 85), or Data Destination
(page 91). The information entered in the Acquisition Setup dialog box is used by the Arm Acquisition
command to set up the acquisition of data to disk. When the trigger is satisfied, the scans are collected
at the selected scan frequency and stored to disk in the designated file. The Channels & Alarms dialog
box is used to configure channels and alarms; the Data Destination dialog box is used to assign a
filename and folder location for data, select an Excel or binary format (
.TXT or .IOT respectively),
and to select optional Time/Date and/or Alarm Stamps (to be included in the data) if desired. You can
tab back and forth from each one of these dialog boxes to the other.
PostView post-acq data viewer
The “PostView post acquisition data viewer” button accesses the PostView program. This independent
program allows you to view waveforms recorded by data acquisition programs such as ChartView,
ChartView Plus, and TempView. PostView is detailed in Chapter 3 of this software guide.
Arm Acquisition
You can use the Arm Acquisition button to activate an acquisition.
When you click on this button the system is “armed” to begin
collecting data by a recognized trigger (as set in the acquisition setup
dialog box.) Three cases are as follows:
1. If there is no Pre-trigger defined, the Trigger option under the Event Configuration portion of
the Acquisition Setup dialog box will determine when the Arm process is initiated.
2. When a Pre-trigger is defined, the Arm process is initiated as soon as the Arm Acquisition is
selected.
3. If a keystroke is chosen as the trigger, the Console Trigger dialog box will appear when the Arm
Acquisition is selected.
Disarm...
Use the “Disarm…” button to deactivate the data acquisition process at any point during an active
acquisition. The following confirmation dialog box will appear when this item is selected.
 Loading...