星火全自动缝纫控制系统使用说明书
Operation Instruction for Xing Huo Automatic Sewing Control System
needed position. Press the key to enter the single needle offset operation interface by
default.
There are two ways for needle position modification: Modify the needle position
of the current point, with no influence to other stitches after the modification.
Modify all needle positions after the current point, the
subsequent stitches will offset as a whole after the
modification.
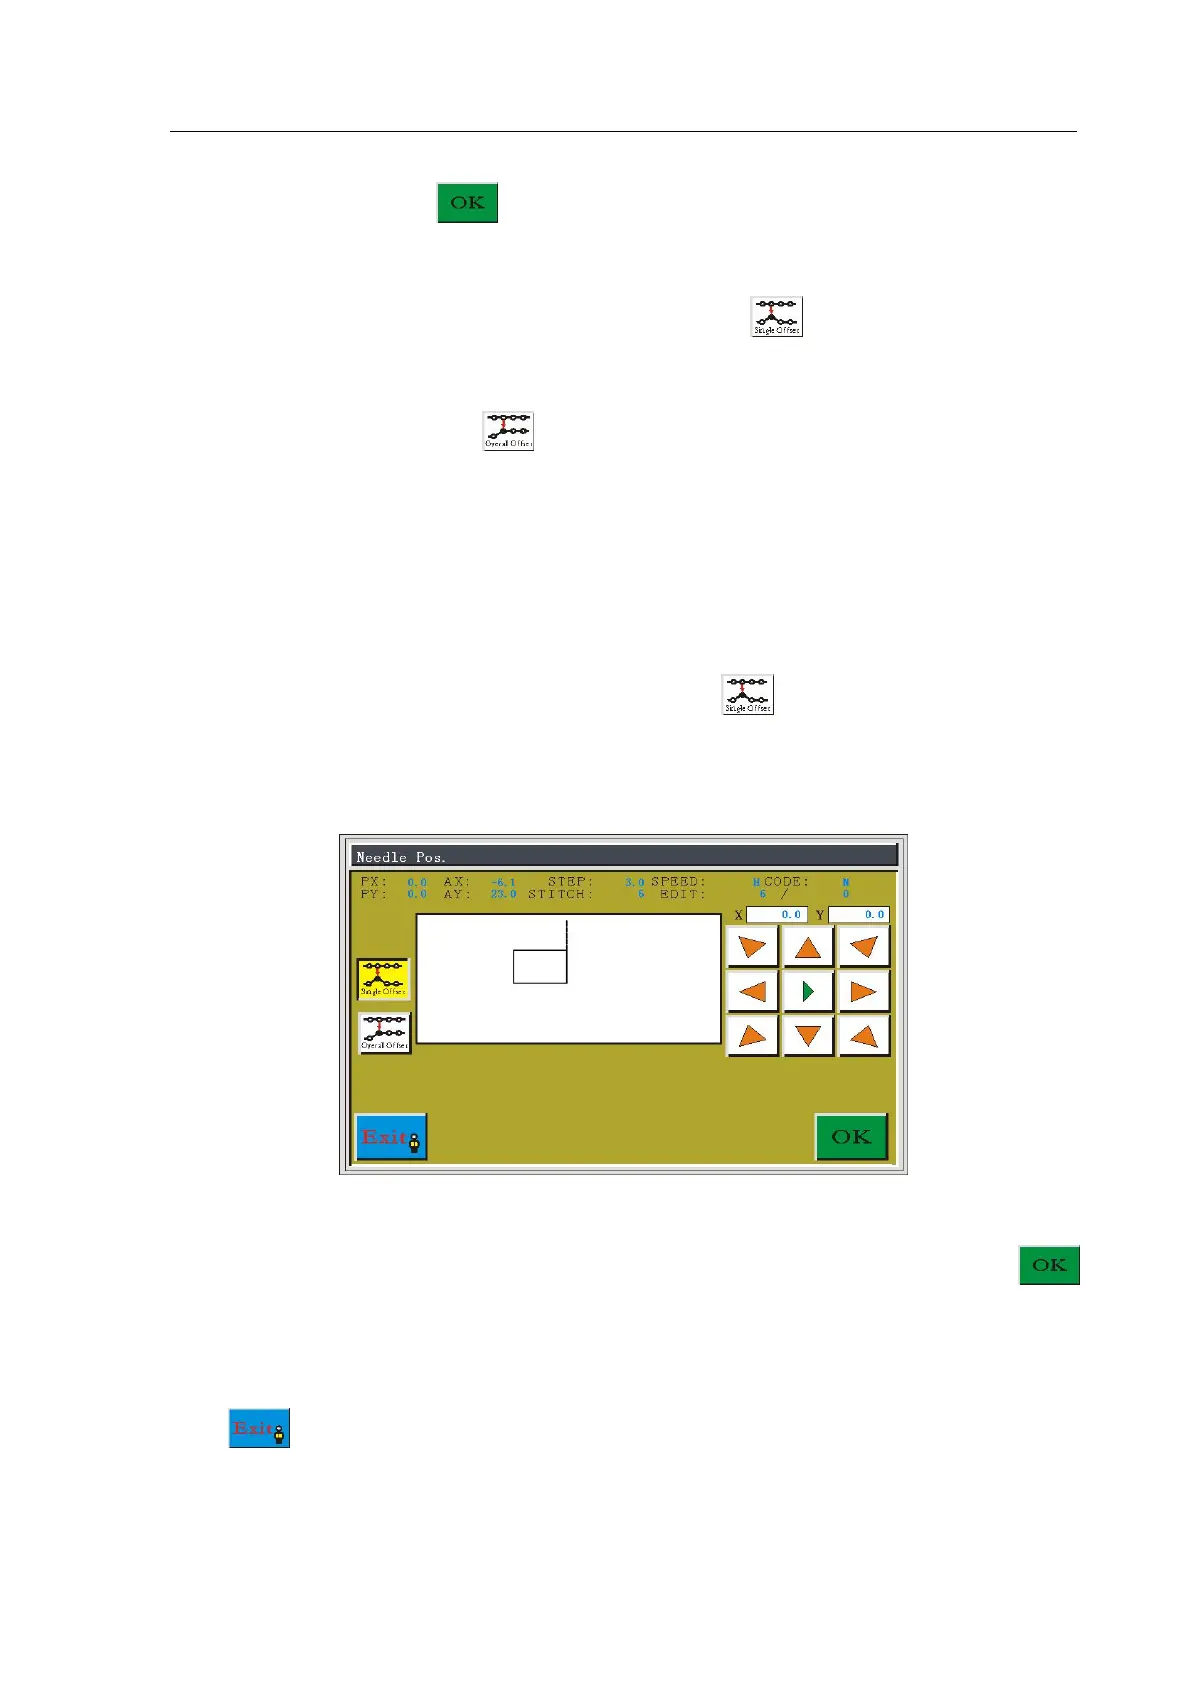
5.9.1 Modify Current Point Needle Position
In the modify needle position interface, press the button to enter to modify the
current point needle operation interface, the icon background becomes yellow. As shown in
figure:
Press the direction keys to move the cursor to the position where it needs to modify the
stitch point, and the moved distance should be not greater than 12.7 MM, press the
key to complete modification.
It will return to the select stitch interface automatically, and you can continue to edit or
click button to save the changes and return to the edit main interface.