EX2500 Ethernet Switch Hardware Guide
14 Installing the EX2500 Switch in a Standard Equipment Rack
Installing the EX2500 Switch in a Standard Equipment Rack
This section describes how to install the EX2500 switch in a standard 2-post
19-inch equipment rack. For information about mounting the EX2500 switch in a
4-post rack, see “Installing the EX2500 Switch in a 4-Post Rack” on page 15.
Table 16 lists the parts included in the standard mounting kit.
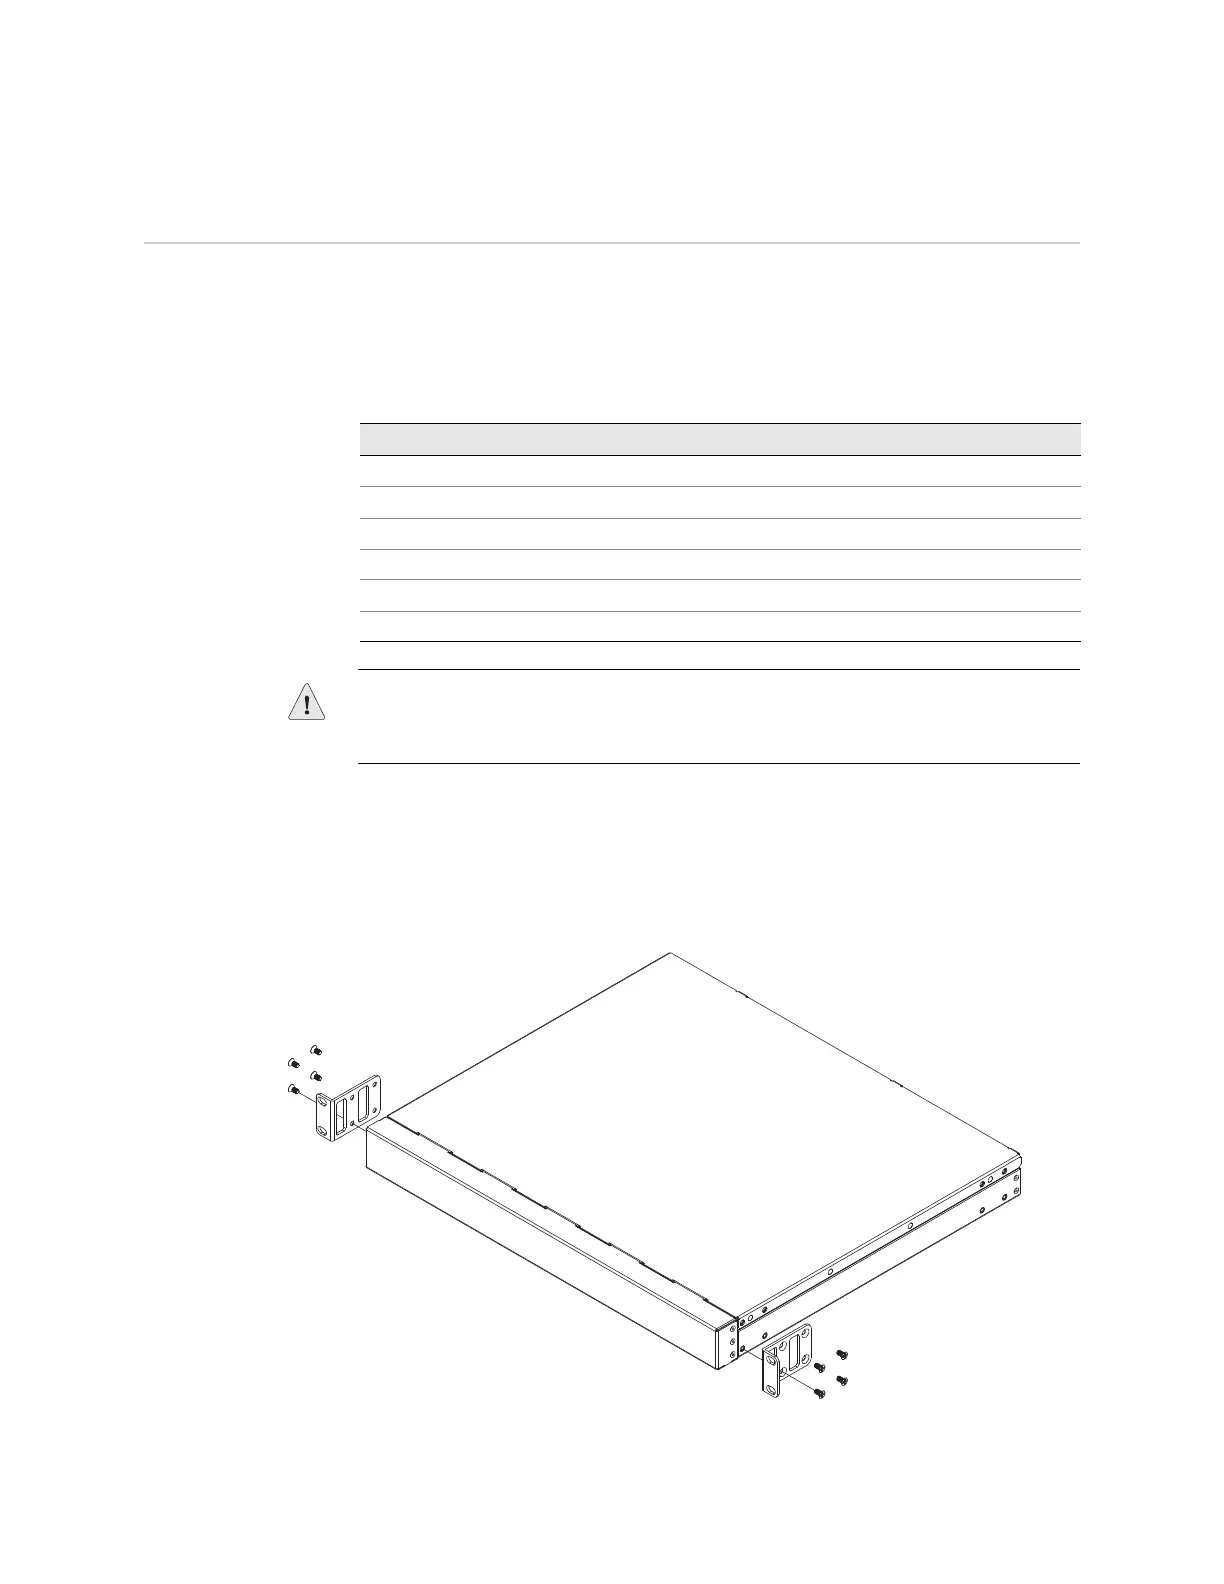
Perform the following steps to mount the EX2500 switch in a 2-post rack:
1. Use the M4 screws to attach a mounting bracket to each side of the switch, as
shown in Figure 4. Torque the screws to approximately 30 inch-pounds
(3.4 Nm).
Figure 4: Attaching the Mounting Brackets
Table 16: 2-Post Rack Mount Kit
Description Quantity
Brackets 2
M4 screws 8
M6 screws 4
M6 locking washers 4
M6 clip nuts 4
M6 cage nuts 4
CAUTION: Do not stack other devices on top of the switch unit in the rack. The
mounting brackets cannot support multiple devices. Use mounting brackets to
secure each device to the rack.