3. Attach an ESD grounding strap to your bare wrist and connect the strap to one of the ESD points on
the chassis. For more information about ESD, see Preventing Electrostatic Discharge Damage to the
SRX3600 Services Gateway.
4. Remove the clear plastic cover protecting the terminal studs on the faceplate.
5. Remove the screws and washers from the terminals. Use a number-2 Phillips screwdriver to loosen
and remove the screws.
6. Remove the cable lugs from the terminals.
7. Carefully move the power cables out of the way.
8. Push the tab on the right edge of the power supply to the left.
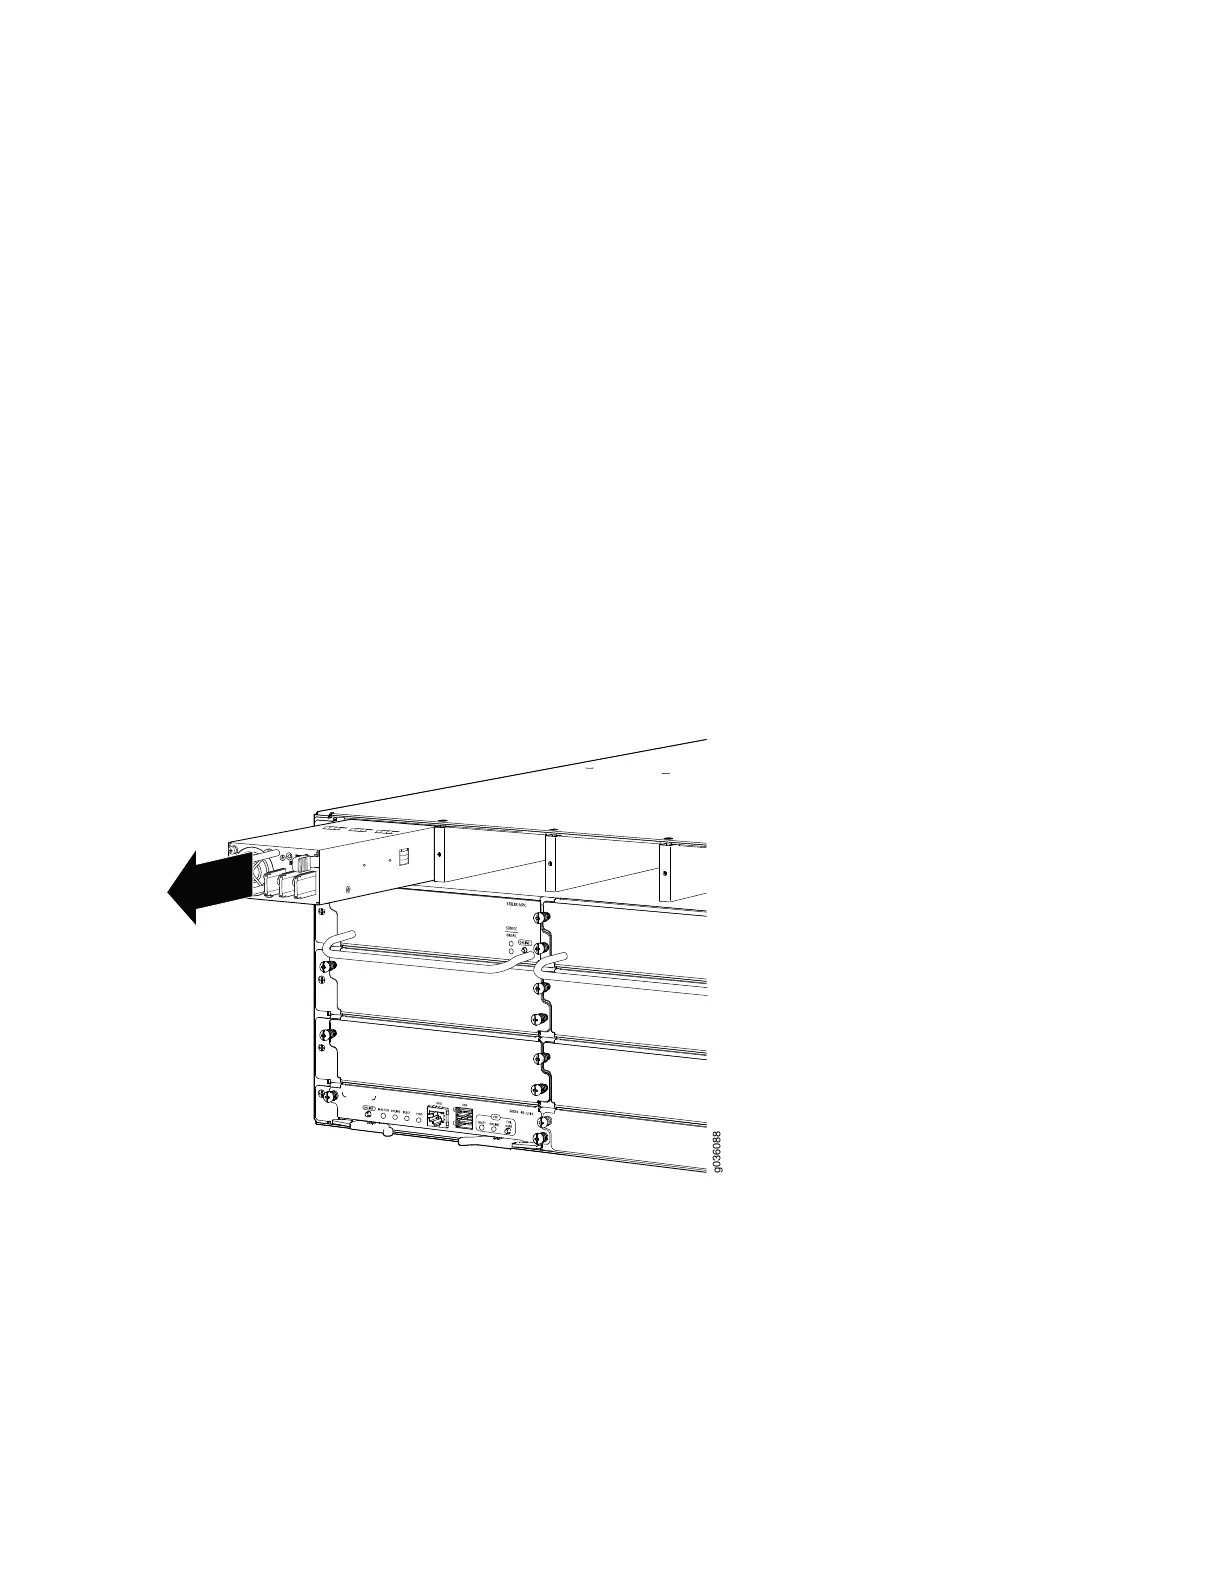
9. Pull the power supply straight out of the chassis.
Figure 83: Removing a DC Power Supply
10. Orient the replacement power supply so that the tab is on the right side, as shown in
Figure 84 on page 236.
235