41
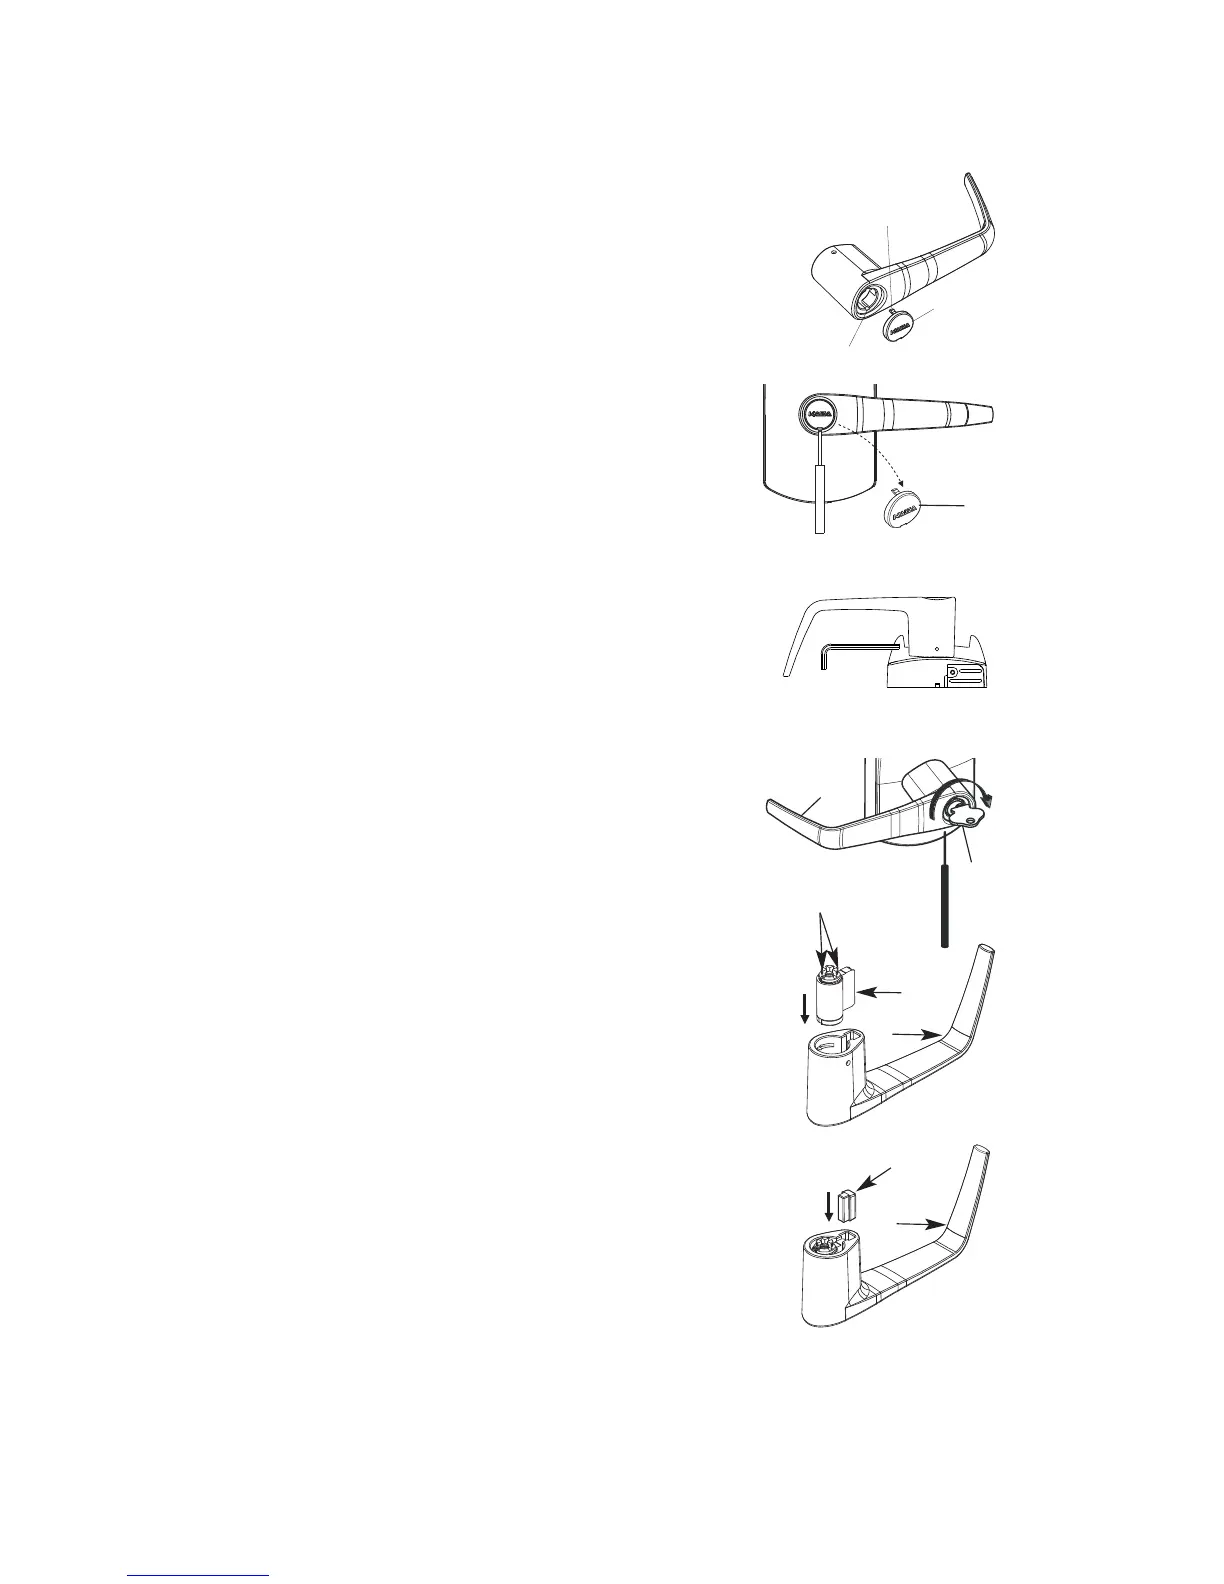
H-4 Install cap (i) to cover key hole. The cap has a small
groove on one edge (to allow ease of removal). This
should be facing down. Insert bottom snap of cap in
lever hole below the cylinder. With a small screw-
driver, push top snap of cap down while pushing the
cap into place.
H-5 To remove the cap (i), insert a small flat screwdriver
into this groove and gently pry the cap off,
being careful not to damage it. Cover the
bottom of the lever to protect the finish
from being scratched through the process of
removing the cap.
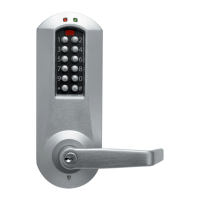
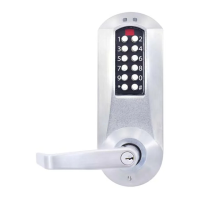
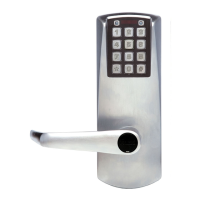
I. CHANGING KEY-IN-LEVER LOCK CYLINDERS
I-1 Loosen the set screw to free the lever (just
1/4 to 1/2 turn).
I-2 Remove the cap from the outside lever (h).
I-3 Insert key (n).
I-4 Turn the key clockwise until it stops.
I-5 Release key (n).
I-6 Use a small flat screwdriver to push in
the lever catch through the small hole
underneath the outside lever
I-7 Pull the outside lever (h) off of the lock housing.
Be careful not to lose the cylinder plug (k).
If it is difficult to pull the lever, slightly tighten
or loosen the set screw
I-8 Replace the old cylinder with the new one in the
lever handle. Only the same kind of cylinder with
2 grooves in cross in the end of the cylinder plug
can be used on the lock.
I-9 Re-insert the cylinder plug (k).
I-10 While holding the cylinder (j) and plug (k) in place,
insert the key.
I-11 Follow steps F-10 to F-14 and Test as per steps
G and H.
2 Grooves
in cross
j
k
h
h
h
Hole below cylinder
Bottom snap
i (First)
Top snap
(Second)
n
i