53
Adjustments & Settings
Settings Menu
▋ Selecting and adjusting the desired setting
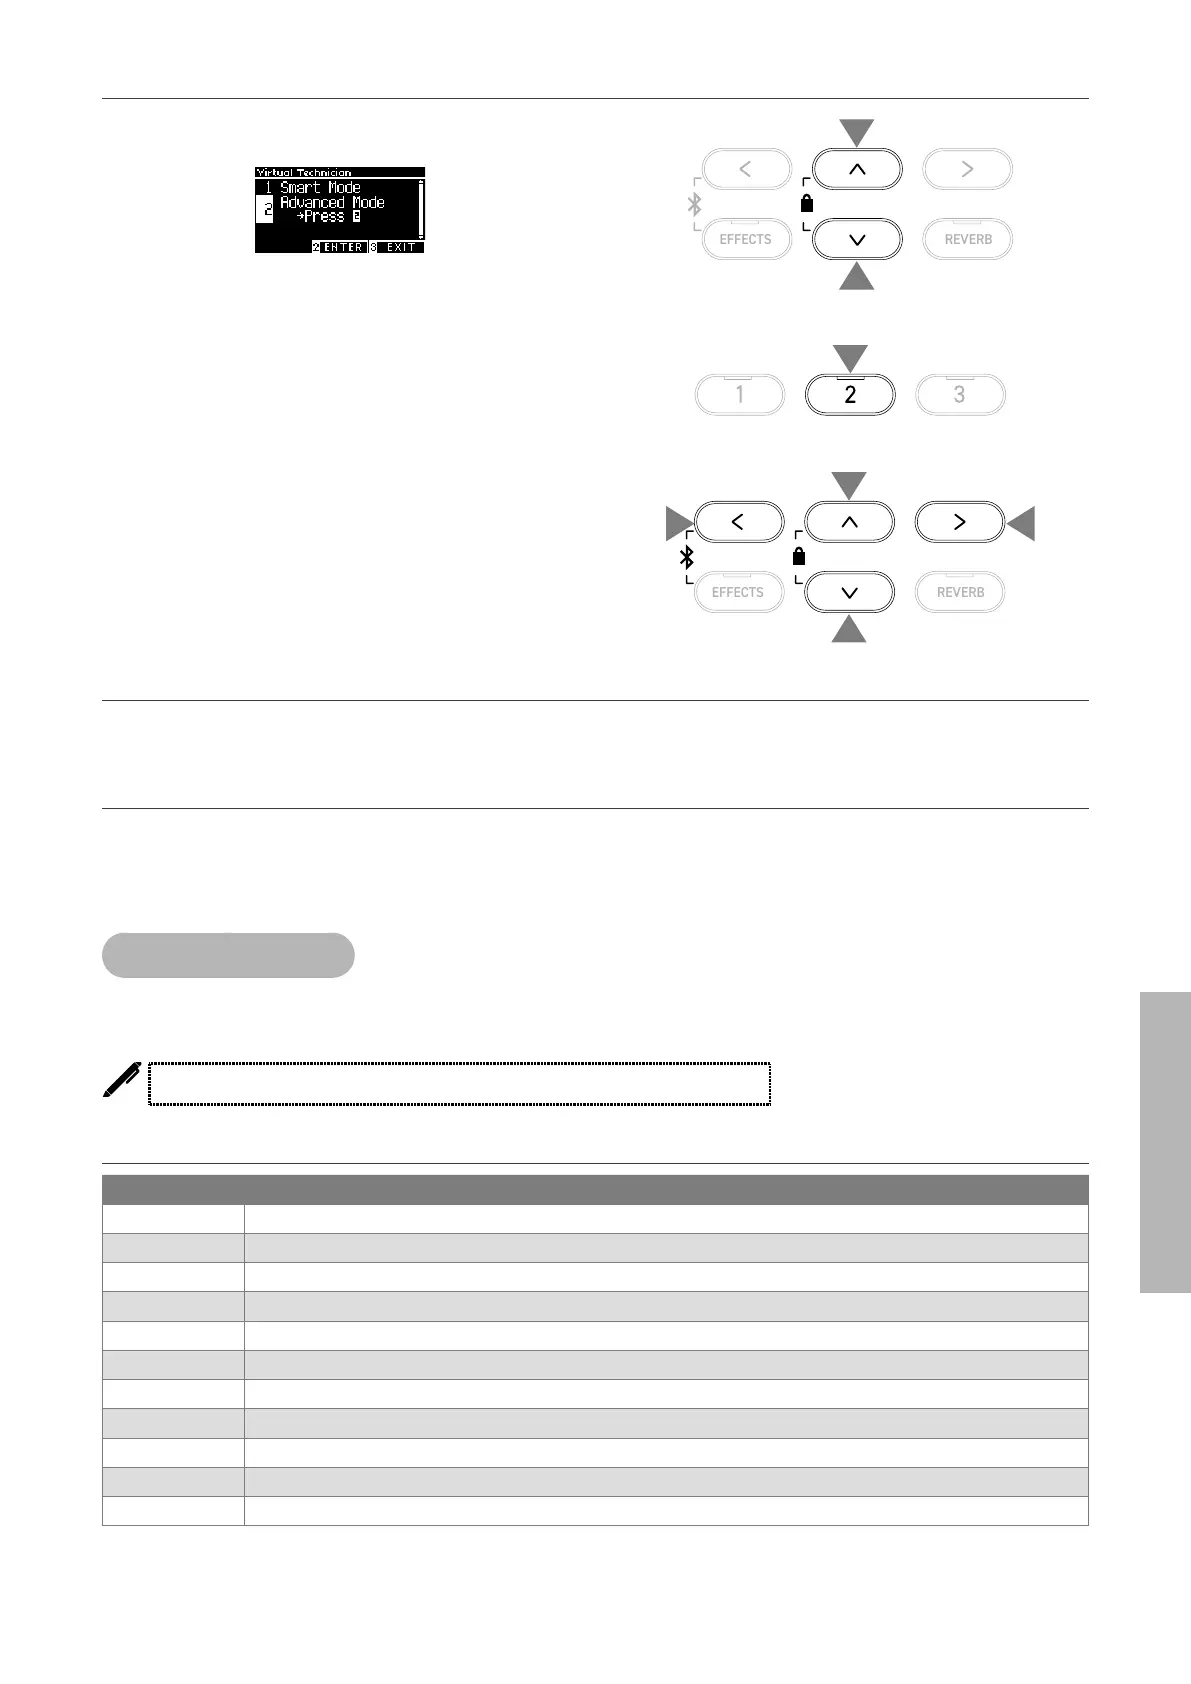
1. On the Virtual Technician screen, press the [UP]/[DOWN] but-
ton to select “Advanced Mode”.
2. Press the [2] button.
3. Press the [UP]/[DOWN] button to select the settings menu.
4. Press the [LEFT]/[RIGHT] button to set the value or type.
• Pressing the [LEFT]/[RIGHT] buttons simultaneously will re-
store the default setting.
▋ Showing the Advanced Mode Help screen
In Advanced Mode, press the [1] button to display descriptions of each setting.
▋ Saving Advanced Mode
In Advanced Mode, press the [2] button to save types and values of Advanced Mode settings to the sound.
The saved settings will be reapplied to the sound even after restarting the instrument.
1 Touch Curve
The Touch Curve function allows players to change the relationship between the volume and the strength
of keystrokes.
The display shows “Touch”.
Touch Curve types
Touch Curve Description
Heavy 4 Produces a more softer sound consistently.
Heavy 3 Produces a softer sound consistently.
Heavy 2 Suitable for dynamic performances with accents.
Heavy 1 This curve makes it easier to produce soft sounds of a light hit and bright sounds of a strong hit.
Normal Reproduces the standard touch sensitivity of an acoustic piano.
Light 1 Produces a lounger volume even with a soft touch.
Light 2 Produces a more lounger volume even with a soft touch.
Light 3 Produces stable sounds even if playing with a weak touch.
Light 4 This touch curve is suitable for small children and organ players.
O Produces the sound at a constant volume regardless of the strength of keystrokes.
User A touch curve will be automatically created according to the force of the user’s ngers playing the keyboard.
1
1
2
3
3
4
4
 Loading...