Product Manuals/Man-1096M_SyncroAS Marine 16 Page 12 of 38
8.2 Configuring the Panel (Autolearn)
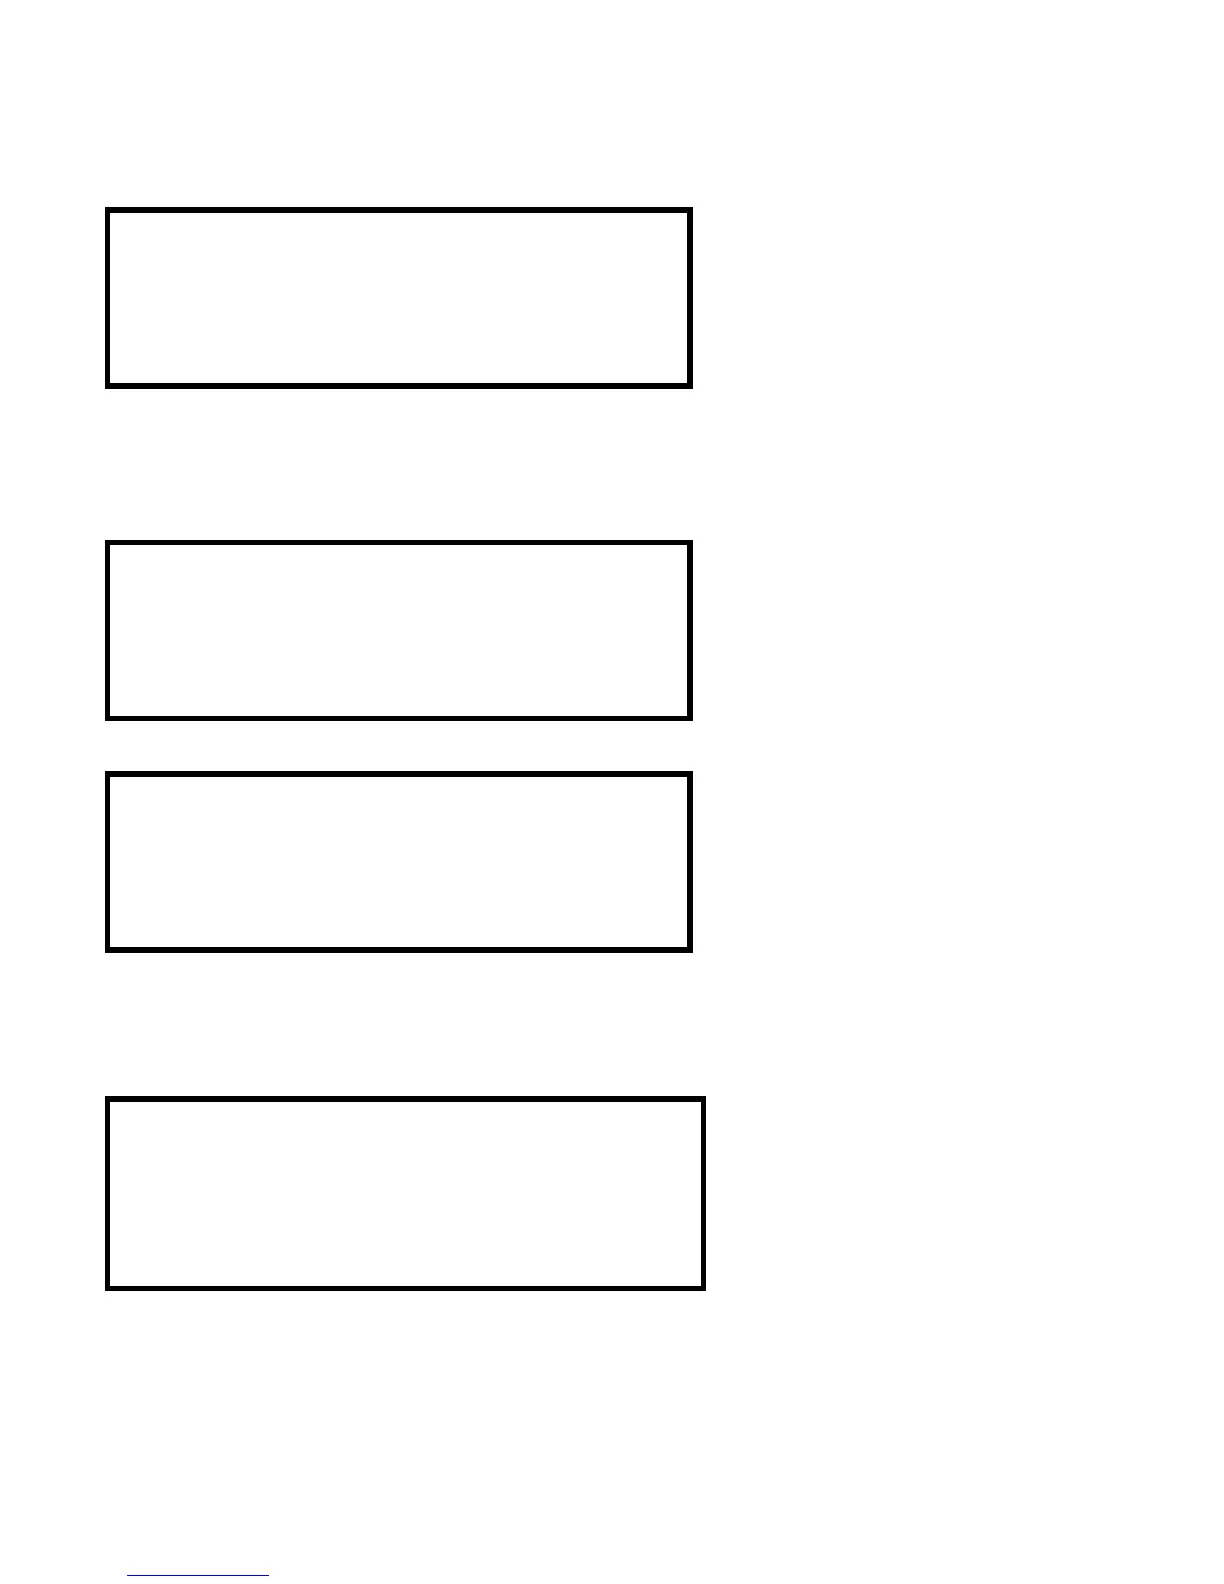
When supplied, the panel will contain no configuration and when power is first applied the display will show:
CAREFULLY slide the write enable slide switch (located behind the aperture in the bottom right corner of the plate) to the left
position using a small screwdriver, or similar tool. Then press the internal Reset switch that can be seen through the hole in the
plate with a small terminal screwdriver or similar tool.
The display will then show:
Followed by
Initialisation can take a few minutes to complete and the larger the number of devices on a loop the longer it takes.
Panels fitted with Hochiki protocol will take significantly longer to initialise than those fitted with Apollo or Argus Vega protocol.
At the end of the initialisation process, if there are no faults, and after the write enable switch has been CAREFULLY switched to the
right position (using a small screwdriver or similar tool) the “normal” display will be shown as below.
On a system, which has been Auto learned, inputs, outputs and field devices will be configured to the EN54-2 default settings. Some
of these defaults may be altered at access level 3 on the control panel. All can be altered via the Loop Explorer configuration
programme.
***WARNING***
WRITE ENABLE SWITCH IS OFF
THE SYSTEM IS HALTED
SET WRITE ENABLE AND RESET THE SYSTEM