Product Manuals/Man-1096M_SyncroAS Marine 16 Page 7 of 38
4. Installation
Installation of the panel should be carried out by qualified personnel only. The electronic components within the panel are vulnerable
to physical damage and damage by electrostatic discharges.
It is advisable to wear a wrist strap designed to prevent the build-up of static charges within the body, before handling
any electronic circuit boards.
Never insert or remove boards or components with the power on.
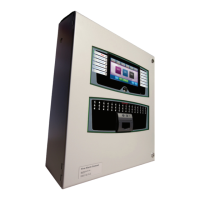
Mounting the Cabinet
The site chosen for the location of the panel should be clean and dry and not subject to shock or vibration. The temperature should
be in the range -5° to +35° C, the humidity should not exceed 95%.
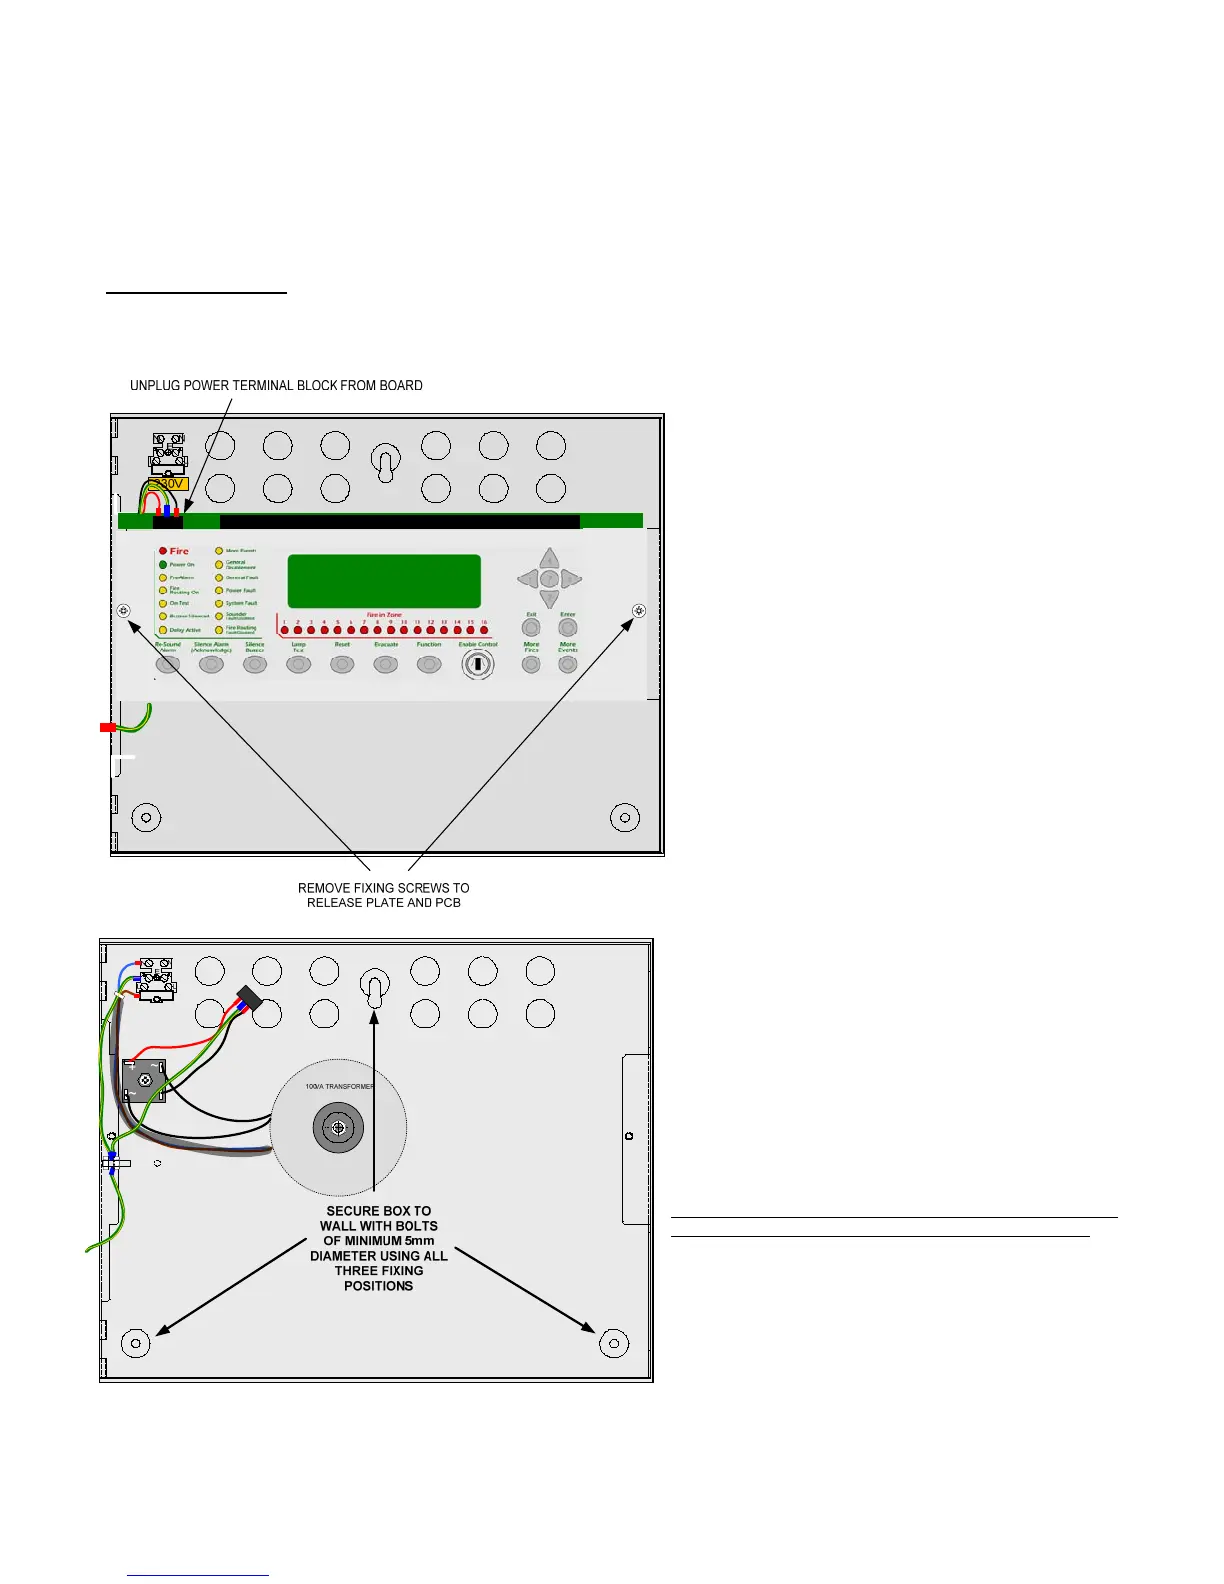
Open the outer cover using the key provided. Unplug the
power terminal block from the left hand side of the
circuit board, remove the two screws holding the plate in
position and then remove the complete circuit board and
plate.
Hold the assembly by gripping the metal plate only and
try to avoid touching the circuit board.
Place the plate/circuit board assembly and fixing screws
in a safe location to prevent accidental damage.
The outer cover can be removed to make fitting more
manageable by removing the two pins holding it in
position on the left hand side.
Remove knockouts from the top and or back of the box in
the positions at which cables will enter.
Using the box as a template, mark the position of the top
fixing hole, ensuring that the wall is flat at the chosen
location. The top fixing is a keyhole slot and fitting a
screw here and hanging the box first will assist in marking
the remaining fixing points.
Screws or bolts of a minimum of 5mm diameter and
40mm long must be used to mount the enclosure in all
three mounting positions.
After the box is firmly fixed, remove any knockout blanks
and dust or swarf caused by drilling and fixing the box.