3 Front-Panel Menu Operation
48 Keysight 33210A Service Guide
To Configure the Remote Interface
The Keysight 33210A supports remote interface communication using a choice of
three interfaces: GPIB, USB, and LAN (LXI Class C compliant). All three interfaces
are "live" at power up. The following sections tell how to configure the remote
interface from the instrument front panel.
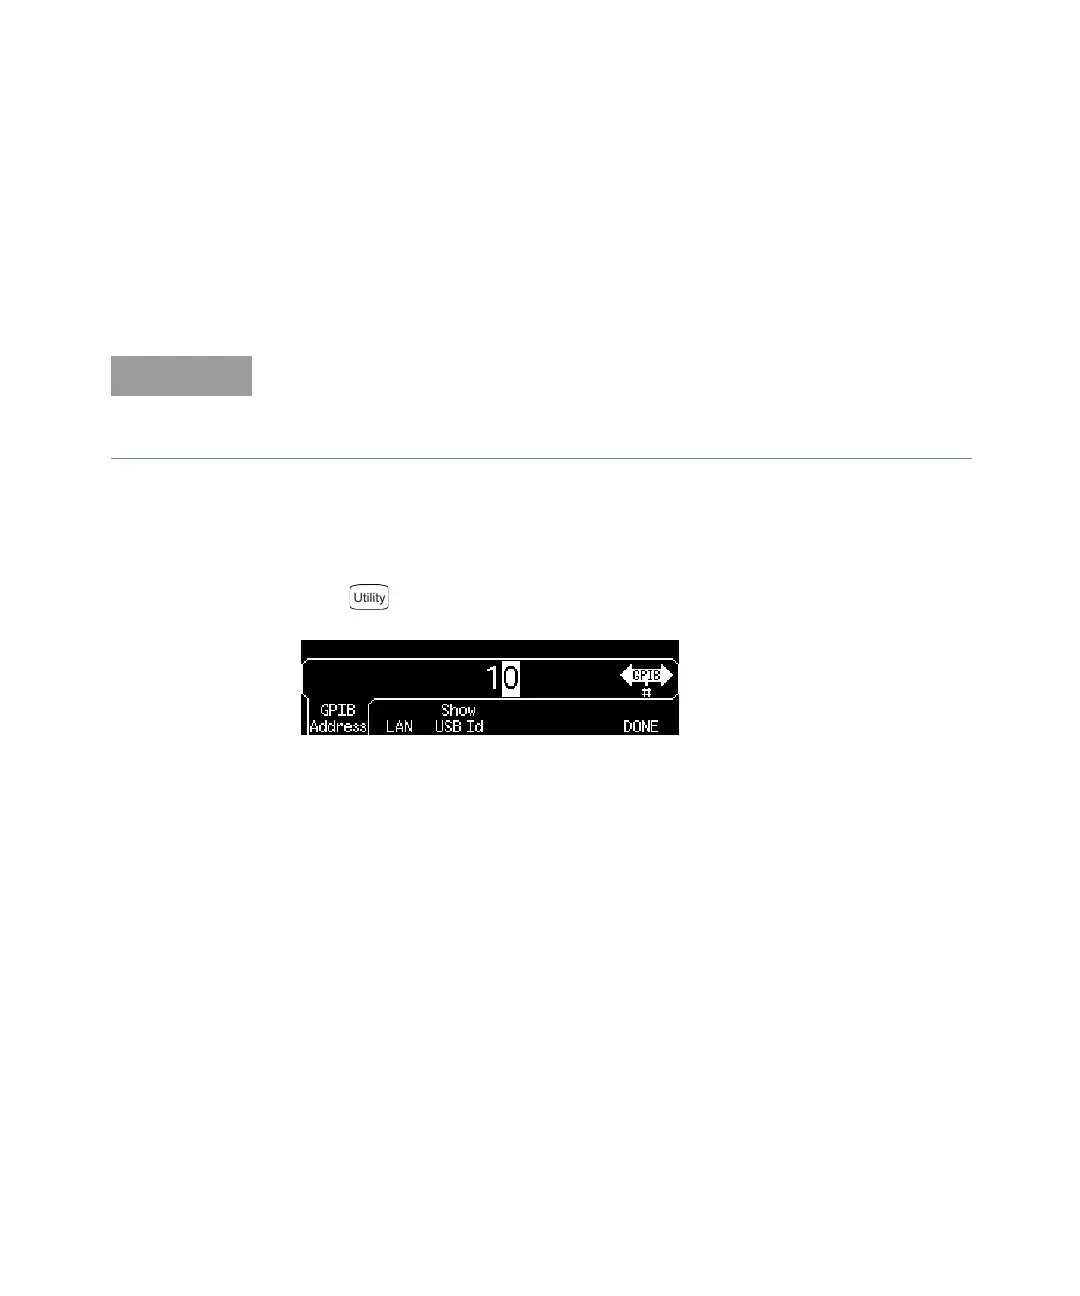
GPIB Configuration
1 Select the “I/O” menu.
Press
and then press the
I/O
softkey.
2 Set the GPIB address.
Use the knob and cursor keys or the numeric keypad to select a GPIB address
in the range 0 through 30 (the factory default is “10”).
The GPIB address is shown on the front-panel display at power-on.
3Exit the menu.
Press the DONE softkey.
USB Configuration
The USB interface requires no front panel configuration parameters. Just connect
the Keysight 33210A to your PC with the appropriate USB cable. The interface will
self configure. Press the Show USB Id softkey in the “I/O menu” to see the USB
interface identification string. Both USB 1.1 and USB 2.0 are supported.
Two CDs, provided with your instrument, contain connectivity software to enable
communications over the remote interfaces. See “Connectivity Software and
Product CDs” in the Keysight 33210A User’s Guide for further information on
these CDs and the software they contain.