64 Controls and Indicators
press “OFF” to deactivate the corresponding function (rectangle turns from green to blue)
press “RESET” to have the software control the status of the corresponding function
NOTE: To cancel changes made in this page and restore the default values, all you have to do is cut
power to the multiplexed system by turning the ignition key off.
NOTE: To go from a module to another (e.g. from module 10 to 20), the operator has to go back to the
Module I/O Status page (see Figure 3-8) and select module 20.
Press “Esc” to return to the preceding page.
Joystick
The Joystick page is accessible from the Module I/O Status page (see Figure 3-8). From that page
select “Joystick” using up/down arrows and press “OK”. The Joystick page opens (see Figure 3-15).
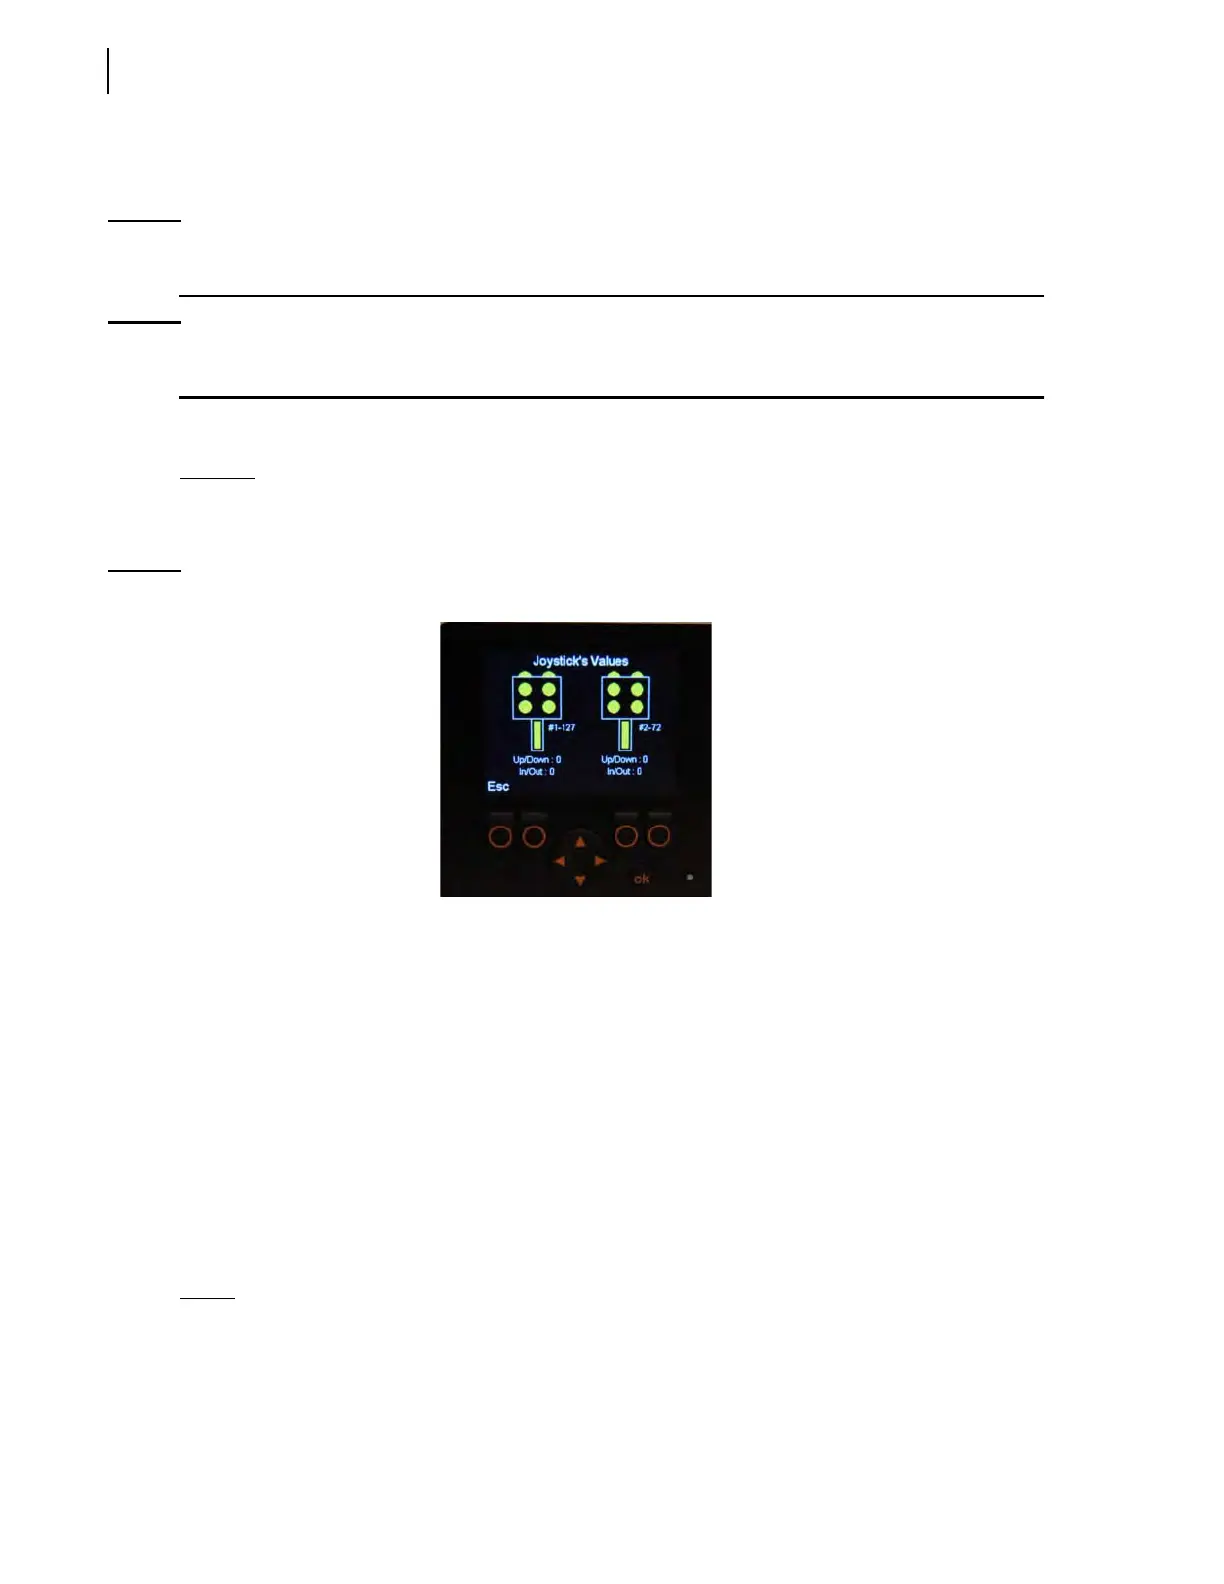
Figure 3-15
Joystick page
The Joystick page allows the operator to check if all functions of the joystick are working correctly. If
one joystick is installed on your vehicle, it will be represented on the monitor screen by joystick 127.
However, if two joysticks are installed on your vehicle, any of the two joystick numbers (127 and 72)
can represent either joystick on the screen.
If you press a joystick button, the corresponding button on the monitor will turn green. If nothing
happens, there may be a communication problem between the joystick and the master control
module. Refer to the maintenance personnel or LabriePlus.
Also, if you move the joystick backwards, forwards or sideways, you should see the values under the
illustration changing. If no change occurs when moving the joystick, a communication problem
between the joystick and the master control module may be the cause. Refer to the maintenance
personnel or LabriePlus.
Press “Esc” to return to the preceding page.
J1939
The J1939 page is useful when you need some specific information (e.g. current gear, road speed,
brake status).