LTI TruPulse 360R User’s Manual Page 32
Copyright (c) [2017] Laser Technology, Inc. All Rights Reserved. Unauthorized duplication, in whole or in part, is strictly prohibited.
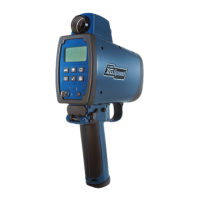
1. Holding the TruPulse 360R and facing close to magnetic North (±15 degrees towards North).
The lenses should be facing as shown in Figure #19-1. Press
to store the first calibration point.
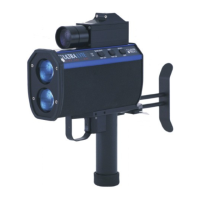
2. Rotate the TruPulse 360R 90 degrees, the lenses should be facing down as shown in
Figure #19-2. Press
to store the second calibration point.
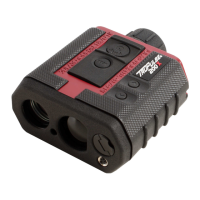
3. Rotate the TruPulse 360R 90 degrees, the lenses should be facing back as shown in
Figure #19-3. Press
to store the third calibration point.
4. Rotate the TruPulse 360R 90 degrees, the lenses should be facing up as shown in
Figure #19-4. Press
to store the fourth calibration point.
5. Rotate the TruPulse 360R 90 degrees along the optical axis, the lenses should be rotated, facing
forward and the serial port pointing up as shown in Figure #19-5. Press
to store the fifth
calibration point.
6. Rotate the TruPulse 360R 90 degrees, the lenses should be facing down as shown in
Figure #19-6. Press
to store the sixth calibration point.
7. Rotate the TruPulse 360R 90 degrees, the lenses should be facing back as shown in
Figure #19-7. Press
to store the seventh calibration point.
8. Rotate the TruPulse 360R 90 degrees, the lenses should be facing up as shown in
Figure #19-8. Press
to store the eighth calibration point.
9. Look through the eyepiece, either a pass or fail message appears in the Main Display.
PASS: Press the
to return to the Measurement Mode.
FAiL1: Excessive motion during calibration. Unit was not held steady.
FAiL2: Magnetic saturation error. Local magnetic field too strong.
FAiL3: Mathematical fit error.
FAiL4: Calibration convergence error.
FAiL6: Orientations were wrong during the calibration.
If a "FAiL" message appears, press
.
The message “no””CAL” will be displayed
allowing you to do a new calibration. See step # 5 page 30. If the calibration fails, the
previous calibration is restored.
 Loading...