PLMNL0199 REV. J Effective Date: 08/05/21 25 FiberCUT
®
ST Operation Manual
See Figure 25 for steps 5 and 6.
5. Unthread the shroud (turn it
counterclockwise) to remove it
from the FiberCUT
®
head.
6. Install the centering tool by
rotating it onto the FiberCUT
®
head in the location where the
shroud was.
O-rings in the beam-centering
camera help keep it in place.
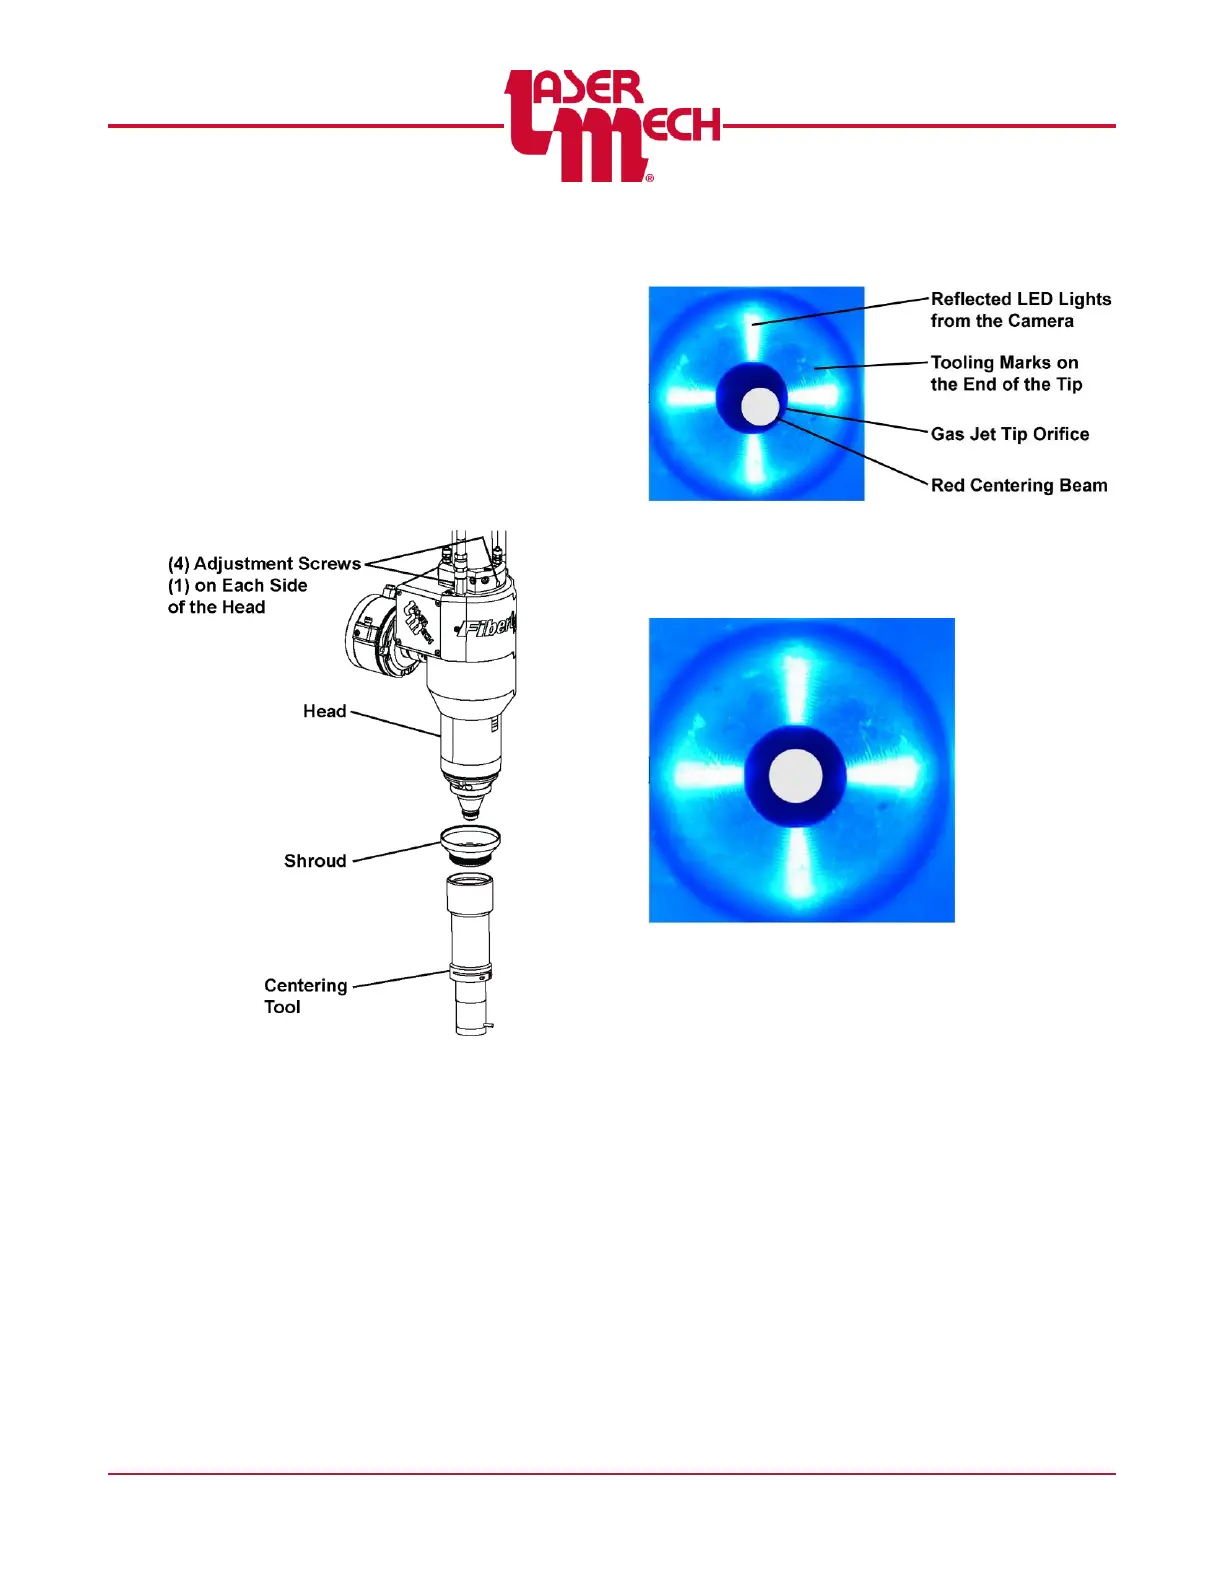
Figure 25
An image similar to Figure 26 will appear.
The beam is NOT centered in the tip orifice.
Further adjustment is necessary. See step 7.
The beam is centered in the tip orifice.
No further adjustment is necessary.
Figure 26