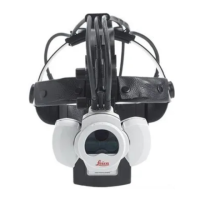
Preparation Before Surgery
26
Leica HM500/Ref. 10 715 697/Version B
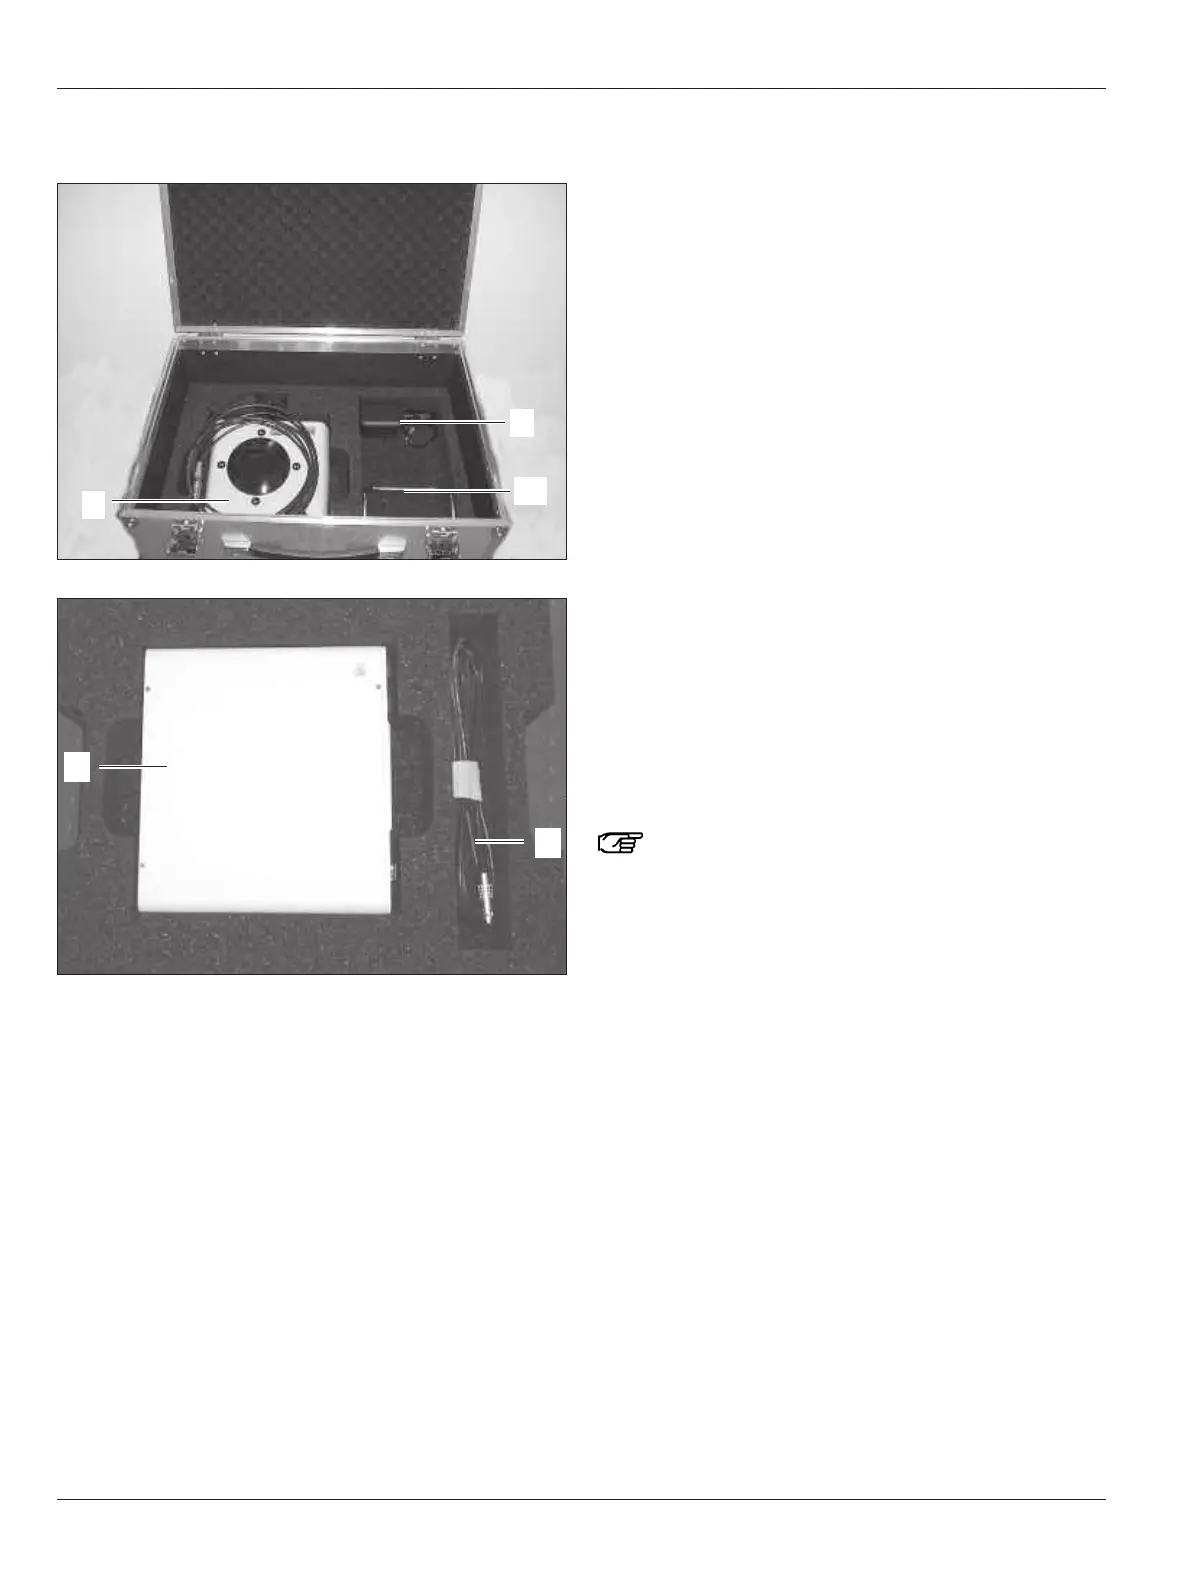
Contents of the Leica HM500 Dental footswitch and Dental
databox flight case
11 Leica HM500 Dental databox
12 Leica HM500 Dental footswitch
90 Power pack for footswitch
98 Dental databox – Leica HM500 microscope data cable
109Bracket, removable, screw-on (in flight case lid when not
installed)
Unpacking/packing the HM500
footswitch or databox/HM500 Dental
footswitch
Taking the HM500 footswitch or databox/HM500 Dental
f
ootswitch out of the flight case
➩Take out the HM500 footswitch or databox/HM500 Dental
footswitch.
➩Take out the accessories (data cable, power pack with power
cable, etc.).
➩Take the HM500 footswitch or databox/HM500 Dental
footswitch out of its plastic bag and get it ready for use as
described in this user manual.
Packing the HM500 footswitch or databox/HM500 Dental
footswitch in the flight case
➩Check whether the HM500 footswitch or databox/HM500
Dental footswitch is switched off and all cables discon-
nected.
➩Unscrew the bracket (109) of the HM500 Dental footswitch
and stow it in the flight case.
➩Put the HM500 footswitch or databox/HM500 Dental
footswitch correctly in the supplied plastic bag and place it in
the recess provided.
➩Fold up the power pack (90) (depending on the version), coil
the cable and place correctly in the corresponding recess.
➩Coil the data cable (98) so that it is as long as possible when
coiled and place correctly in the corresponding recess.
Ensure that the data cable does not get creased.
➩Carefully close the lid of the flight case.