Repair information 4-41
4512-420, -430
Reversing solenoid removal
1.
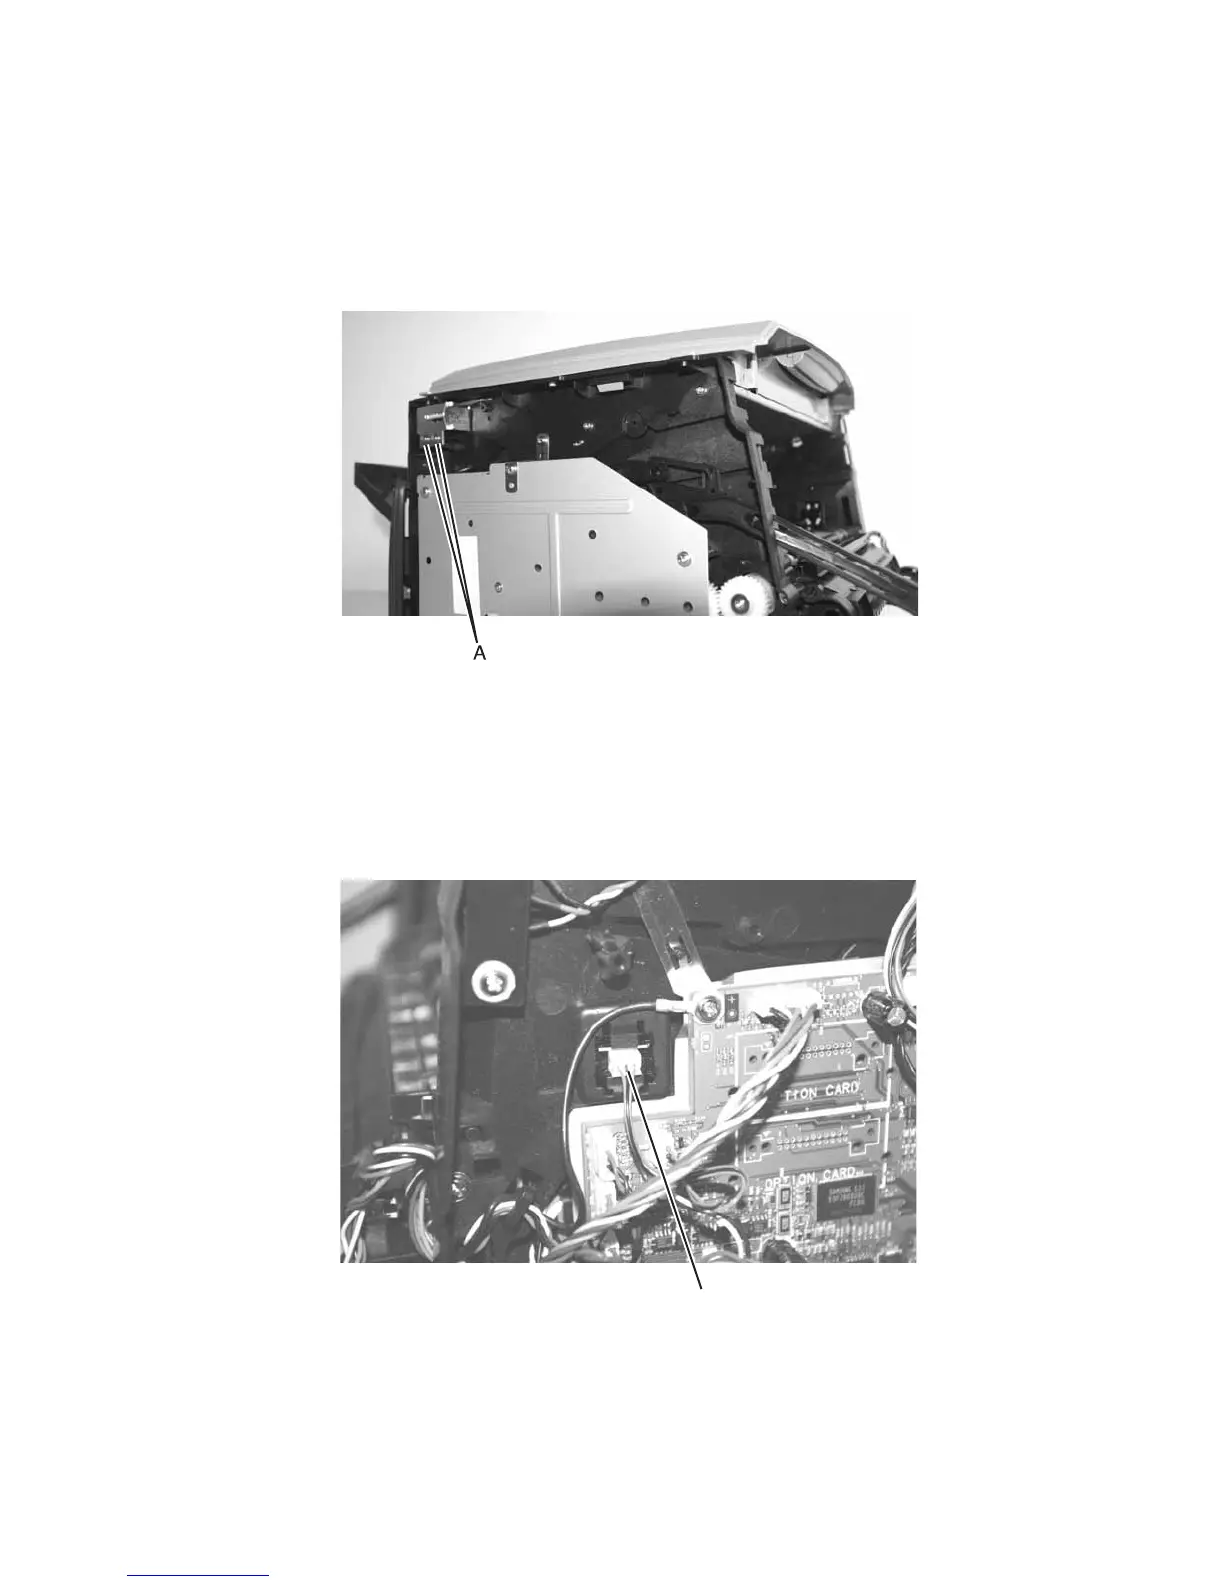
Remove the top cover. See “Top cover removal” on page 4-7.
2. Remove the controller card shield. (Loosen the four screws, and slide.) See “Right side cover removal”
on page 4-5.
3. Disconnect the cable from J9 (DP REV SOL) on the controller card.
4. Remove the two screws (A).
5. Remove the reversing solenoid.
Toner level sensor removal
1.
Remove Tray 1.
2. Open the front access cover.
3. Open the right side cover.
4. Unplug the toner level sensor cable.
5. Unsnap the toner level sensor (A) from the frame, and remove it through the inside of the printer.
A