4-10 Lexmark™ E350d, E352dn
4512-420, -430
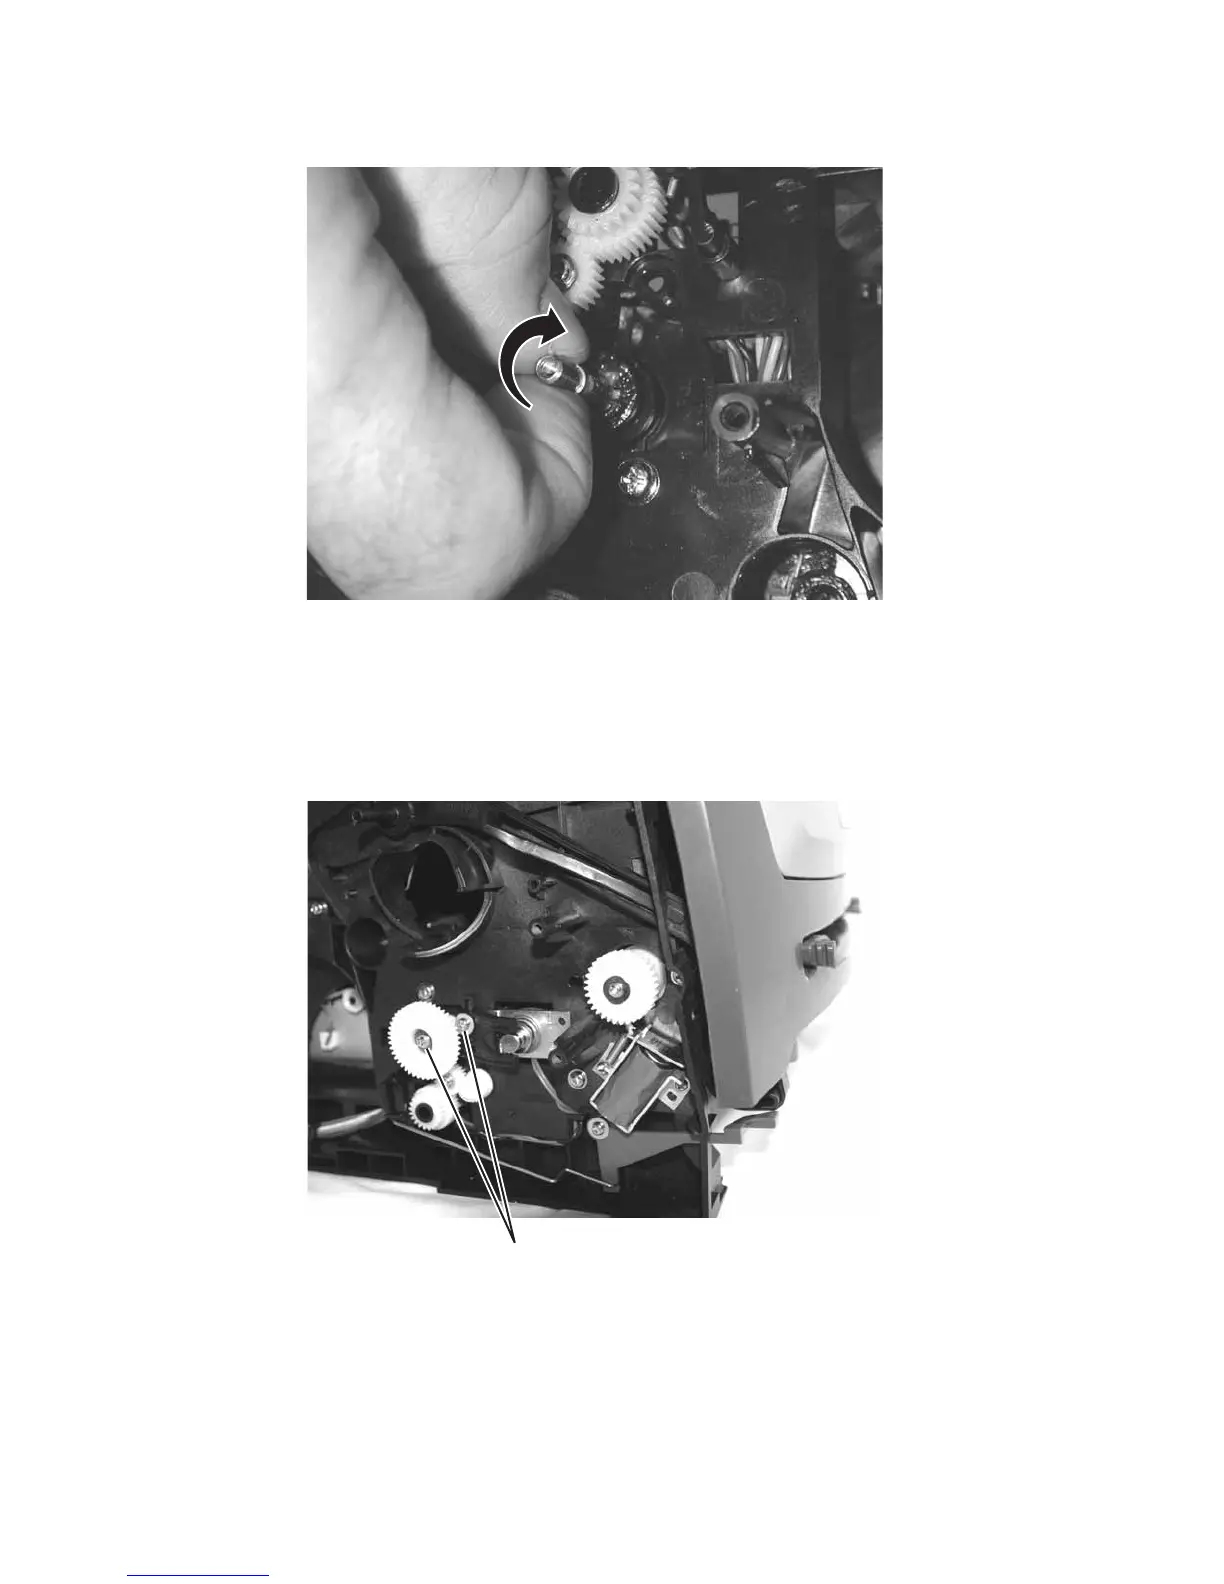
6. Rotate the arm, and pull to remove the auto comp.
Auto comp clutch removal
1.
Remove the left side cover. See “Left side cover removal” on page 4-4.
2. Remove the main motor drive. See “Main motor drive removal” on page 4-28.
3. Remove the screws (A).
Note: Resistance to loosening the screw may have to be applied to the shaft. Use a finger or small screwdriver
against the coupler behind the clutch.
4. Remove the auto comp clutch.