4-14 Lexmark™ E350d, E352dn
4512-420, -430
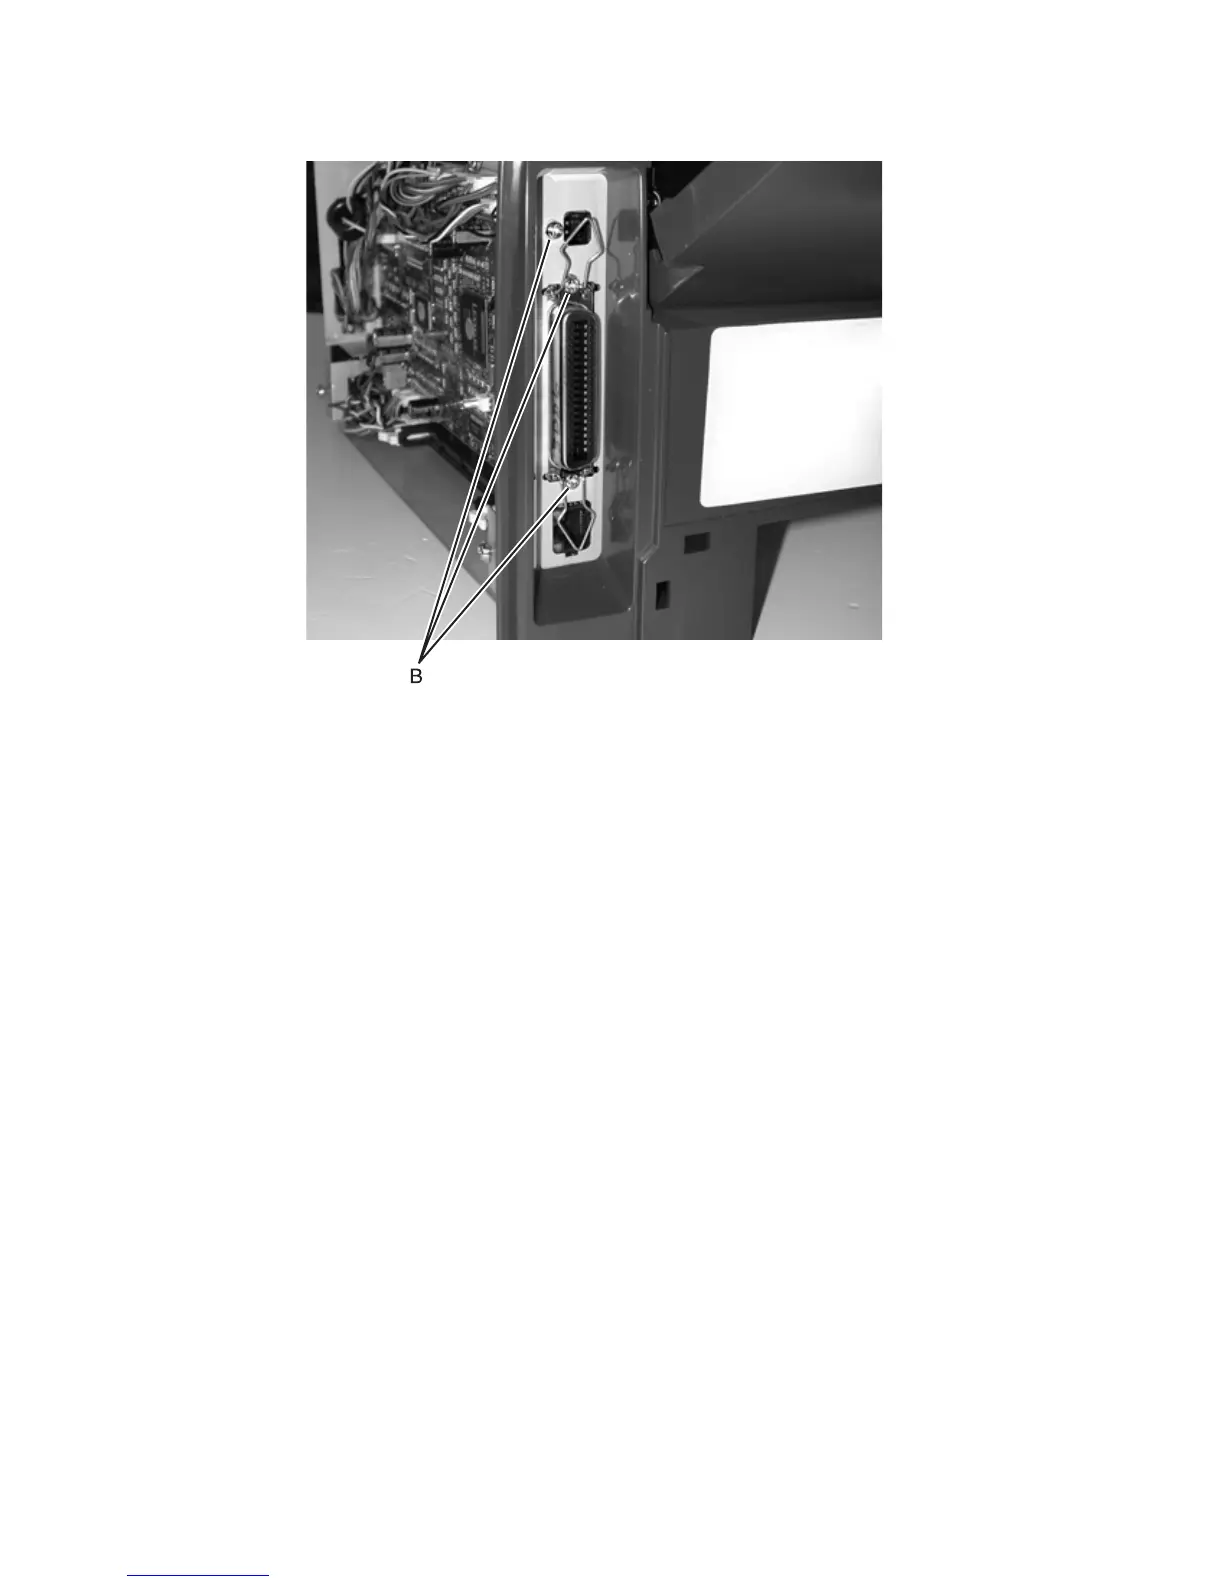
5. Remove the three screws (B) securing the USB port and the parallel ports.
6. Lift and remove the card.
Re-installation note: When replacing the controller card, make sure to route all of the cables through the
correct shield opening. Make sure that the ground wire that is being held by the front, upper screw is in the
correct location before installing.