LightLas 532 – Operator's Manual Rev. No 01 Page 61 of 115
5.4.1A Integrated Slitlamp Delivery Unit (System Parts) continue…
Prior to continue the Integrated Slitlamp delivery unit parts system installation,
ensure the slitlamp integrated main body housing and table top are corrected setup
and equipment are in place.
System Part(s):
SD Housing
Zoom Piece
Procedures:
10. Ensure the locking screw is loosen prior to slide in the Slitlamp delivery unit (refer
to fig. 5.9)
11. Slide the SD magnifier pc into the mounting plate arm and ensure it fully reach to
the end of the stopper (refer to fig. 5.10)
12. Secure the locking screw and lock the housing by tightening the screw (refer to fig.
5.11)
13. Remove the zoom pc from the box and align the keyway against the delivery
housing (refer to fig. 5.12-5.13) and rotate it in
14. Ensure zoom pc is all the way in and the spot size numbering indicator is facing
towards operator’s end
15. Proceed to pre-check / alignment section on page 77-80 upon completion of pre-
installation procedures
Figure 5.9 Slitlamp arm ready for Delivery housing
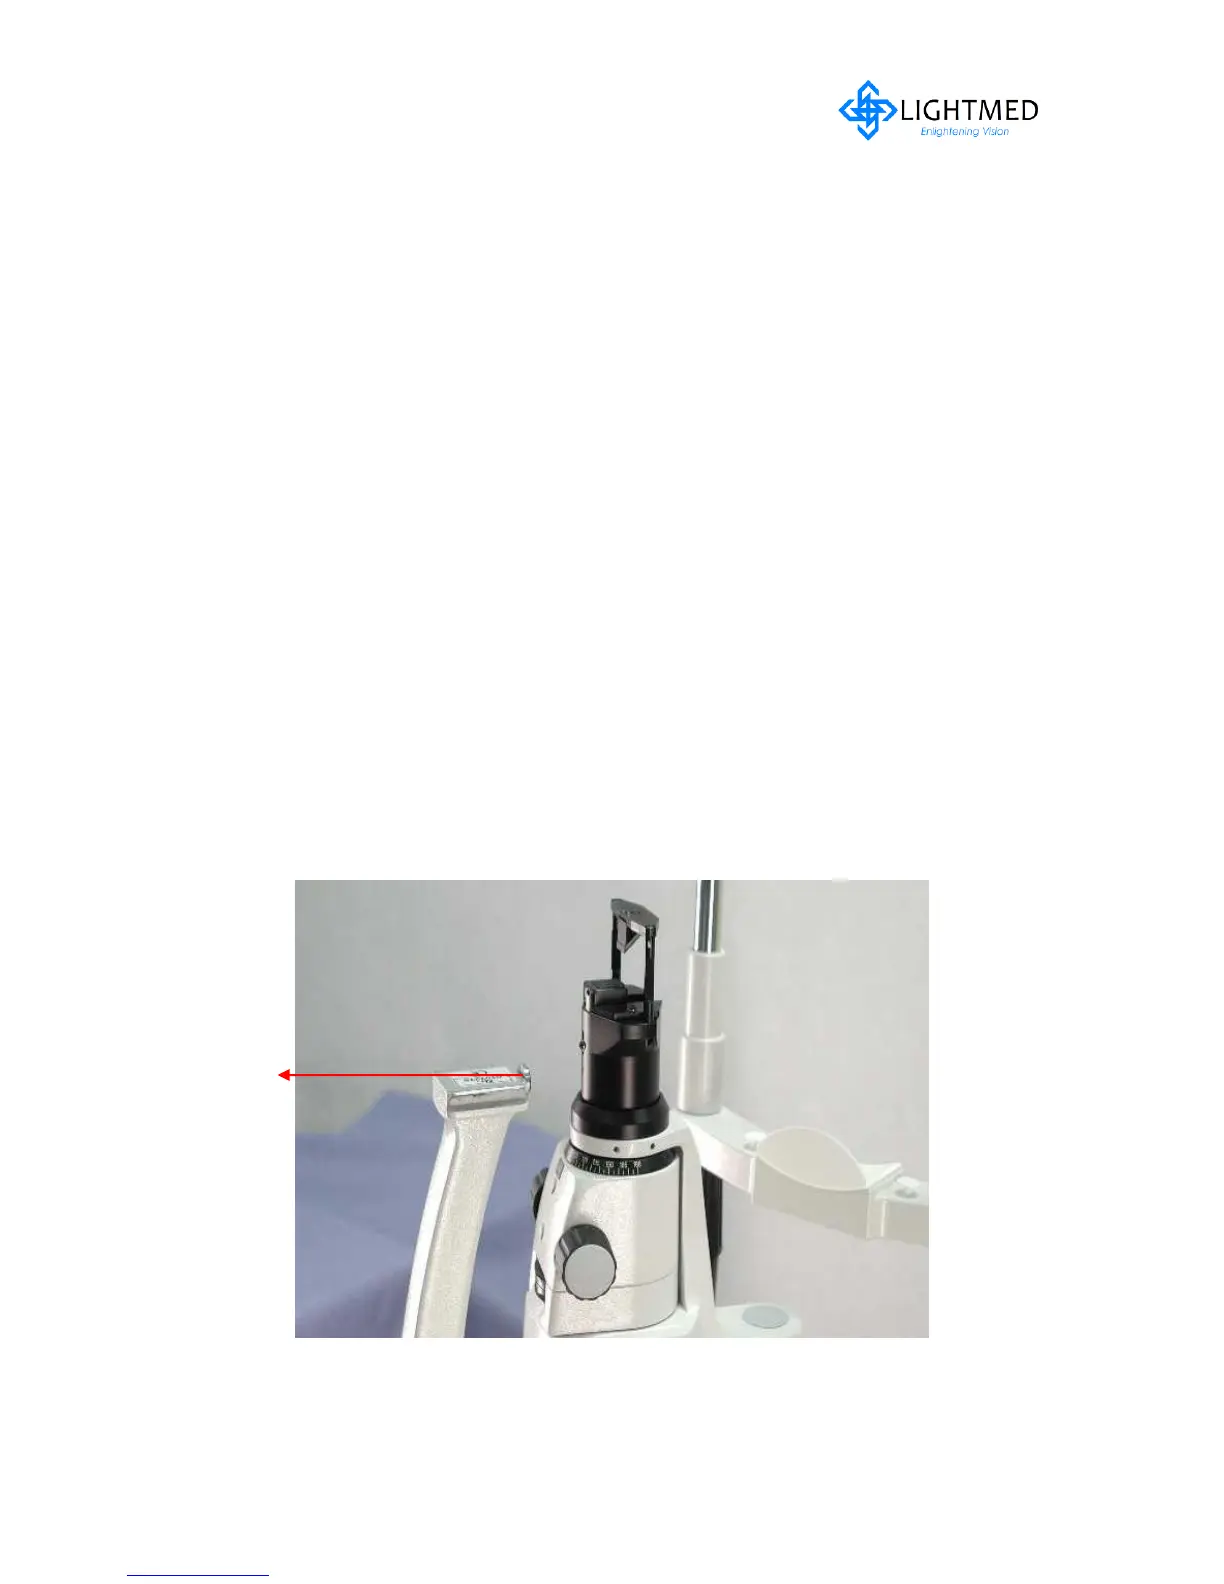 Loading...