LightLas 532 – Operator's Manual Rev. No 01 Page 77 of 115
Final Testing and Verification
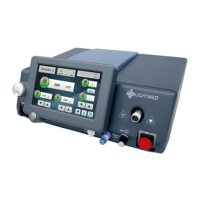
11. Power on the console and ensure its delivery fiber is connected through the fiber
holder (refer to fig. 5.24)
12. Configure the output power to 50mW, duration 0.2s, interval 0.2s, and spot size
50µ
13. Remove the target rod and place a thermal paper or black tape on the chinrest
14. Ensure the appropriate safety filter are attached accordingly (refer to fig. 5.23)
prior to trigger fire the laser shot
15. Fire the shot and verify if the burn pattern is visible if not, increase the power
16. Increase the spot size to 75µ and 100µ to see if the burn pattern is also getting
darker as the spot size increased
17. Verify if everything is consistently and accordingly to the installation, pre-check
and alignment procedures, then the system is now ready to use accordingly.
Note: At the higher power settings it may be possible to see a faint luminescence
glow at the target site when power setting is set at higher range furthermore this
transmission is under the Class I laser limitation.