CHAPTER 7 BRAKES ATV SERVICE MANUAL 09.0
CHAPTER 7 BRAKES PAGE. 7-
9
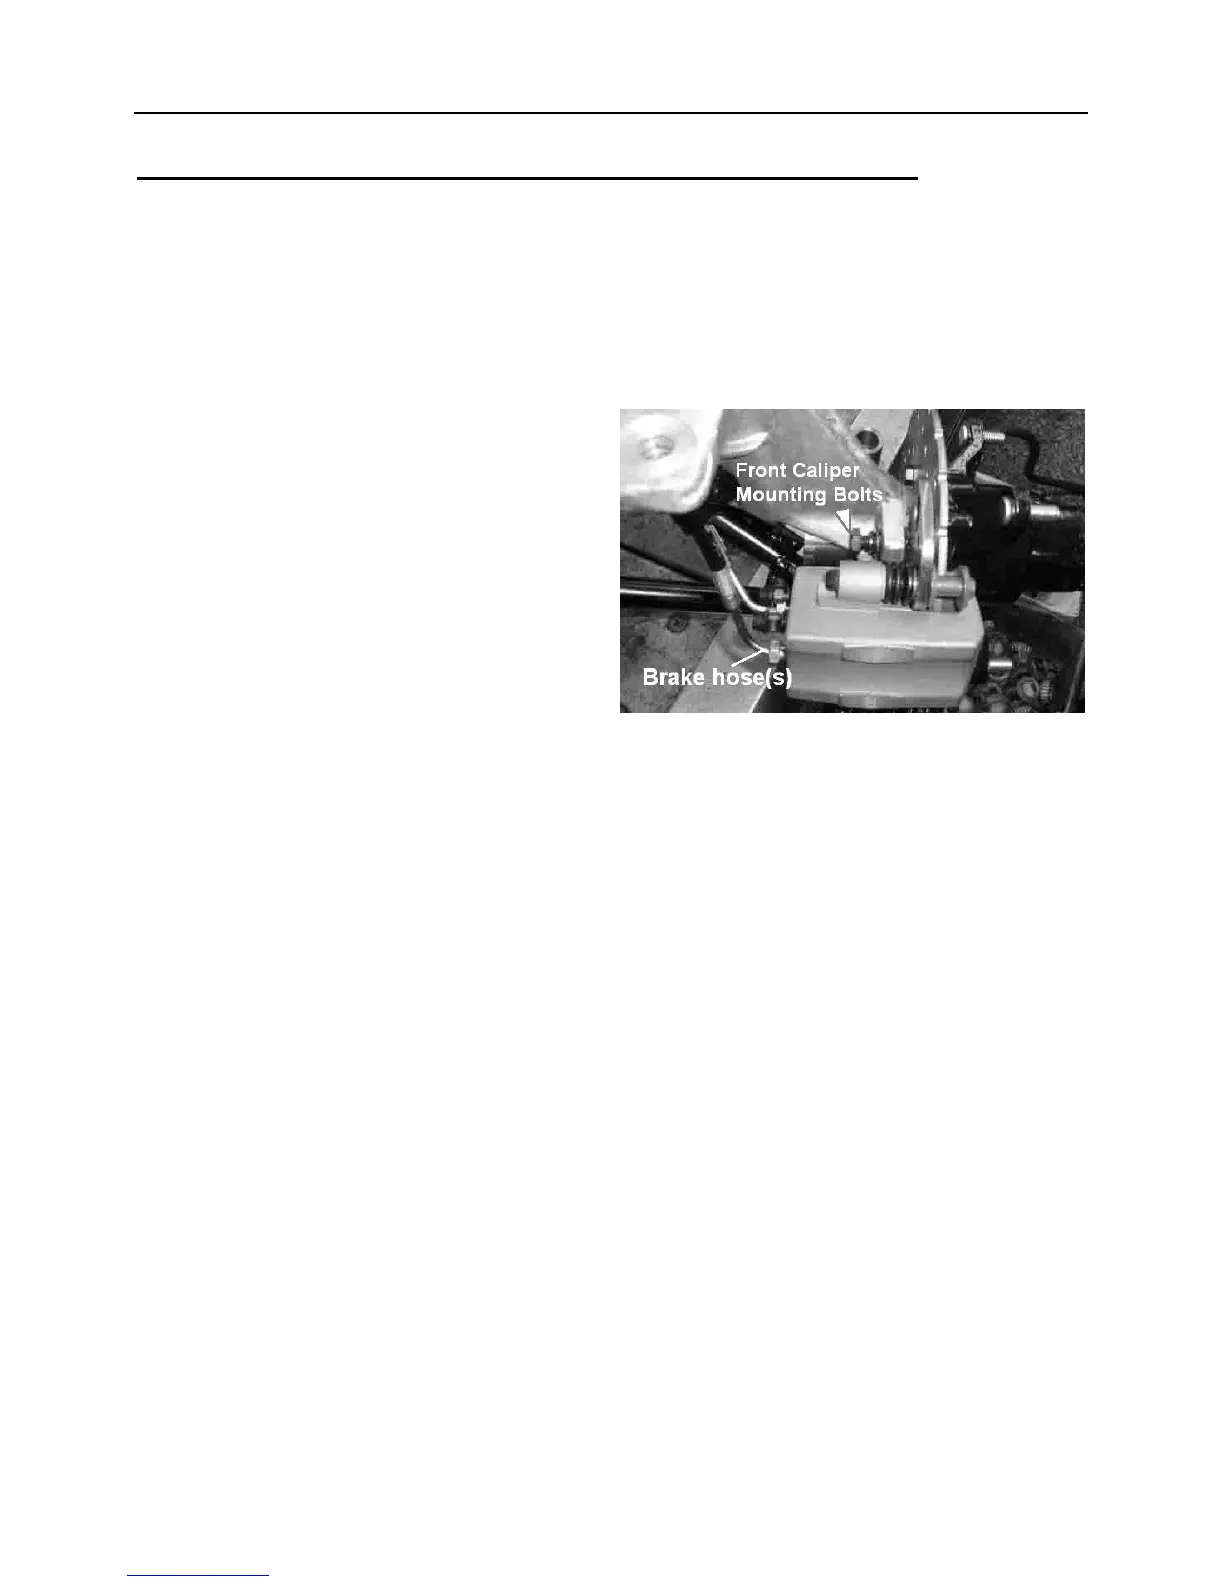
7.9 FRONT CALIPER REMOVAL/ INSPECTION / INSTALLATION
CAUTION: The caliper is a non-serviceable Component; it must be replaced as an assembly.
NOTE: If any special service needed, contact the ATV manufacture via the agent for the parts
and special instruction.
REMOVAL
1. Remove wheel, remove caliper from the
strut.
2. Loosen and remove brake hose(s) to
caliper. Place a container under caliper to
catch fluid draining.
INSPECTION
Inspect caliper body for nicks, scratches or
worn. Replace caliper as an assembly if any
problem exists.
INSTALLATION
1. Install caliper on hub strut, Apply Loctite™
242 to screw threads and Install new bolts.
Front Caliper Mounting Bolt Torque
18 ft. lbs. (25 Nm )
2. Install brake hose and tighten securely.
NOTE: In some versions of brake, there are 2
hydraulic circulates (for foot brake and hand
brake) in one caliper. Make sure you install
the right hose.
3. Bleeding and Install wheels, If new brake
pads are installed, burnishing procedure
should be performed. See BURNISHING
PROCEDURE, And field test unit for proper
braking action before putting into service.
Inspect for fluid leaks and firm brakes. Make
sure the brake is not dragging when lever is
released. If the brake drags, recheck
assembly and installation.
 Loading...