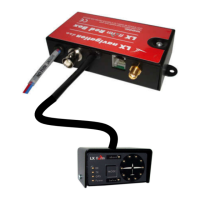
TE tube installation schematics (Set TE 000%)
TE/Pst TE tube
Pst Static
Ptot Pitot or Total pressure
Note!
If the Ptot and Static are connected the wrong way around, there will be no integrator reading (average climb)
during the flight.
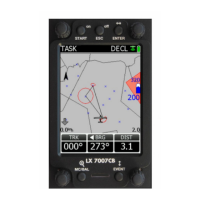
4.4 Power connection
The LX 7007 DU (80 mm unit) is connected to 12 volt power via the 15 SUB D connector. Power up to 16 V isn’t
any problem. LX 7007 DU and LX Vario (57 mm ) units are connected via the 485 bus and the connectors are
marked as 485. Don’t connect bus participants under power.
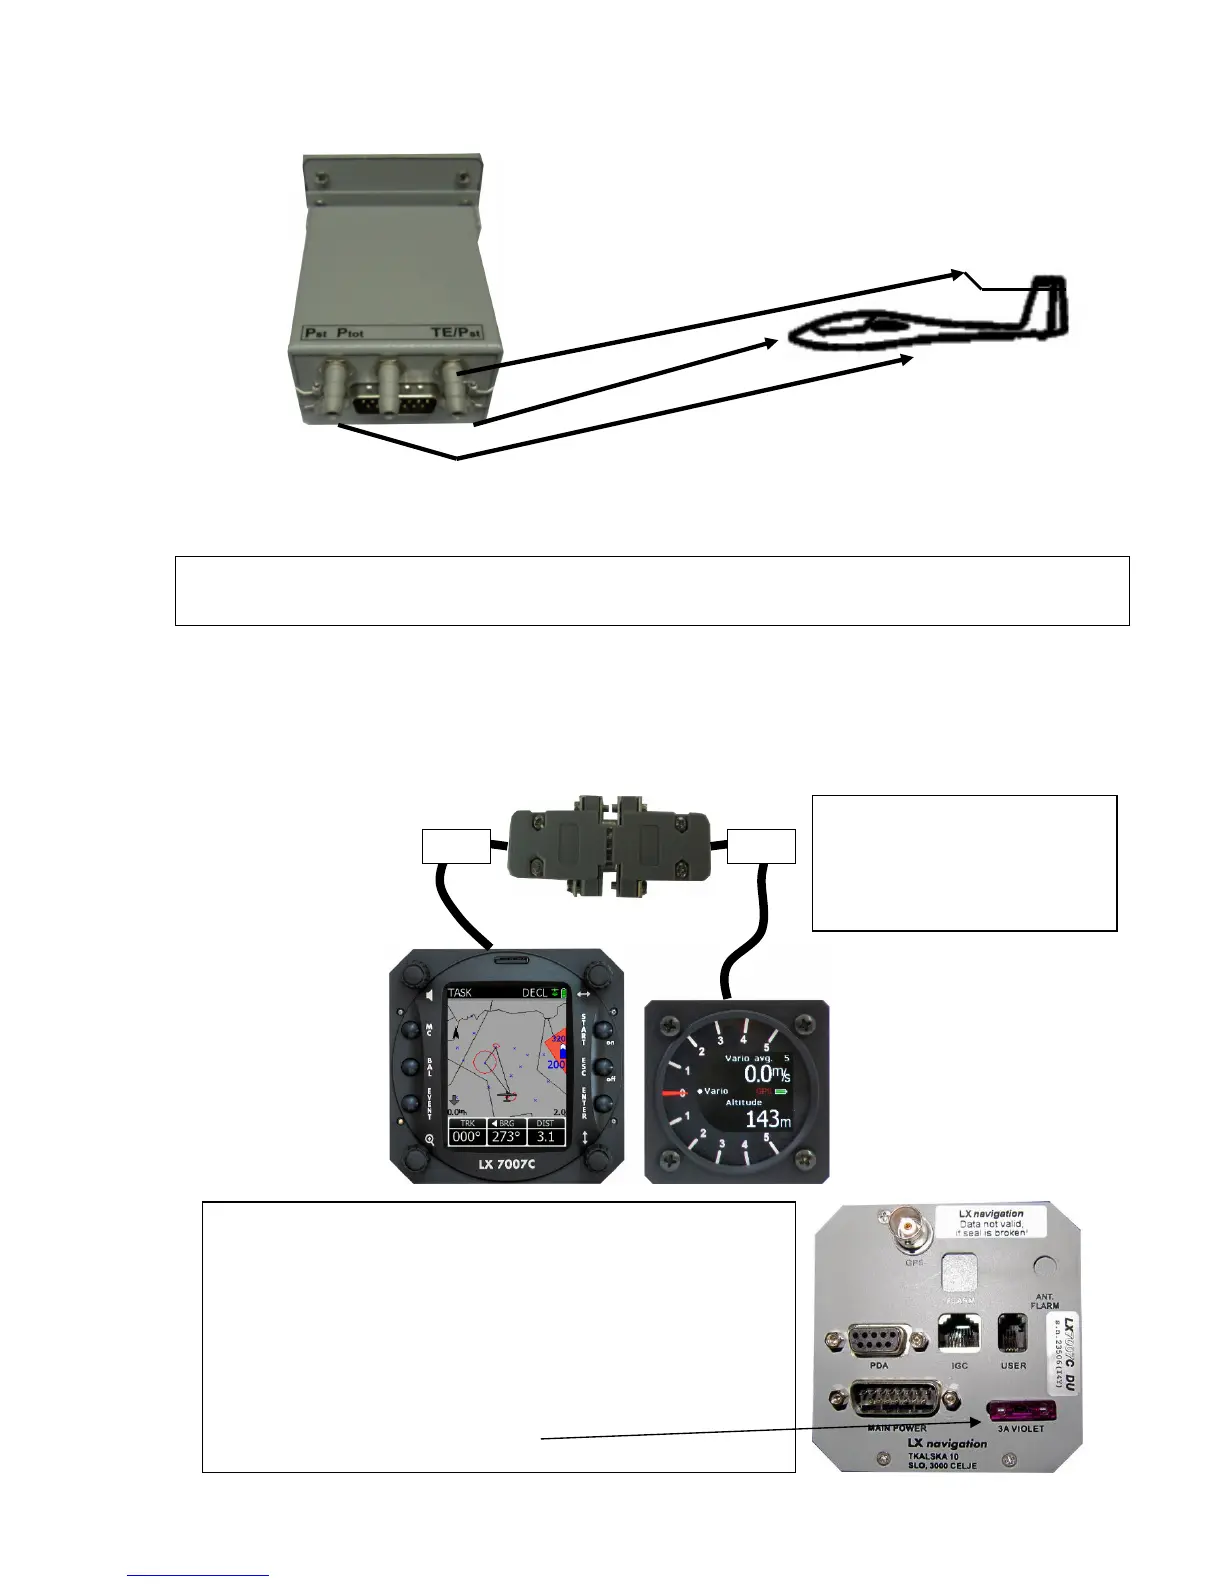
Please check, if both units are connected correctly, before first power on. The power wires (red and blue)
should be connected to the 80mm unit.
There is no fuse in the instrument so it is VERY IMPORTANT
to use an external fuse (max. 3A). Power supply cables should
use a minimum of 0.5mm² wires (20 avg).
To prevent damage to the LX 7007 80mm unit after a short on
485 bus, a fuse of blade type (the same fuses that are used in
modern cars and therefore available on petrol stations) is built
onto the rear of the unit. After a short the 57 mm unit
will no longer work, the reason is not a defect in the 57mm unit, but
the blown fuse. Use 3 A fast acting blade type fuse (violet).
485 485
Note!
In case that vario unit will start
immediately after master switch
is ON, check wrong connection
of 15 p connectors.
 Loading...