4 Prepare Parts for Assembly
21
Meritor Maintenance Manual MM-15103 (Issued 07-17)
Figure 4.11
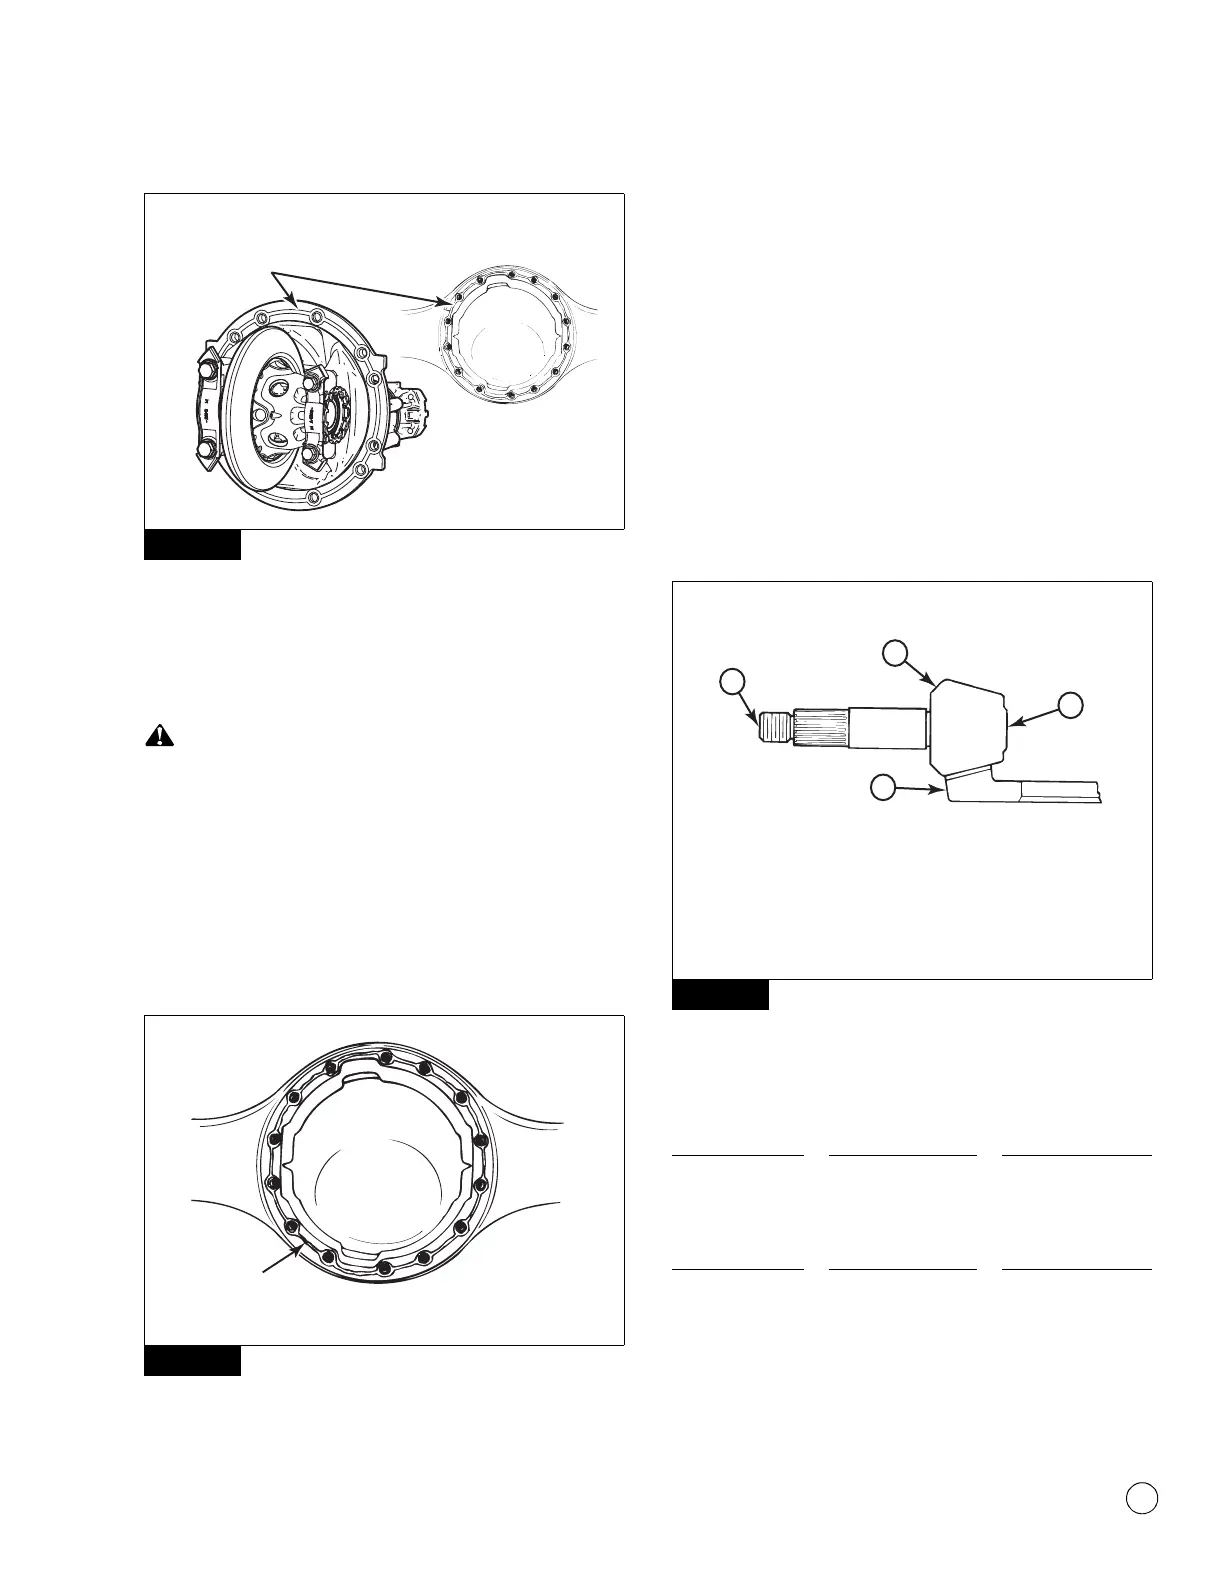
2. Use a cleaning solvent to clean the surfaces where you will
apply silicone gasket material. Remove all oil, grease, dirt and
moisture without damaging the mating surfaces. Figure 4.11.
3. Dry all surfaces.
Apply silicone gasket material in a continuous 0.25-inch
(6 mm) bead. If you use more than this amount, the gasket
material can break off and plug lubrication passages. Damage
to components can result.
4. Apply a 0.25-inch (6 mm) diameter continuous bead of the
silicone gasket material around one surface. Also apply the
gasket material around the edge of all fastener holes on that
surface. Figure 4.12.
Figure 4.12
5. Assemble the components immediately to permit the silicone
gasket material to compress evenly between the parts. Tighten
fasteners to the required torque value for that size fastener.
Refer to Table H in Section 7.
6. Wait 20 minutes before filling the assembly with the correct
lubricant. Refer to Section 4.
Identification
Gear Sets
Refer to the following examples for information on identifying gear
sets with matched parts. Always check the match numbers to verify
that the gear set you will install has matched parts. Figure 4.13.
Figure 4.13
Examples
Gear Set
Figure 4.11
Figure 4.12
4012514a
Remove old
sealant
material.
HOUSING AND CARRIER SHOWN
0.25" (6 MM)
DIAMETER SILICONE
GASKET BEAD
1003028f
Figure 4.13
1 PART NUMBER, TOOTH COMBINATION NUMBER, GEAR SET MATCH
NUMBER, PINION CONE VARIATION NUMBER
2 PART NUMBER, TOOTH COMBINATION NUMBER
3 GEAR SET MATCH NUMBER, PINION CONE VARIATION NUMBER
4 PART NUMBER, TOOTH COMBINATION NUMBER, GEAR SET MATCH
NUMBER
Part Number Location
Conventional
ring gear
XXXXX, XXXXXK2,
XXXXXK3,
XXXXXK4,
XXXXXK5
On the outer
diameter
Conventional
drive pinion
XXXXX, XXXXXK2,
XXXXXK3,
XXXXXK4,
XXXXXK5
At the end at
threads
1003031d
ALTERNATE LOCATIONS
2
1
4
3