5 Assembly and Installation
32
Meritor Maintenance Manual MM-15103 (Issued 07-17)
앫 If the torque value exceeds 10 lb-ft (13.6 N폷m):
Disassemble the differential gears from the case halves.
Inspect the case halves, spider, gears and thrust washers.
Repair or replace parts. Assemble the parts and repeat Step
2 through Step 4.
Figure 5.27
Installation
“Dry Fit” Installation of the Main Differential
Case and Ring Gear Assembly Into the
Carrier
To carry out preliminary checks for drive pinion adjustments,
perform a “dry fit” installation of the differential and ring gear
assembly. Do not lubricate, apply sealant or tighten the fasteners
completely. Once adjustments are made, perform the “final”
installation steps to complete the procedure.
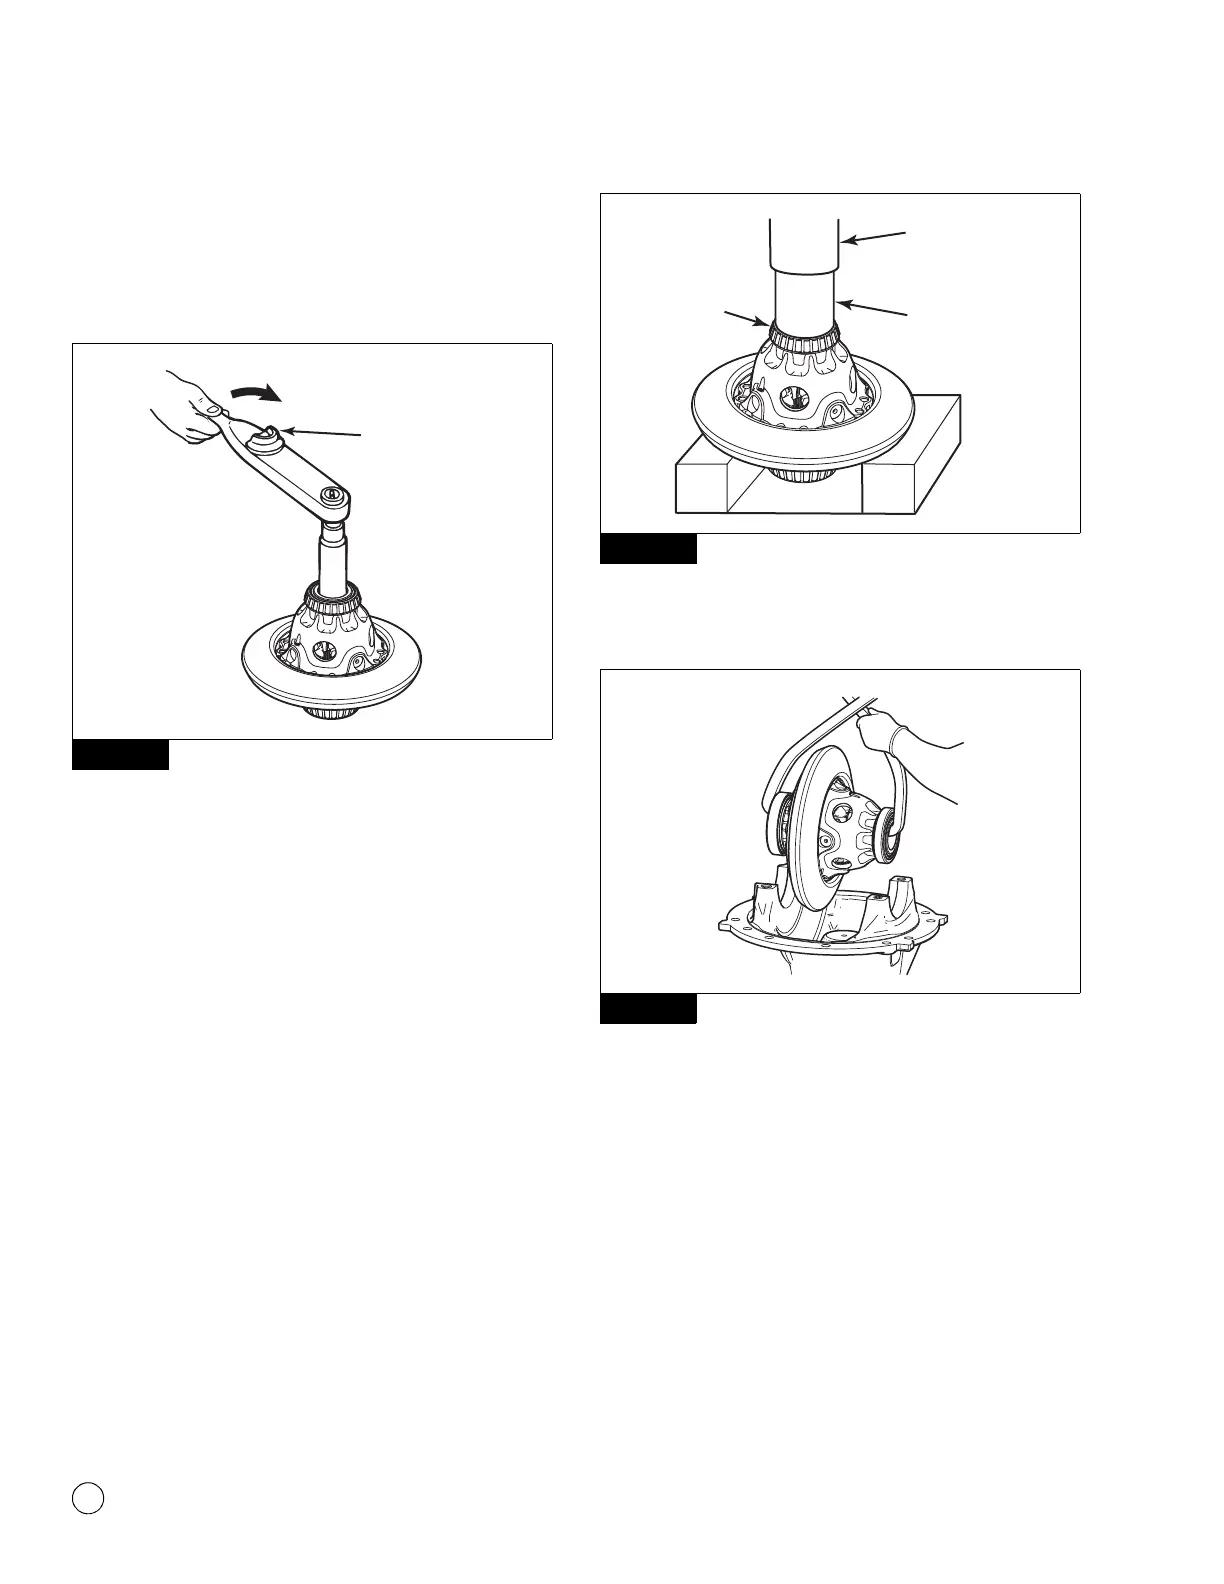
1. If the bearing cones on the main differential case were
removed, install a new cone and cup in a fully-matched set
from the same manufacturer. Bearing cups and cones from
different manufacturers are not interchangeable. Use a press
and sleeve to install the cones onto the case. Press only on the
inner race of the bearing. Figure 5.28.
Figure 5.28
2. Install the bearing cups over the bearing cones on the case
halves. Figure 5.29.
Figure 5.29
3. Use a lifting device to safely lift the differential and ring gear
assembly and install it into the carrier. The bearing cups must
be flat against the bores between the carrier legs. Figure 5.29.
4. Install the bearing adjusting rings between the carrier legs.
Figure 5.30.
Figure 5.27
Read torque
value.
4012322a
Figure 5.28
Figure 5.29
PRESS
SLEEVE
BEARING
CONE
4012323a
4011964a