3 Removal and Disassembly
9
Meritor Maintenance Manual MM-15103 (Issued 07-17)
When you use a pry bar, be careful not to damage the carrier
or housing flange. Damage to these surfaces will cause oil
leaks.
6. Carefully remove the carrier from the axle housing using the
hydraulic roller jack. Use a pry bar that has a round end to help
remove the carrier from the housing. Take care that you don’t
damage the carrier or housing flange with the pry bar.
NOTE: A carrier stand is available from SPX Kent-Moore. To obtain
this tool, refer to the Service Notes page on the front inside cover of
this manual.
7. Use a lifting tool to lift the differential carrier by the input yoke
or flange. Do not lift the carrier by hand. Place the assembly in
a carrier stand. Figure 3.7. Refer to Section 9 to build a stand.
Figure 3.7
Differential and Ring Gear from the Carrier
1. Before you begin service procedures on the differential carrier,
inspect the gear set for damage.
앫 If the gear set isn’t damaged: You can reuse the gear set.
앫 If the gear set is damaged: Replace it with a new gear
set.
2. Measure and record gear set backlash. Figure 3.8. Refer to
Step 1 through Step 4 under Ring Gear Tooth Contact Pattern,
Backlash in Section 5 for instructions. Adjust backlash to the
original dimension when you install the gear set into the carrier
during assembly procedures.
Figure 3.8
3. Rotate the differential carrier in the repair stand until the ring
gear is at the TOP of the assembly.
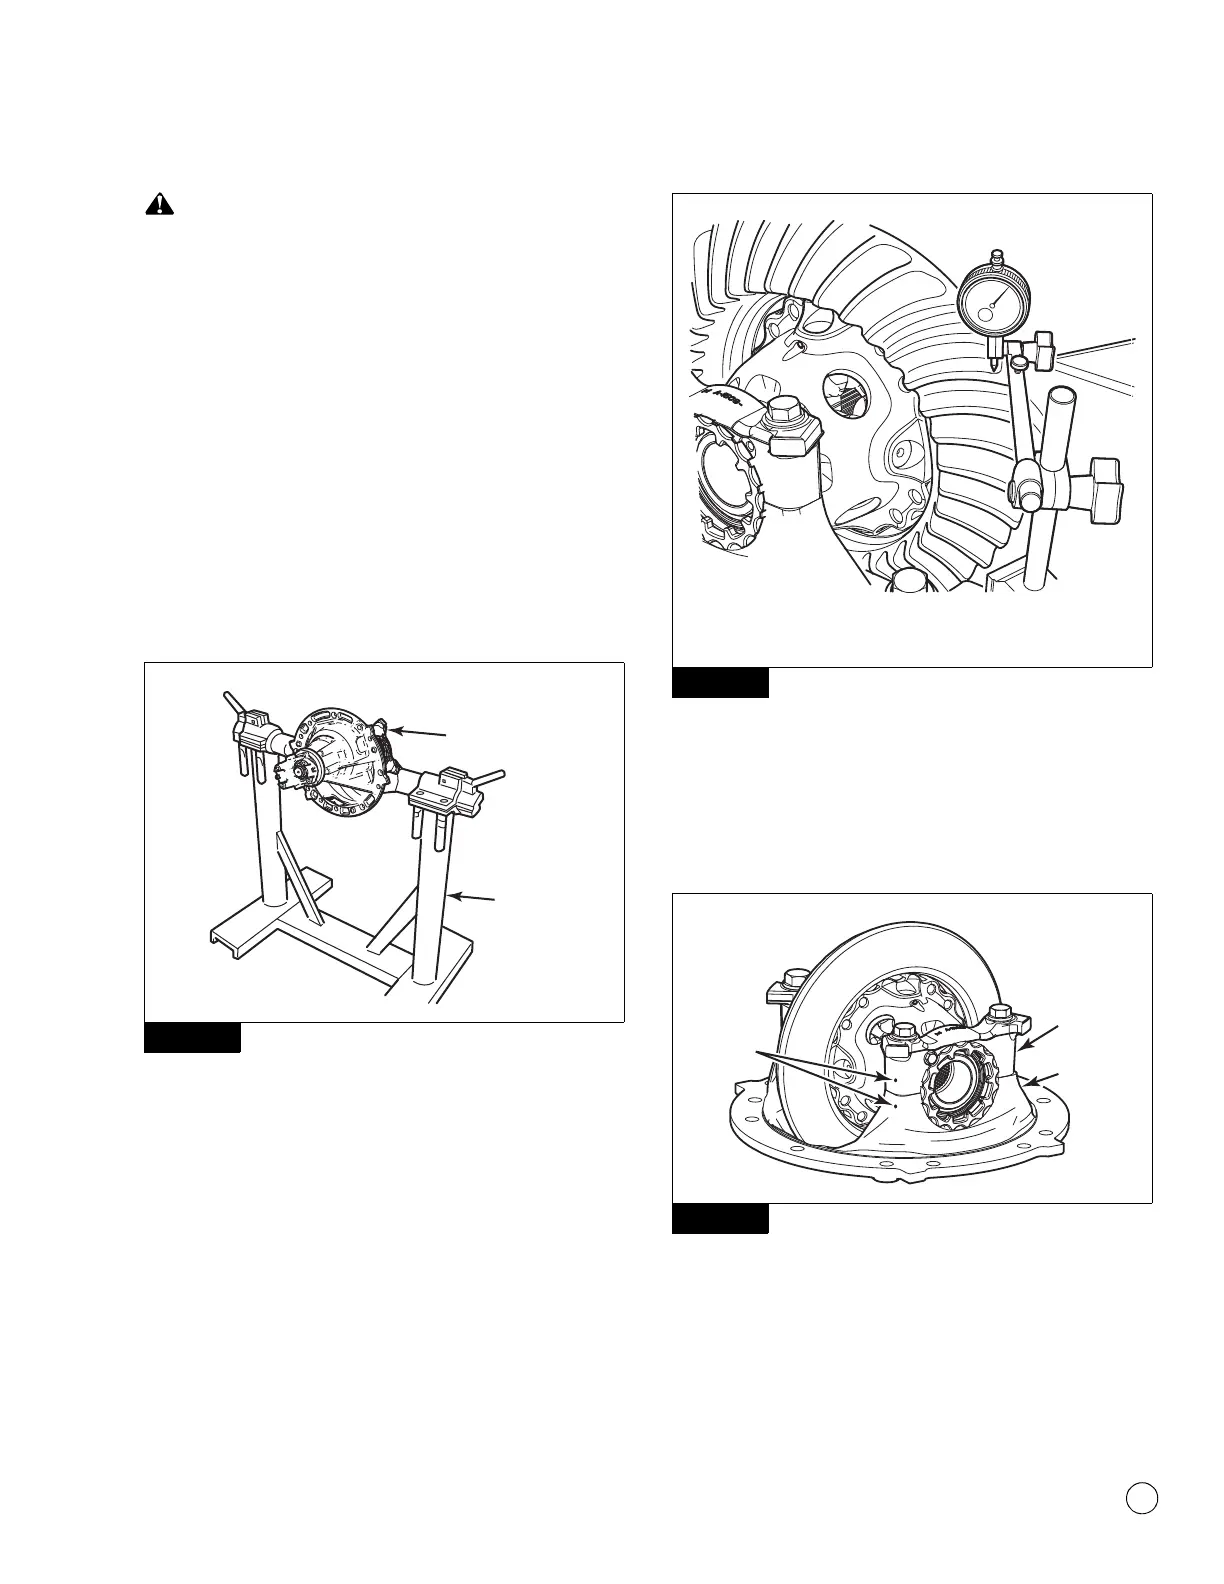
4. Use a center punch and hammer to mark one carrier leg and
bearing cap to correctly match the parts during carrier
assembly. Figure 3.9.
Figure 3.9
5. Remove the capscrews and washers that secure the bearing
adjusting rings in position. Figure 3.10.
Figure 3.7
REPAIR
STAND
DIFFERENTIAL
CARRIER
4011957a
Figure 3.8
Figure 3.9
4011960a
CARRIER
CAP
CARRIER
LEG
MATCH
MARKS