5 Assembly and Installation
24
Meritor Maintenance Manual MM-15103 (Issued 07-17)
5 Assembly an d Installation
Hazard Alert Messages
Read and observe all Caution and Warning safety alerts below and
those that precede instructions or procedures you will perform.
To prevent serious eye injury, always wear safe eye protection
when you perform vehicle maintenance or service.
Take care when you use Loctite
adhesive to avoid serious
personal injury. Read the manufacturer’s instructions before
using this product. Follow the instructions carefully to prevent
irritation to the eyes and skin. If Loctite
adhesive material
gets into your eyes, follow the manufacturer’s emergency
procedures. Have your eyes checked by a physician as soon as
possible.
Observe all warnings and cautions provided by the press
manufacturer to avoid damage to components and serious
personal injury.
To avoid serious personal injury and damage to components,
take care when using lifting devices during service and
maintenance procedures. Inspect a lifting strap to ensure that
it is not damaged. Do not subject the lifting straps to shocks or
drop-loading.
Installation
“Dry Fit” and “Final” Assembly and
Installation Procedures
Correct assembly of the carrier requires a “dry fit” installation of the
drive pinion and ring gear to determine the correct drive pinion shim
pack thickness. The carrier is then disassembled and reassembled
using the spacers and adjusted shim pack. If the drive pinion is
correctly adjusted, perform the “final” installation steps to complete
the installation.
Installing the Drive Pinion, Adjusting Pinion
Depth and Contact Pattern
The procedure in this manual is to perform a “dry fit” installation of
the pinion, bearings and calculated shim pack into the case
WITHOUT the two spacers. You must also install the ring gear and
set the backlash to 0.012-inch (0.3 mm). After you check and
adjust the tooth contact patterns to determine the correct pinion
position, remove the ring gear and drive pinion. You must then install
the drive pinion with the two spacers as well as the correct shims.
Once you’ve obtained the correct adjustments, continue a “final”
installation of the ring gear and adjust as necessary.
Drive Pinion Shim Pack Thickness
NOTE: If the original gear set and shim pack are being installed, go
to the “dry fit” drive pinion assembly procedure in this section. If the
pinion depth shims are misplaced during carrier repair, use
0.030-inch (0.76 mm) for the initial pinion position and continue to
the “dry fit” drive pinion assembly procedure in this section. In all
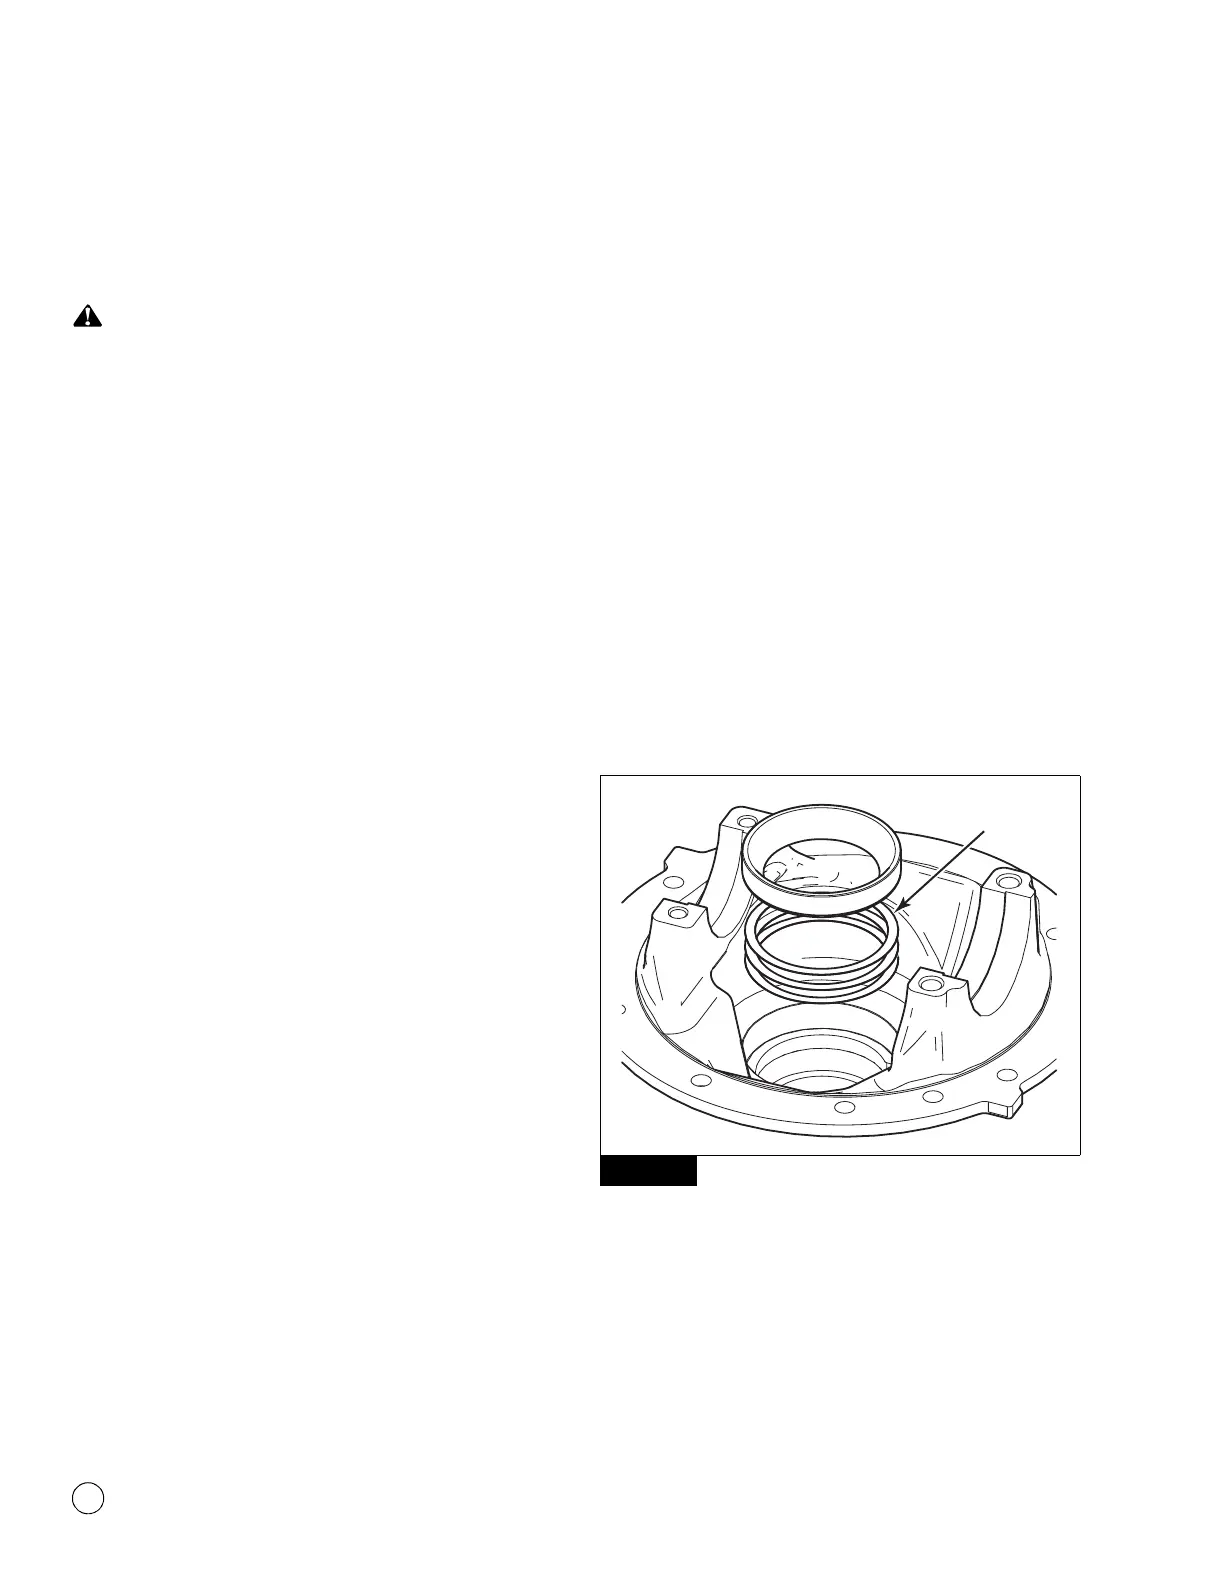
other cases, continue with the following procedure. Figure 5.1.
Figure 5.1
1. Use a micrometer to measure the thickness of the shim pack
that was removed from the differential carrier. Record the
measurement. Figure 5.2.
Figure 5.1
4011974a
SHIMS