5 Assembly and Installation
48
Meritor Maintenance Manual MM-15103 (Issued 07-17)
Tapered Dowel with Hardened Washer and
Hardened Nut
1. Clean the mating surfaces of the axle shaft and the wheel hub.
2. Install the gasket and axle shaft into the axle housing and
carrier. The gasket and flange of the axle shafts must fit flat
against the wheel hub. Figure 5.75.
앫 If a gasket is not available: Apply a 0.125-inch (3 mm)
diameter bead of grey sealant, Meritor specification
2297-H-7054, around the mating surface of the hub and
around the edge of each fastener hole. Install the axle shaft
into the axle housing and carrier.
3. Install solid tapered dowels over each stud and into the flange
of the axle shaft. Use a punch or a drift and hammer, if
necessary.
NOTE: You can also install lock washers as an alternative.
4. Install the Grade 8 nuts and hardened washers on the stud.
Tighten the stud nuts to the torque specified in Table E.
Fill the Axle with Lubricant
NOTE: For additional lubrication information, refer to Maintenance
Manual 1, Preventive Maintenance and Lubrication. To obtain this
publication, refer to the Service Notes page on the front inside cover
of this manual.
1. Park the vehicle on a level surface. When the angle of the drive
pinion changes, the lubricant capacity of the axle will change.
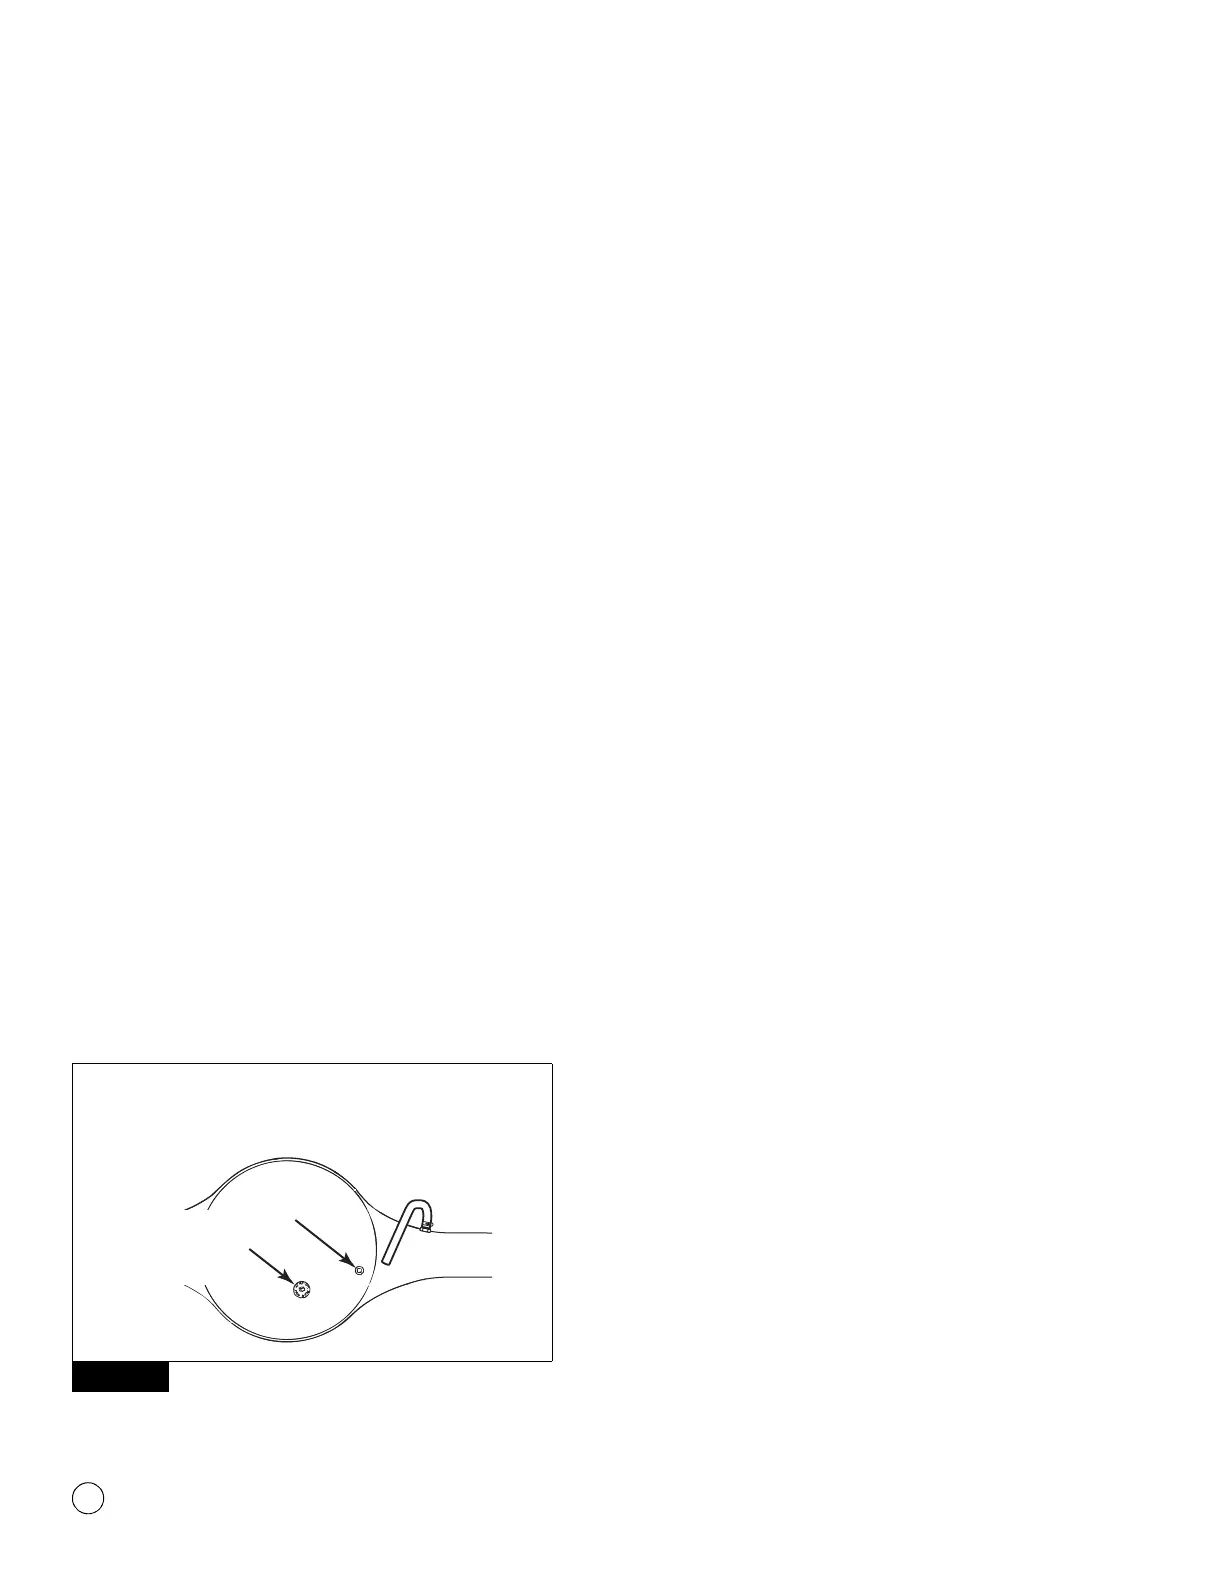
2. Remove the fill plug from the side of the bowl cover of the axle
housing. Figure 5.76.
Figure 5.76
3. Fill the axle with lubricant until the lubricant level is to the
bottom of the fill plug hole. Refer to Section 6.
4. Install the fill plug. Tighten the fill plug to 35 lb-ft (47 N폷m).
When correctly installed, one complete thread of the fill plug is
visible between the housing and plug head.
@
5. Road test the vehicle in an unloaded condition for one to two
miles (1.6-3.2 km) at speeds not more than 25 mph (40 kmh).
Recheck the lubricant levels and all the fasteners.
Figure 5.76
FILL
PLUG
FILL PLUG LOCATION IN BACK
OF AXLE HOUSING BOWL
1002591e
TEMPERATURE
INDICATOR
PLUG — DO
NOT REMOVE