Reference: The Settings Window 77
Selective Color Tool (LCH Mode Only)
The
Selective Color Selective Color
Selective Color Selective Color
Selective Color tool supports local color correction of an image to specific
color ranges without altering the other colors in the image.
The Selective Color dialog box
These basic steps required for each color corrections are summarized below.
There is no limit to the number of colors that can be changed in an image.
1.1.
1.1.
1.
Define a "From" color setting as follows:Define a "From" color setting as follows:
Define a "From" color setting as follows:Define a "From" color setting as follows:
Define a "From" color setting as follows:
a) Except for the first color selection, you need to click on the "
NEW"
button (near bottom-left of the dialog box) before starting to define each
FromFrom
FromFrom
From color setting.
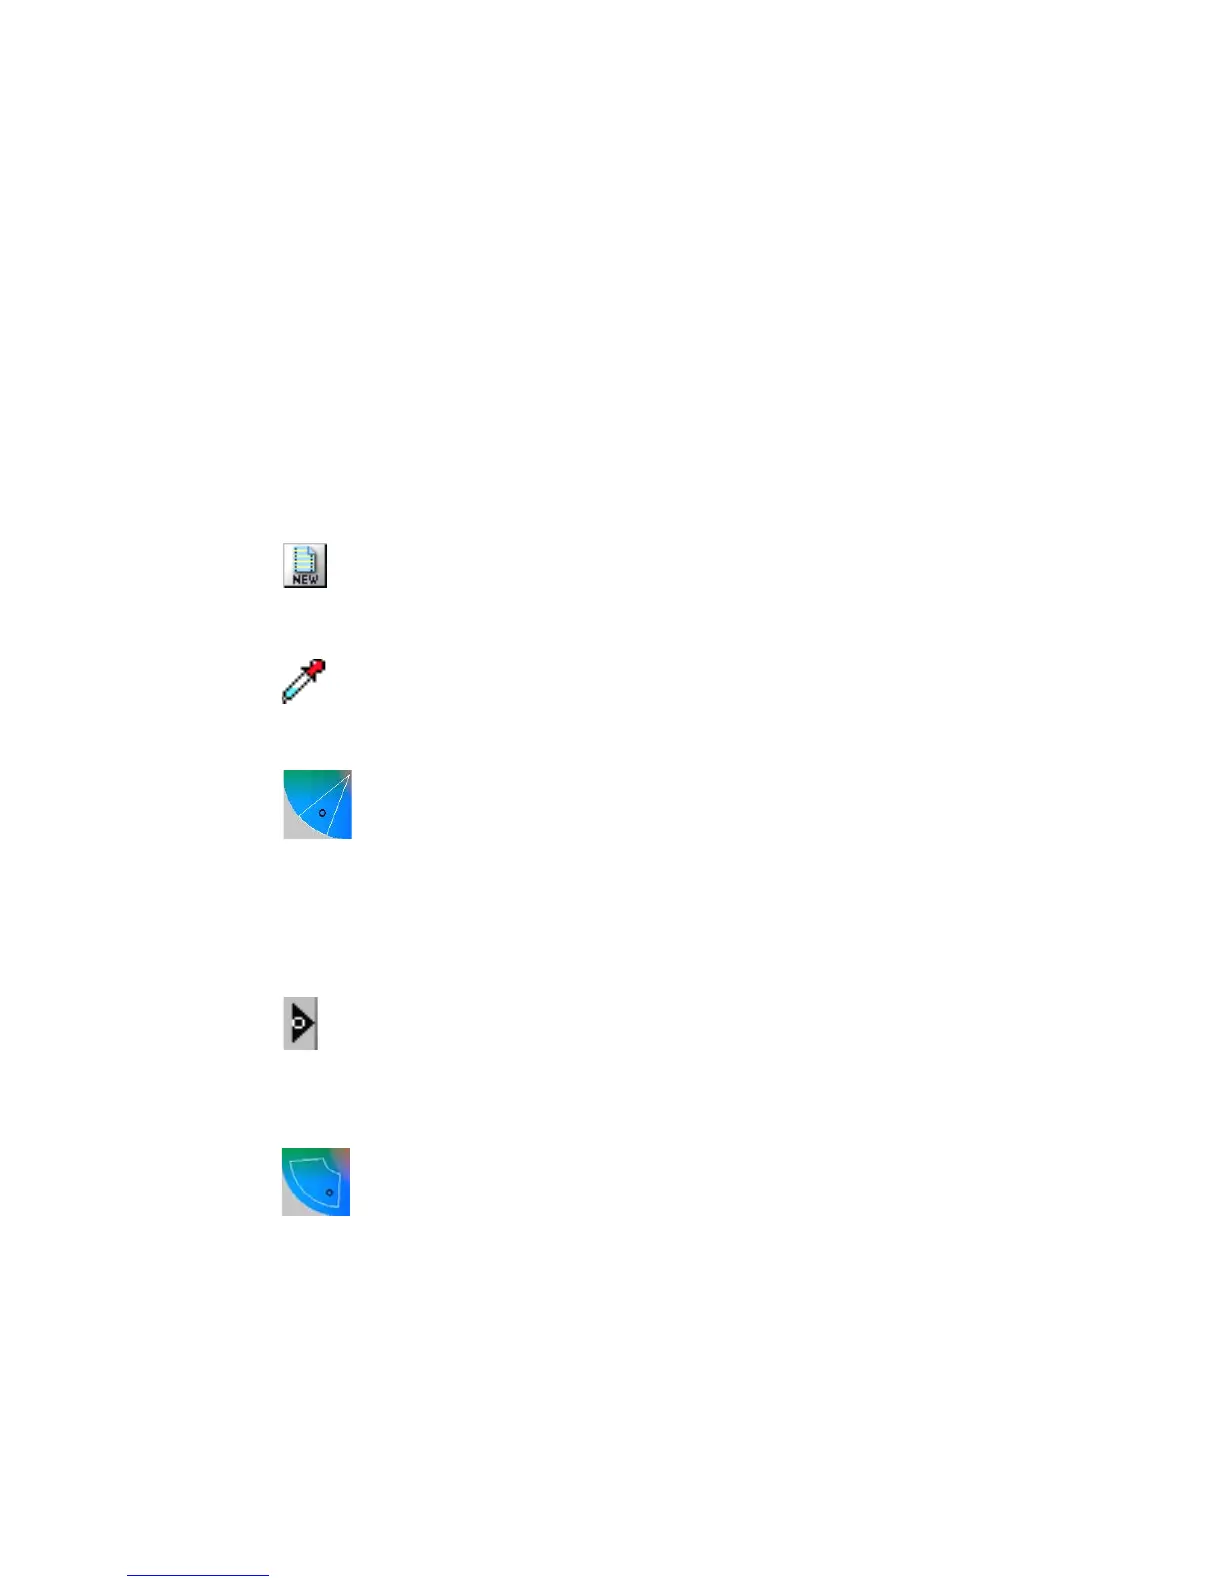
b) Select color to be altered with one of the following methods-
• Go to your prescan, with the pointer (now a Neutral Eyedropper); pin-
point the
FromFrom
FromFrom
From color you wish to alter from the prescan.
• Click on the color wheel to select the
FrFr
FrFr
Fr
omom
omom
om color. Note that selected
color region is enclosed in a sector. To change choice of color, click
on the new region. The sector jumps to the new color region. Note
that the hollow dot position in the sector corresponds to the "
FromFrom
FromFrom
From
color" chroma and hue values. Changing the dot position also changes
the C&H values. To do so, click at new position within the sector.
• Enter the numerical values of the
FromFrom
FromFrom
From color directly in the LCH
FromFrom
FromFrom
From
edit boxes.
2.2.
2.2.
2.
Drag the "From" slider (black arrowhead with hollow dot) ofDrag the "From" slider (black arrowhead with hollow dot) of
Drag the "From" slider (black arrowhead with hollow dot) ofDrag the "From" slider (black arrowhead with hollow dot) of
Drag the "From" slider (black arrowhead with hollow dot) of
lightness bar to the desired tone (lightness to shadow) range to belightness bar to the desired tone (lightness to shadow) range to be
lightness bar to the desired tone (lightness to shadow) range to belightness bar to the desired tone (lightness to shadow) range to be
lightness bar to the desired tone (lightness to shadow) range to be
affected by color adjustment.affected by color adjustment.
affected by color adjustment.affected by color adjustment.
affected by color adjustment.
3.3.
3.3.
3.
Adjust the delta LCH to expand or reduce the region of the color toneAdjust the delta LCH to expand or reduce the region of the color tone
Adjust the delta LCH to expand or reduce the region of the color toneAdjust the delta LCH to expand or reduce the region of the color tone
Adjust the delta LCH to expand or reduce the region of the color tone
area to be altered. This could be done by one of the following:area to be altered. This could be done by one of the following:
area to be altered. This could be done by one of the following:area to be altered. This could be done by one of the following:
area to be altered. This could be done by one of the following:
• Adjust the Lightness bar and the radius, intersection, and arc of the
sector in the color wheel.
• Directly enter numerical values in the Delta L, Delta C and Delta H edit
boxes.