98 Microtek ScanWizard Pro for Windows
The New button
The New button lets you create a new scan job; the new scan job will have
default settings. This feature allows you to create as many scan jobs as you wish,
and each scan job can then have its own settings.
A scan frame may already be present after you click on the Overview button and
the preview image appears.
You can then simply grab one of the corners of the scan frame and drag towards
the left to form the scan frame described above. You can also click on the Frame
tool and redraw the frame. Both methods will work.
In the following example, we will use a single image and then divide it into two
parts: the left half of the image will comprise one scan job and will be in color;
the other half of the image will make up the second scan job and will be in
grayscale.
To use the New button:
1. Click on the Overview button to see a preliminary view of the image.
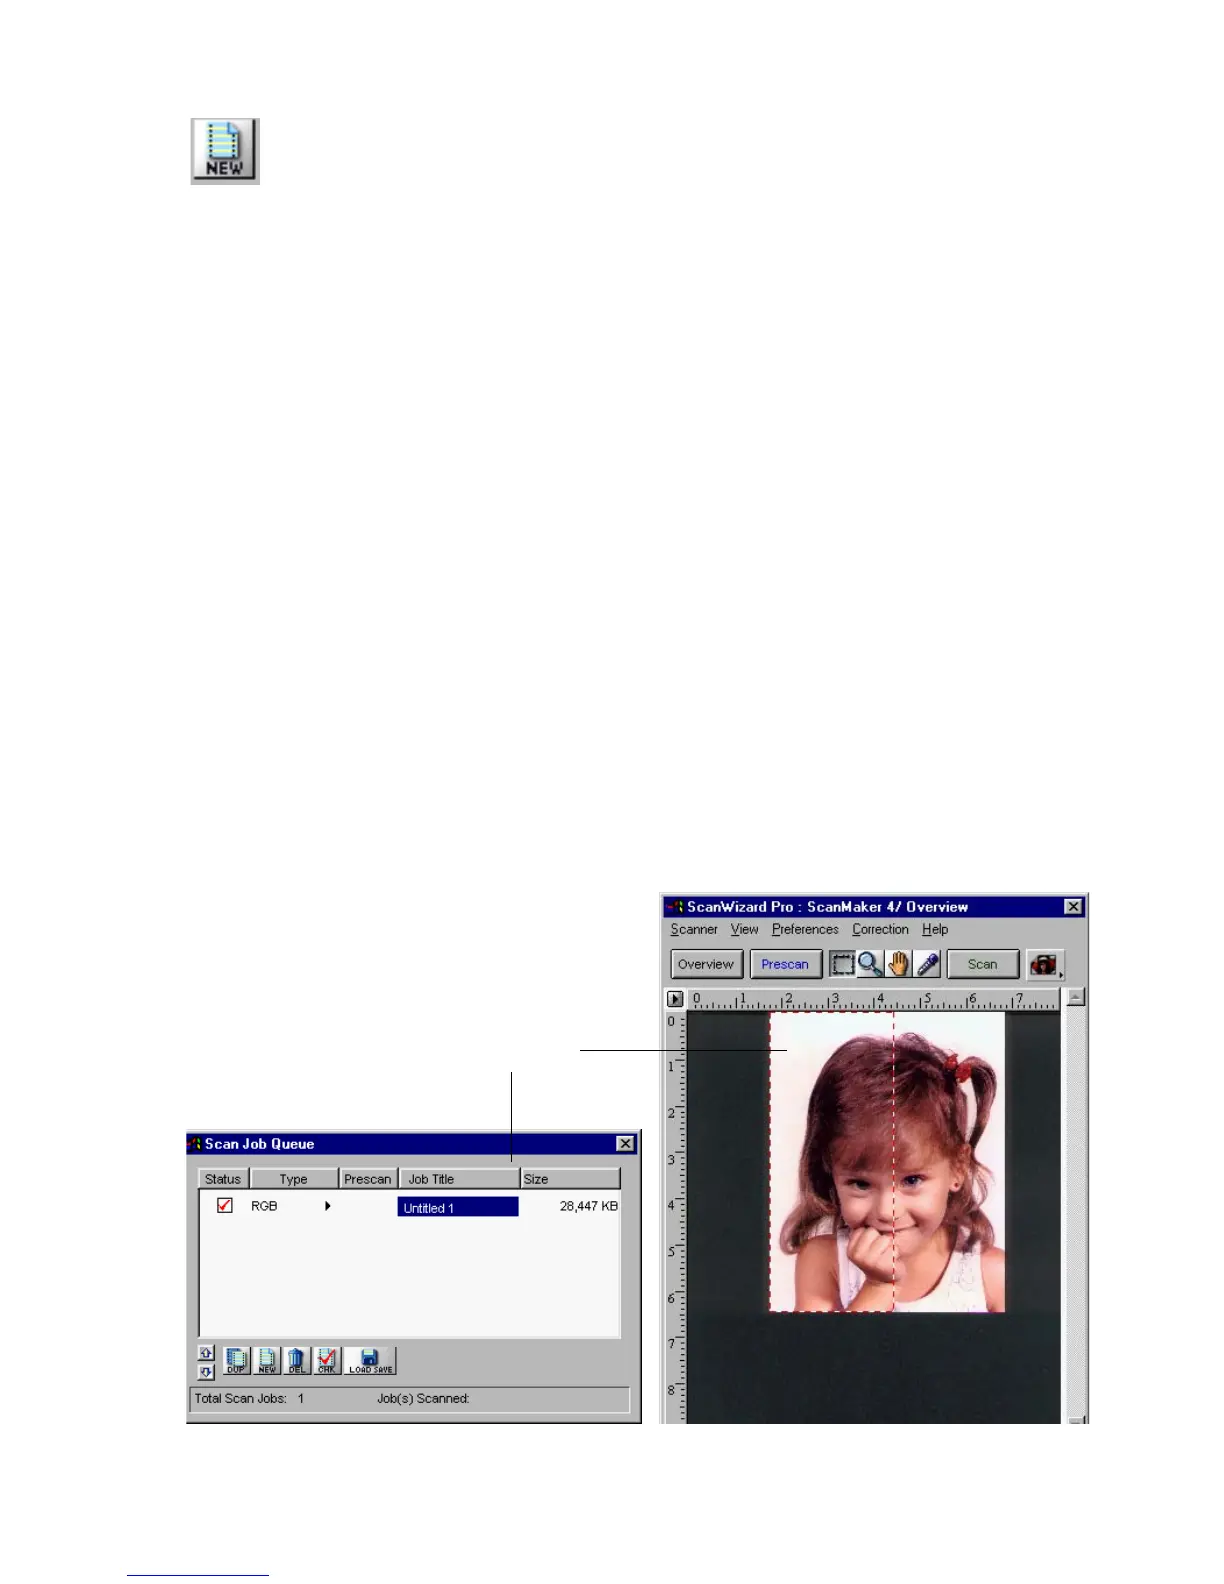
2. When the preview image appears, draw a scan frame that covers the left
half of the image. At this time, your scan job area shows the title of the
current scan job (Untitled 1). Make sure the image type selected (in the
Settings window) for this scan job is RGB colors.
Scan frame around left
half of image. This
corresponds to the
current scan job in Scan
Job window.