VetPro DC Installation/Service Manual, 00-02-1606, Revision R01
57
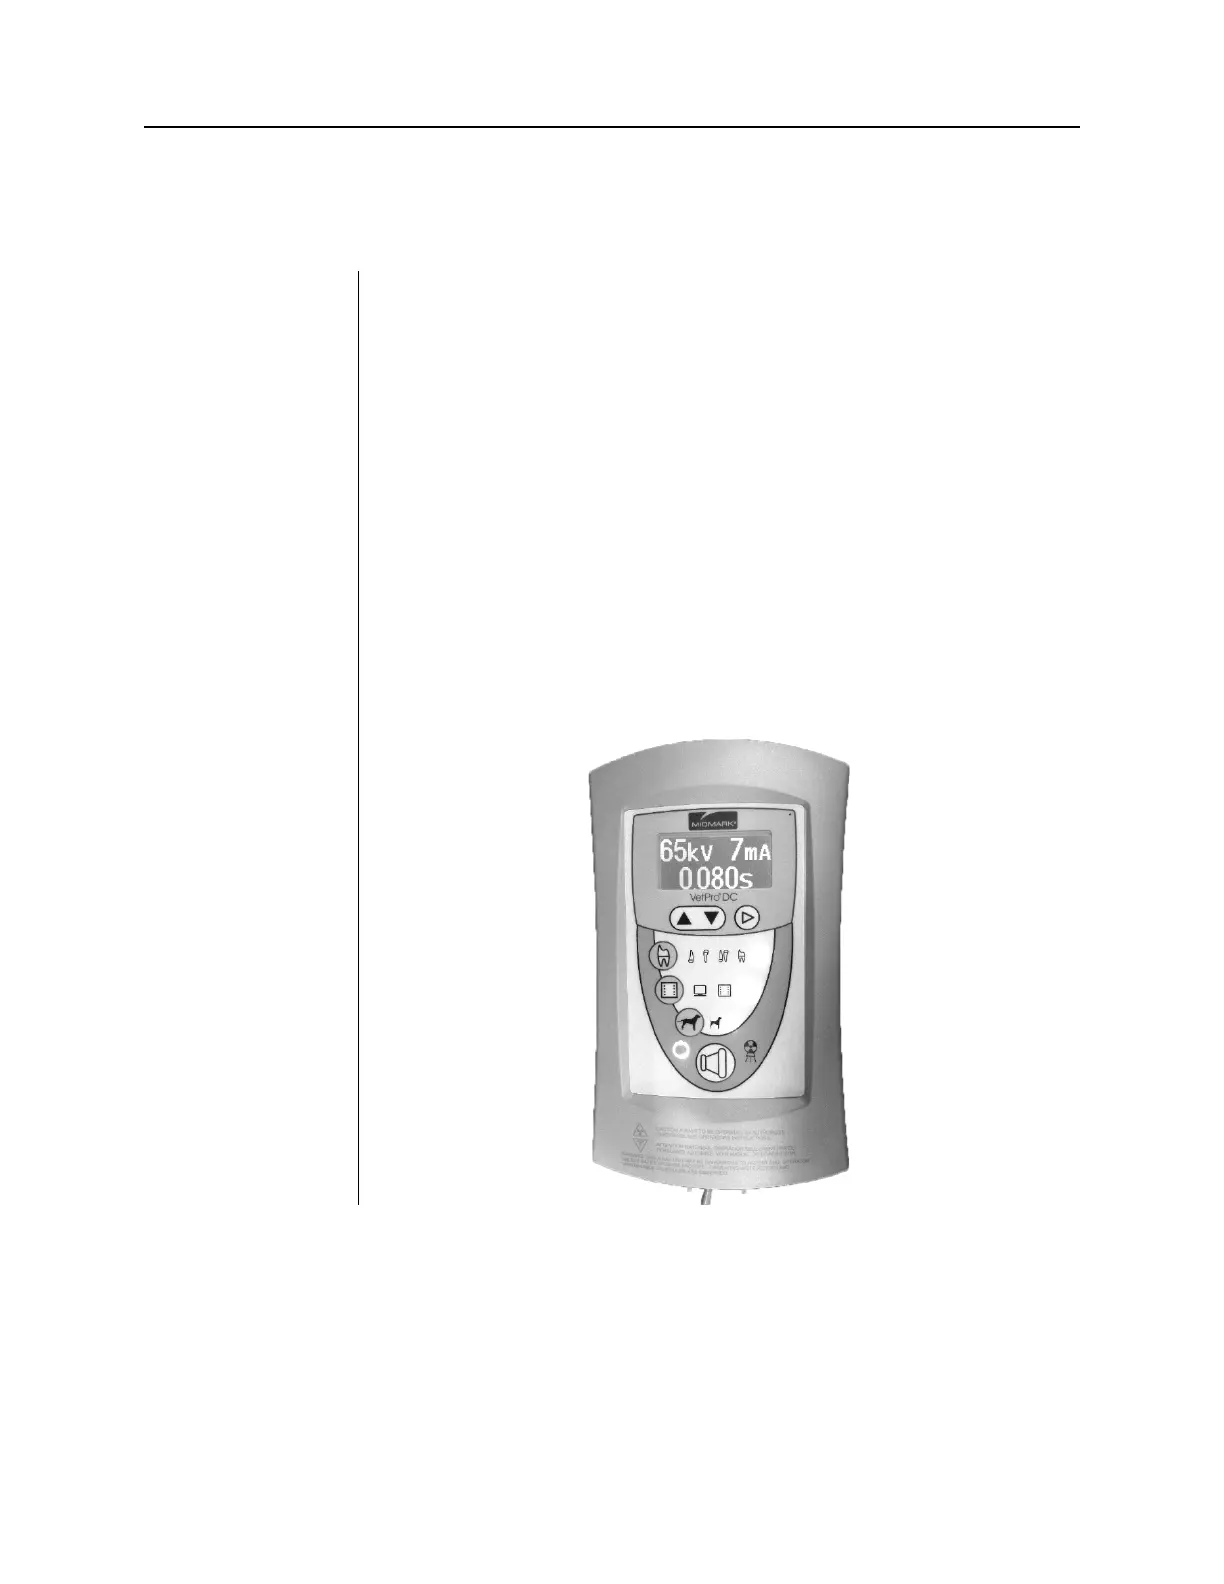
VetPro DC Operator Panel
Settings
When the VetPro DC Animal Health Dental X-ray System is powered on, the
Operator Panel, shown in Figure 43, displays the selections that were in use
when the system was last powered off.
Settings
The Operator Panel displays the exposure settings (kV, mA, and seconds) for
the currently selected tooth, image receptor type, and patient size. Use the
Tooth Selection, Image Receptor Type, and Patient Size buttons to select
Exposure
Settings
Preset exposure settings can be adjusted prior to making an exposure.
Exposure time can be easily changed by simply using the up and down
buttons. To adjust kV and mA, use the right arrow to select the exposure
setting to adjust. Then use the up and down arrow buttons to adjust the value.
To save new presets, use the System Configuration mode described on page
and Ready
Indicator
The Exposure button is used to initiate an X-ray exposure. For a complete
exposure, the button must be pressed and held until the Radiation Indicator
no longer illuminates and the audible signal is no longer heard. Releasing the
Exposure button immediately terminates the X-ray exposure.
Figure 45
VetPro DC Operator
Panel