REAR AXLE – Differential Carrier <EVOLUTION-IV, EVOLUTION-V GSR>
27-40
REMOVAL SERVICE POINT
AA" REAR CROSSMEMBER AND DIFFERENTIAL
CARRIER ASSEMBLY REMOVAL
(1) Using a jack, support the differential carrier from its
underside.
(2) Remove the rear crossmember mounting bolts and
remove the differential carrier, where it is attached to
the rear crossmember, from the vehicle.
INSTALLATION SERVICE POINTS
"AA REAR CROSSMEMBER AND DIFFERENTIAL
CARRIER ASSEMBLY
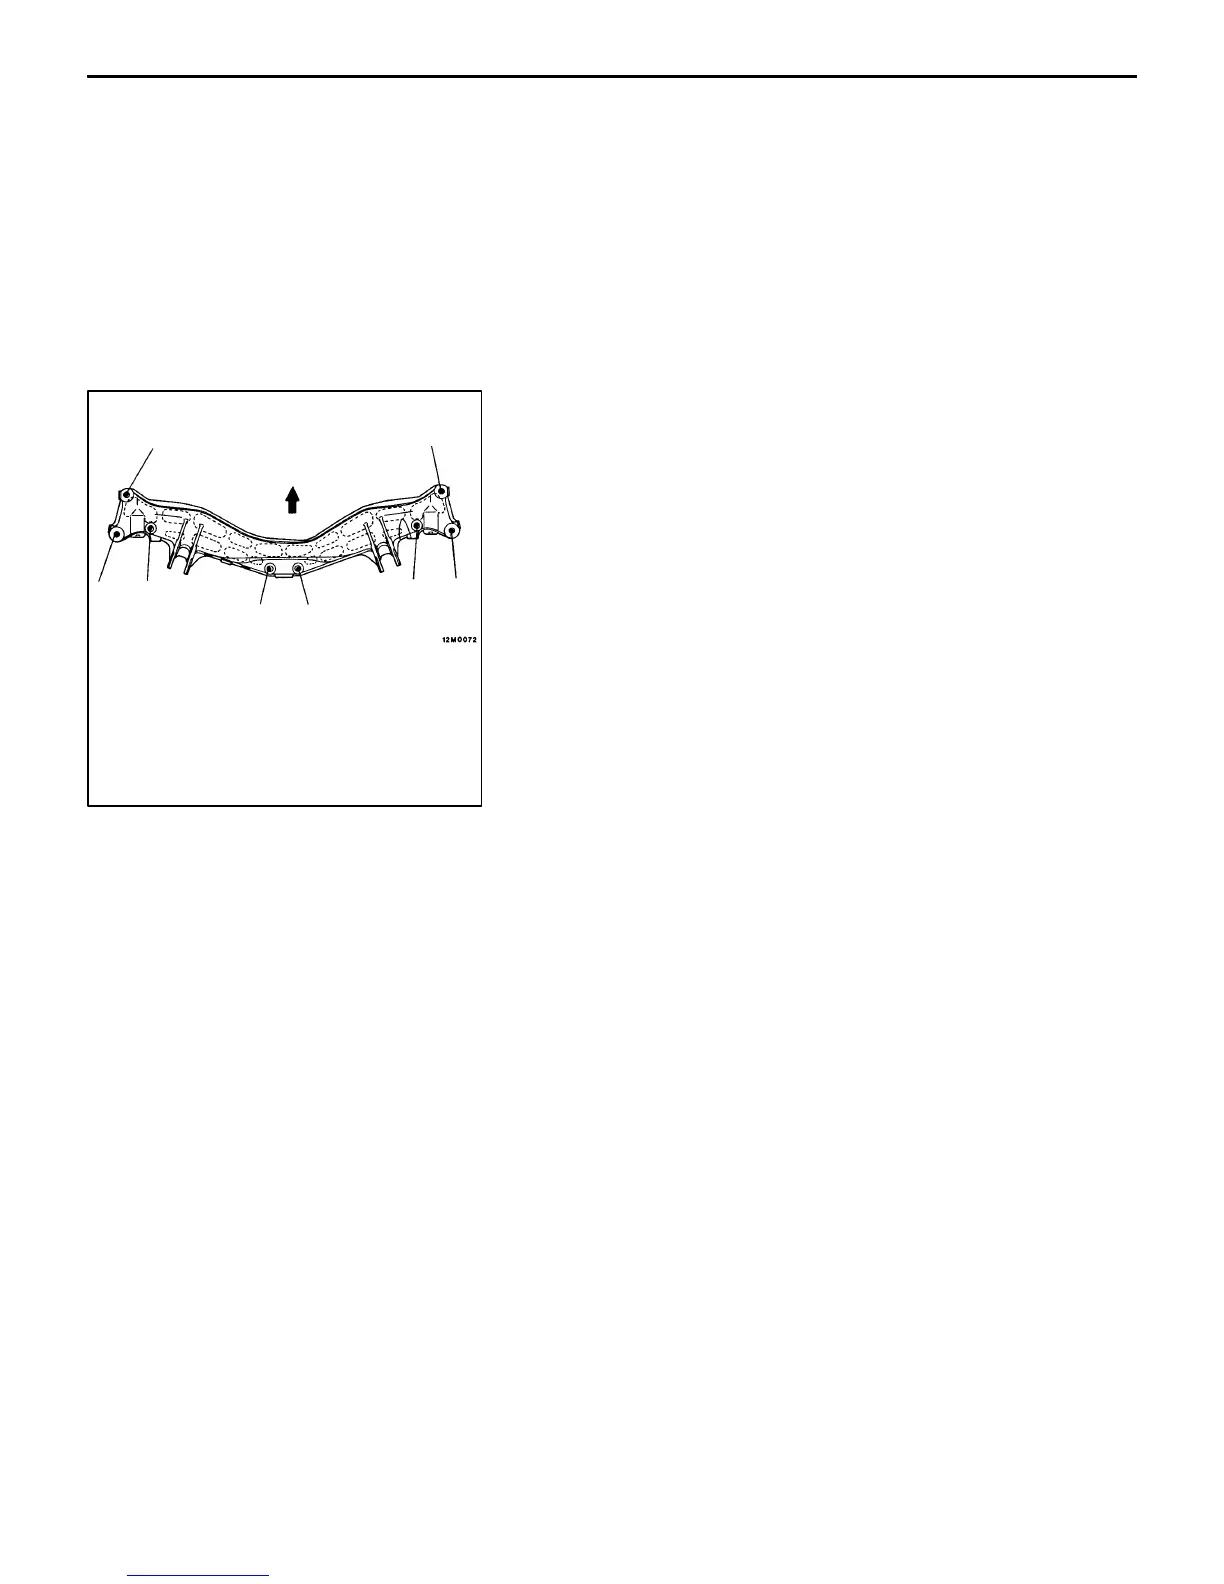
Tighten the rear crossmember mounting bolts in the numerical
order shown.
NOTE
To ensure both good installation accuracy and ease of
installation, the rear crossmember mounting holes have
different diameters between front and rear. This is the reason
for specifying the tightening sequence of the mounting bolts.
"BA PROPELLER SHAFT CONNECTION
Align the alignment mark on the differential carrier with that
of the propeller shaft at installation.
Caution
Oil or grease on the threads of the mounting bolt or nut
can allow the bolt or nut to come loose. Be sure to
degrease the threads before installation.
Bolt size (thread dia. × length mm)
1 to 3: Flange bolt (with washer) 12 × 70
4: Flange bolt (with washer) 12 × 152
5: Bolt (with spring washer + washer) 12 × 105
Front of vehicle
1
3
3
44
2
5
5
 Loading...