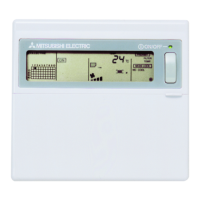
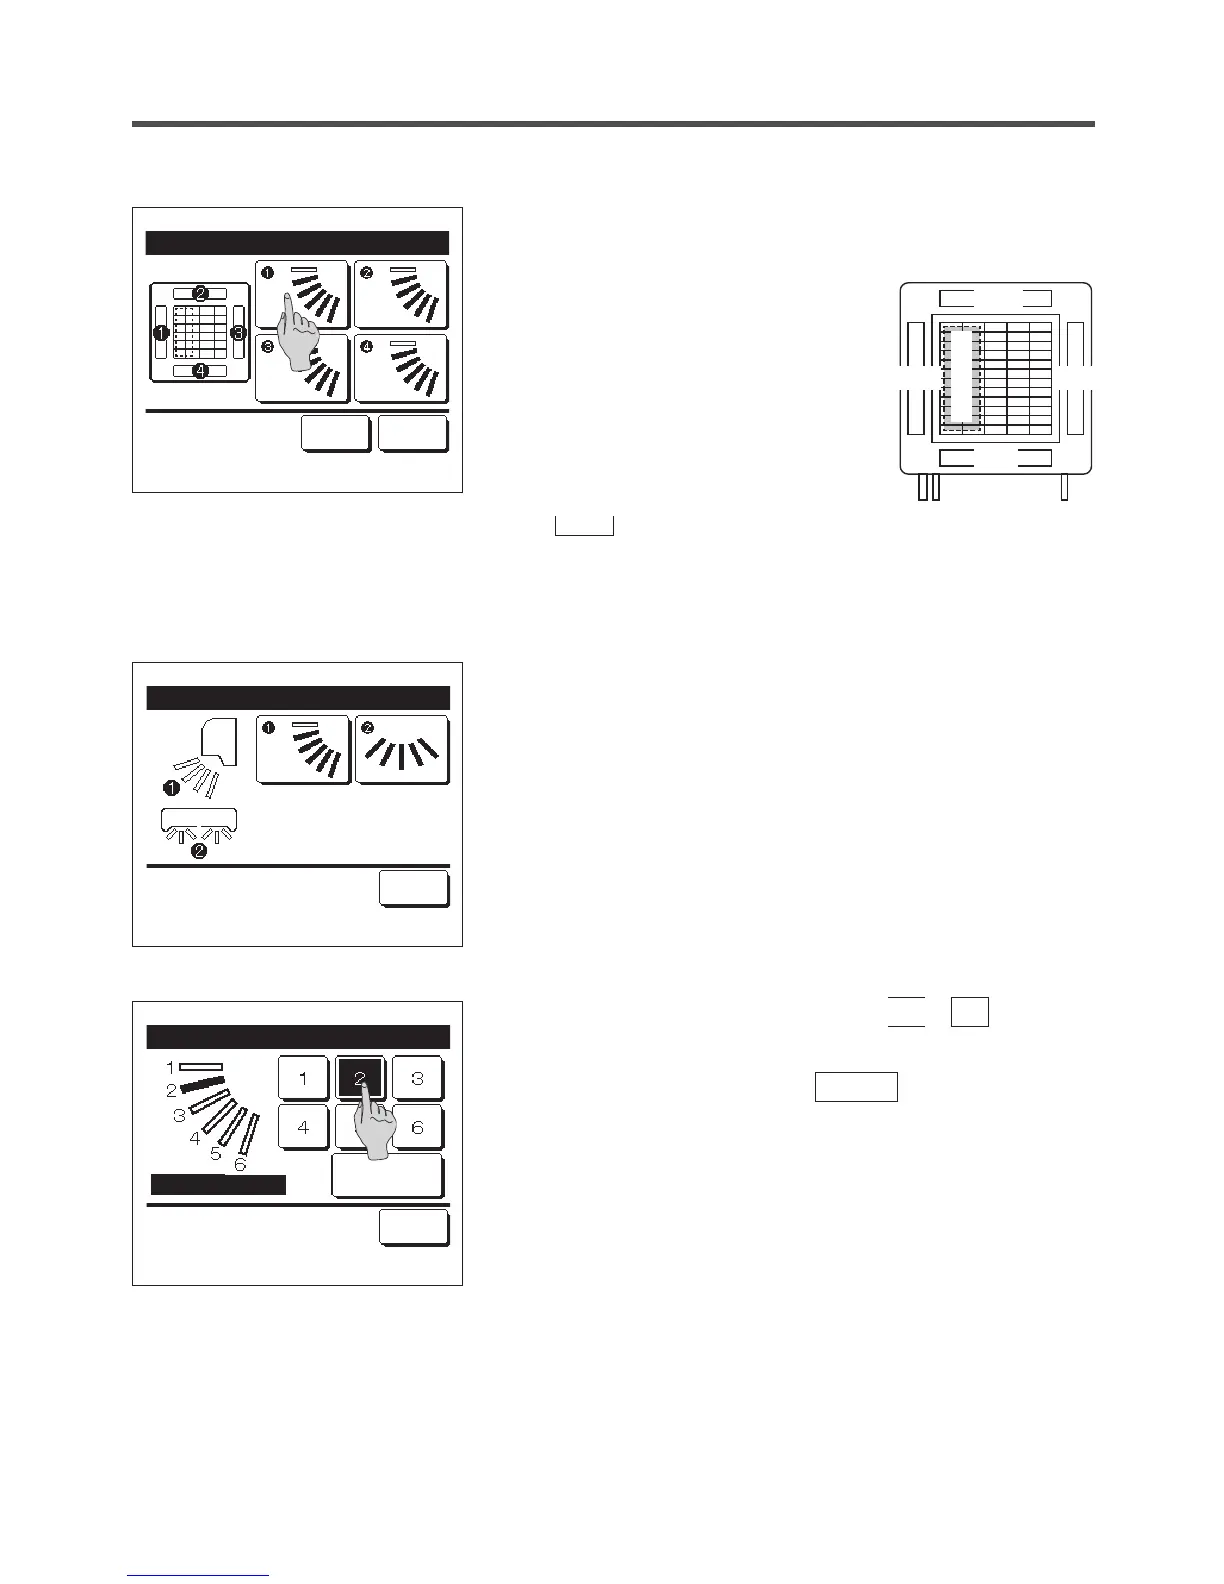
■When there are two or more flaps at the blow
outlet, such as the FDT type, the flap at blow
outlet No. ① will keep moving while the blow
outlet selection screen is displayed. The figure
displayed on the screen shows the installed
unit viewed from the floor side. Select the flap
based on this figure. When you have selected
the blow outlet, the flap with the number you
selected will move.
■You can set all flaps at once by tapping the
Bat.set.
button (except for FDKs with a left/
right flap).
■When there is only one flap at the blow outlet,
such as the ceiling suspended type only the
flap that can be set will be displayed.
For an FDK with a left/right ap, select the upper/lower ap or left/
right ap.
When you select the upper/lower ap (
①
):
☞
4
When you select the left/right ap (
②
):
☞
8
4
Select one of the upper limit positions from
1 to 6 for the flap
motion range.
After you select the range, tap the
Set
button.
Individual flap control Select flap
Bat.set. Back
Flap
❶
is in operation.
Individual flap control Select flap
Back
Flap❶ Swing range
Back
Select the upper limit No. & tap [Set].
Set
Upper limit setting
Pipe side
Control box
Drain hose side
Louver No.
[For FDT]
 Loading...