1
Tap the
Change flap direction
button on the TOP screen.
When an FDK with a left/right ap is not connected:
☞
2
When one or more FDKs with a left/right ap are connected:
☞
3
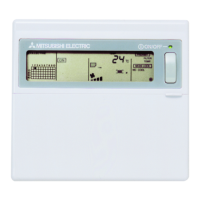
Change flap direction
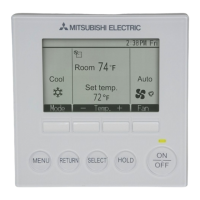
Menu
Direction
Cooling
16:14
(Mon)
F1: High power
Timer
Now stopping.
Set temp
Change flap direction
Ind. flap
Control
Auto swing
Back
OutdoorRoomR/C
Select the flap direction.
2
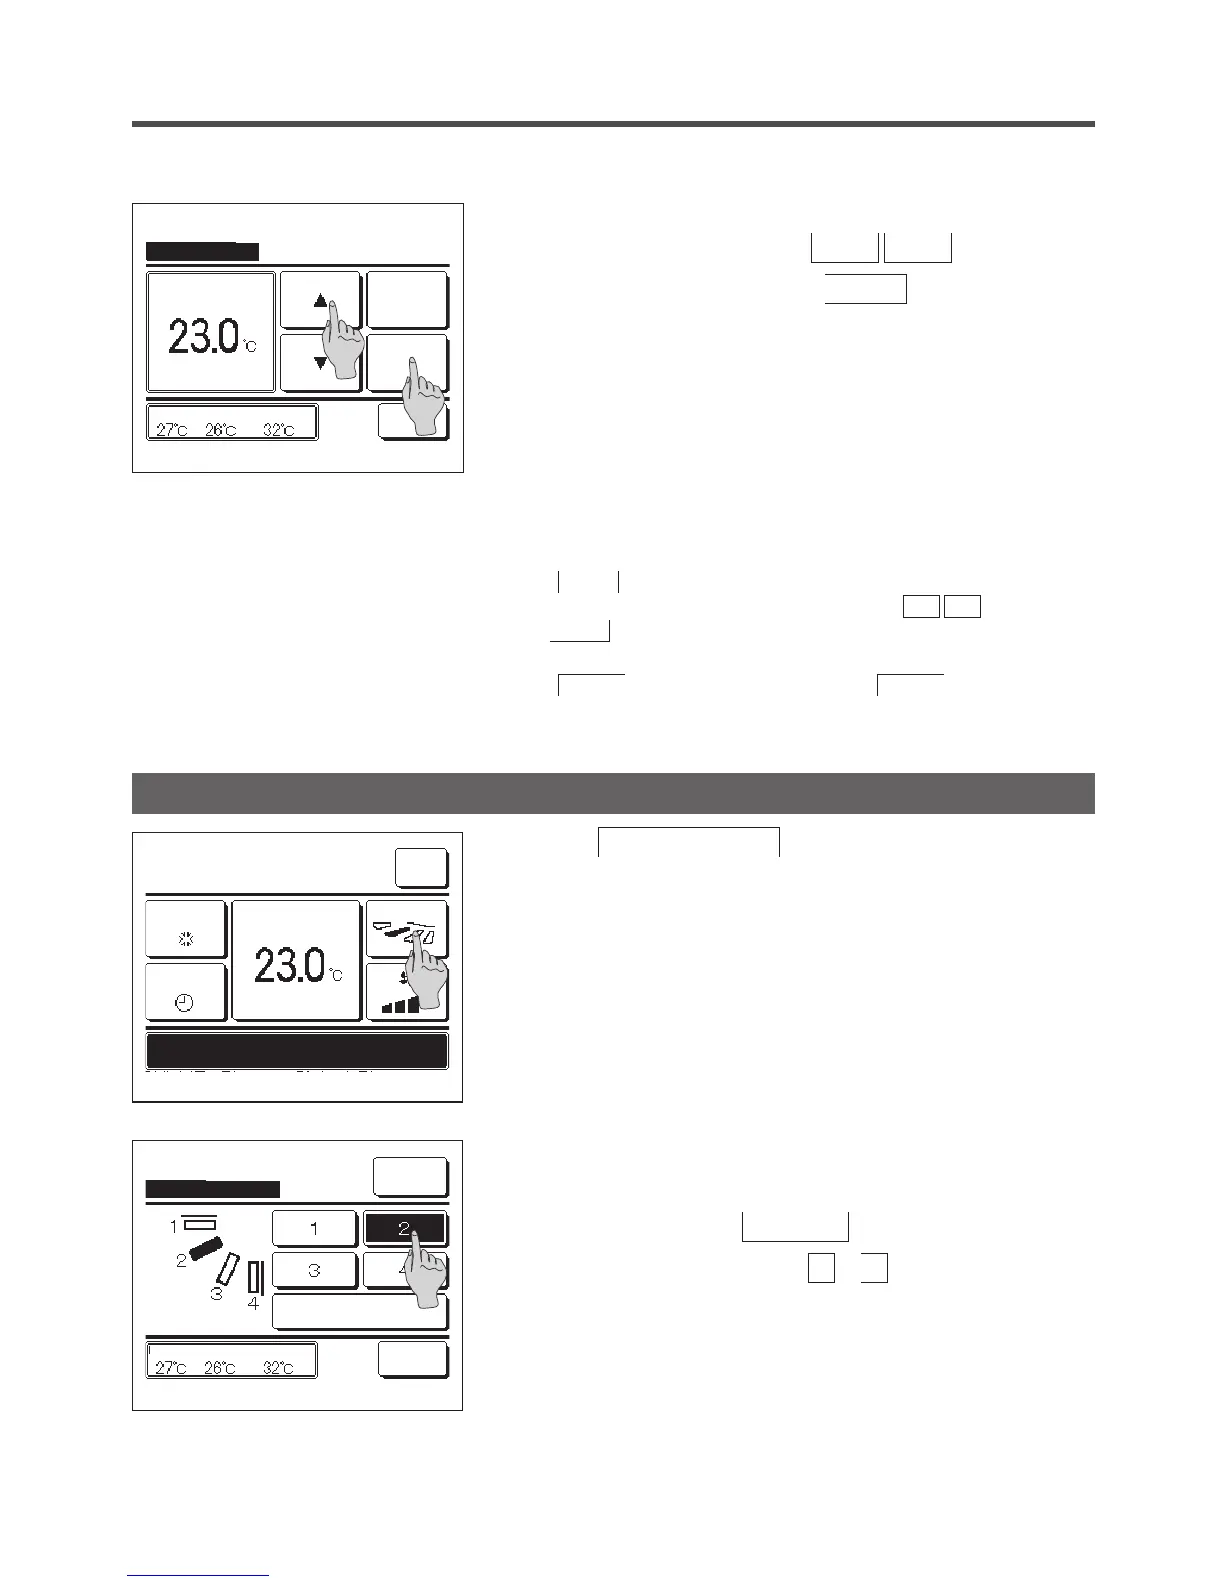
When the Change set temp screen is displayed, select the
temperature as desired with using
▲
▼
buttons.
3
After selecting the set temp, tap the
Set
button. The display
returns to the TOP screen.
■For allowable temperature setting ranges, refer to the range setting of set temp (☞
page 54).
■Reference set temp
Cooling … 26 to 28°C
Dry … 24 to 26°C
Heating … 20 to 24°C
Fan … Setting temp is not requi
red.
■If the
Auto is selected for the set temp, the set temp display shows
“
0
”
.
Temperature can be adjusted higher or lower with using
▲ ▼ buttons. Note
that
Auto is not displayed and cannot be set when SC-SL2, SC-SL3, or SC-SL4
is connected.
■If the
Back button is tapped without tapping the Set button, the selected
set temp is invalidated and the display returns to the TOP screen.
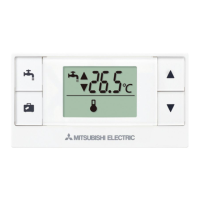
Change set temp
Auto
Set
Back
OutdoorRoomR/C
Tap
▲▼
to set temp & tap [Set].
2
When the Change ap direction screen is displayed, tap the button
of desired ap direction.
To swing the ap, tap the
Auto swing
button.
To x the ap position, tap one of
1
to
4
buttons.
After selecting the ap direction,
When an FDK with a left/ right ap is not connected, the display
returns to the TOP screen. (
☞
1)
When an FDK with a left/right ap is connected, the display returns
to the Select ap screen. (
☞
3)
F2: Energy-saving
 Loading...