Page 65
sequence can be sub-divided into groups of events simply by the
use of commands that start it (GOTO a specific step). There is a
table provided in Appendix A to help you set up the sequencer
schedule.
Editing the Sequencer
To simplify the process, use the Sequencer table in Appendix A.
To edit the sequencer:
Step 1: Press the Menu/Cancel button.
Step 2: Press the Up and Down buttons until EDIT
SEQUENCER? flashes on the LCD display.
Step 3: Press the Select/Save button.
• The Event number flashes.
• The sequence Events are displayed in the following
format:
• STOP indicates the end of the sequence and the sequencer
is disabled after a STOP Event is executed.
• LOOP indicates the sequencer will immediately restart the
sequence and will run continuously.
• Events after a START or LOOP command are not executed.
Step 4: Press the Up and Down buttons to scan
through the possible Events.
Step 5: Press the Select/Save button to select an Event.
Step 6: Press the Up and Down buttons to change
the value.
• Note: Press
Clear
to change the value to
SKIP
.
• STOP
• LOOP
• GOTO _ _
• SKIP
• Scene (With Delay Time)
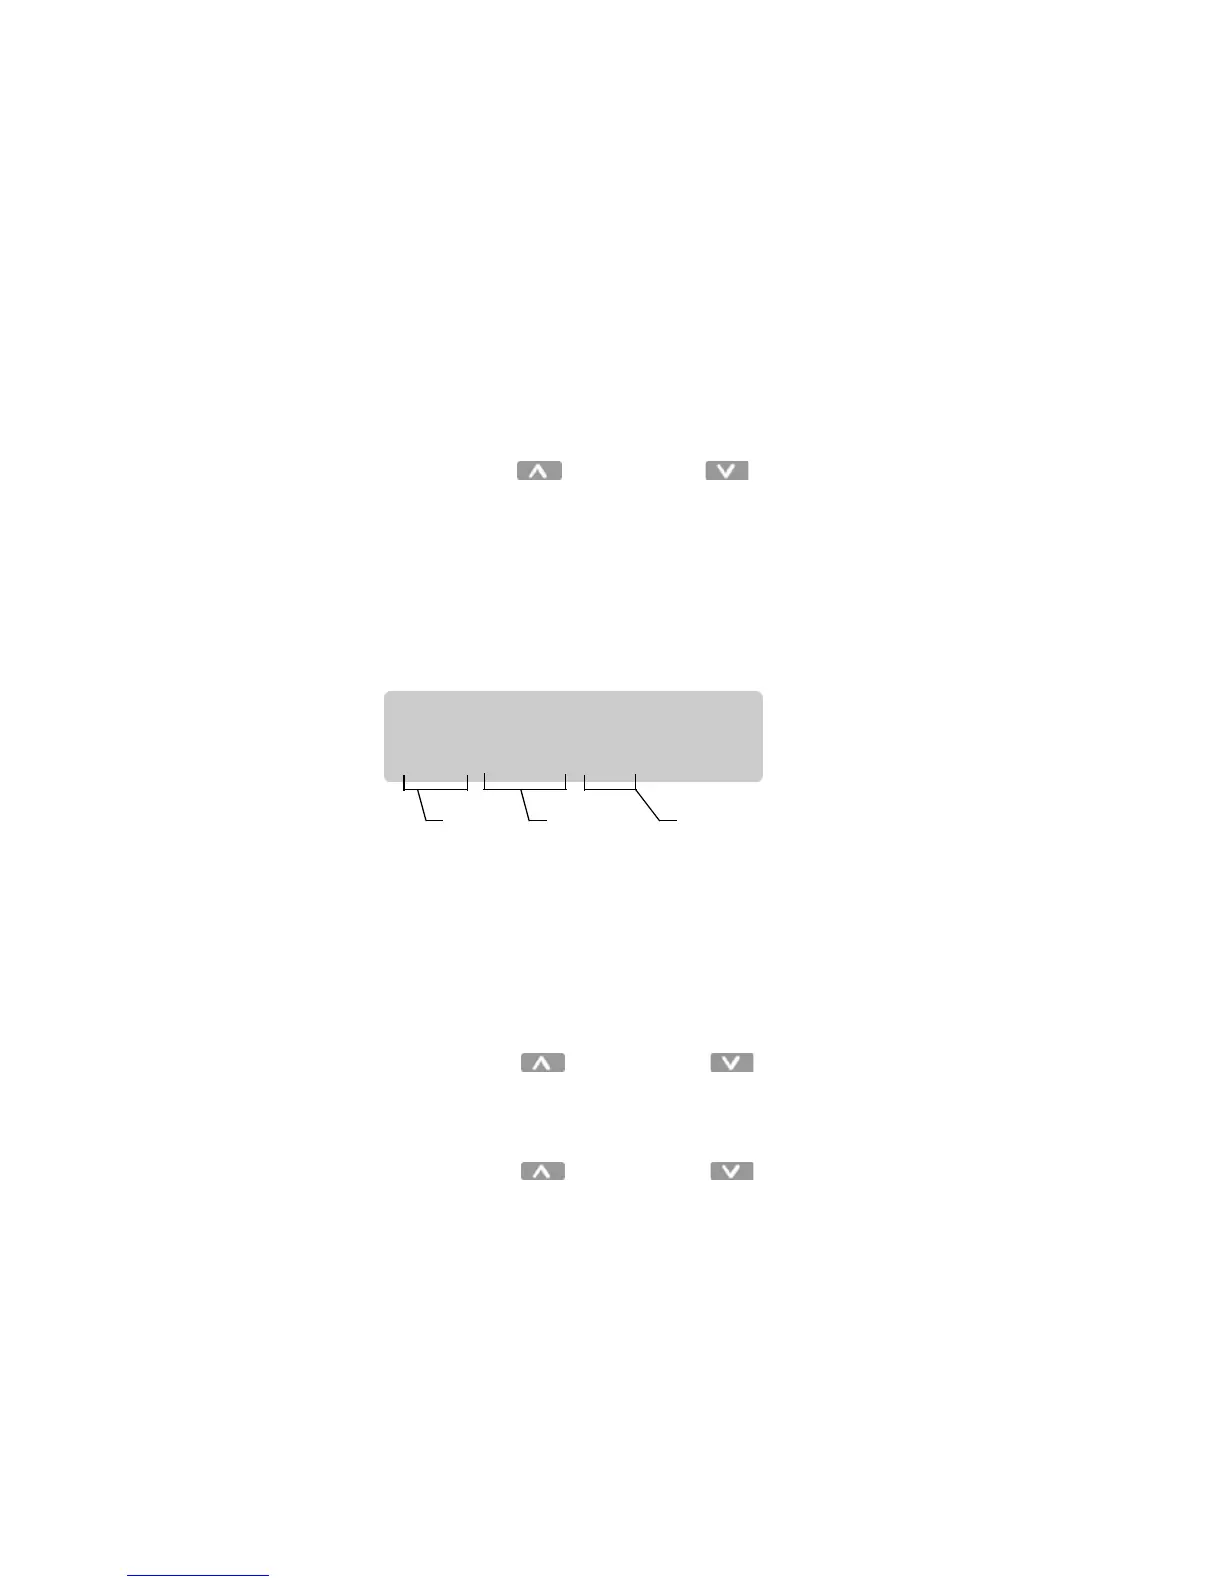
SEQUENCER:
E01: STOP 01s
Event
number
Scene or
command
Time until
next step
 Loading...