– 20 –
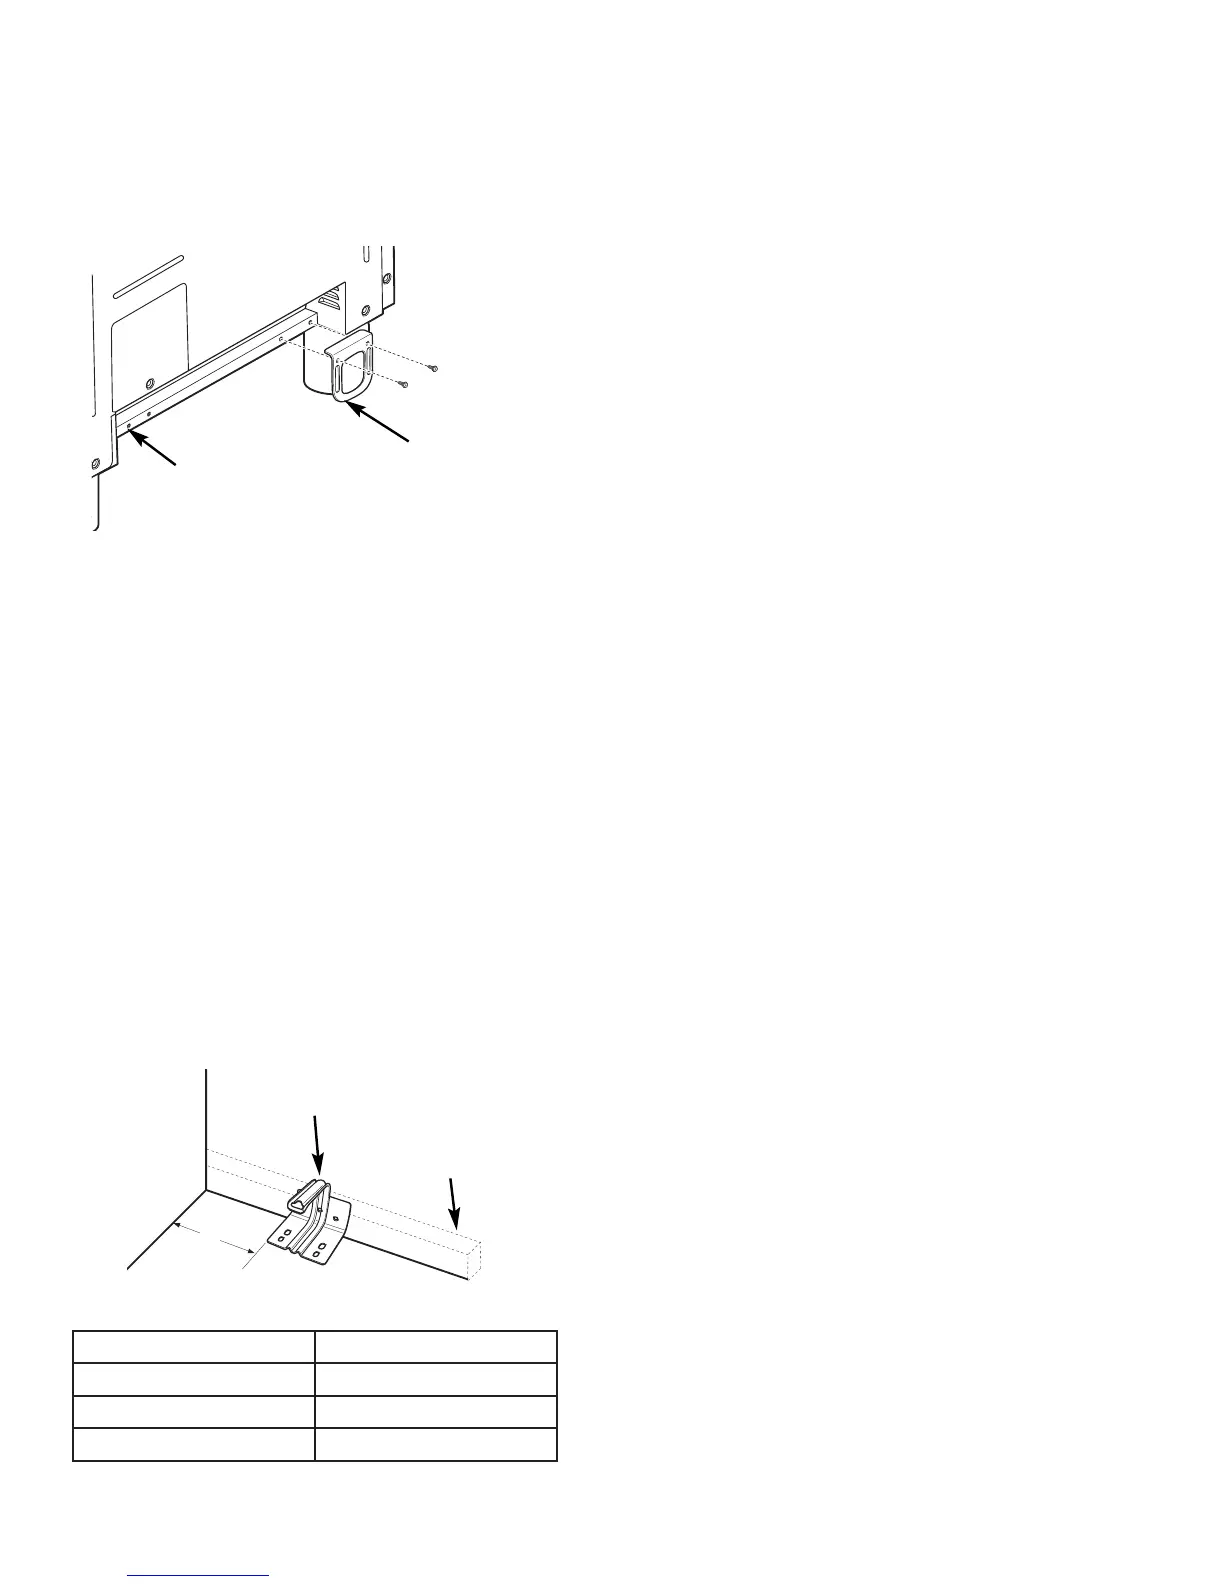
Attach the Anti-Tip Brace onto the bottom of the
range in the recessed area. Install 2 hex screws
(provided) through the brace and into the range.
Note: This Anti-Tip device may be installed on the
opposite side of the range.
Alternate Brace
Position
Hex Screws
Anti-Tip Brace
1. Measure and mark Dimension A (see fi gure with
table below) from the left (or right) side of the
installation location. If the countertop has an
overhang, add that dimension to Dimension A.
2. Place the Anti-Tip Bracket against the fl oor and
back wall at the marked location. Mark screw
holes for fastening the bracket to the wall sole
plate and the fl oor.
3. Drill 1/8" pilot holes at a 20° angle.
4. Secure the bracket to the wall and/or fl oor with
at least 2 wood screws (provided).
For Concrete or Cement Construction: You must
use appropriate fastening hardware (not provided).
Range A
30" 5-1/16"
36" 5-1/16"
48" 8-1/4"
Anti-Tip Bracket
A
Wall Sole Plate