29
STEP MODE TUTORIAL - CREATING A PATTERN (continued)
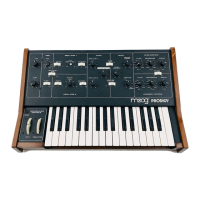
EDITING NOTES
Select octave 4 with the LE FT/RIGHT arrows and play the “G” key (located above Step LED 5).
As the pattern continues to play back, you will hear the new note on Step 2. Now rotate the GATE
LENGTH control fully clockwise so that the maximum Gate Length (Tie) is selected. Now the note
will be held during the transition to the next step.
EDITING STEP 3
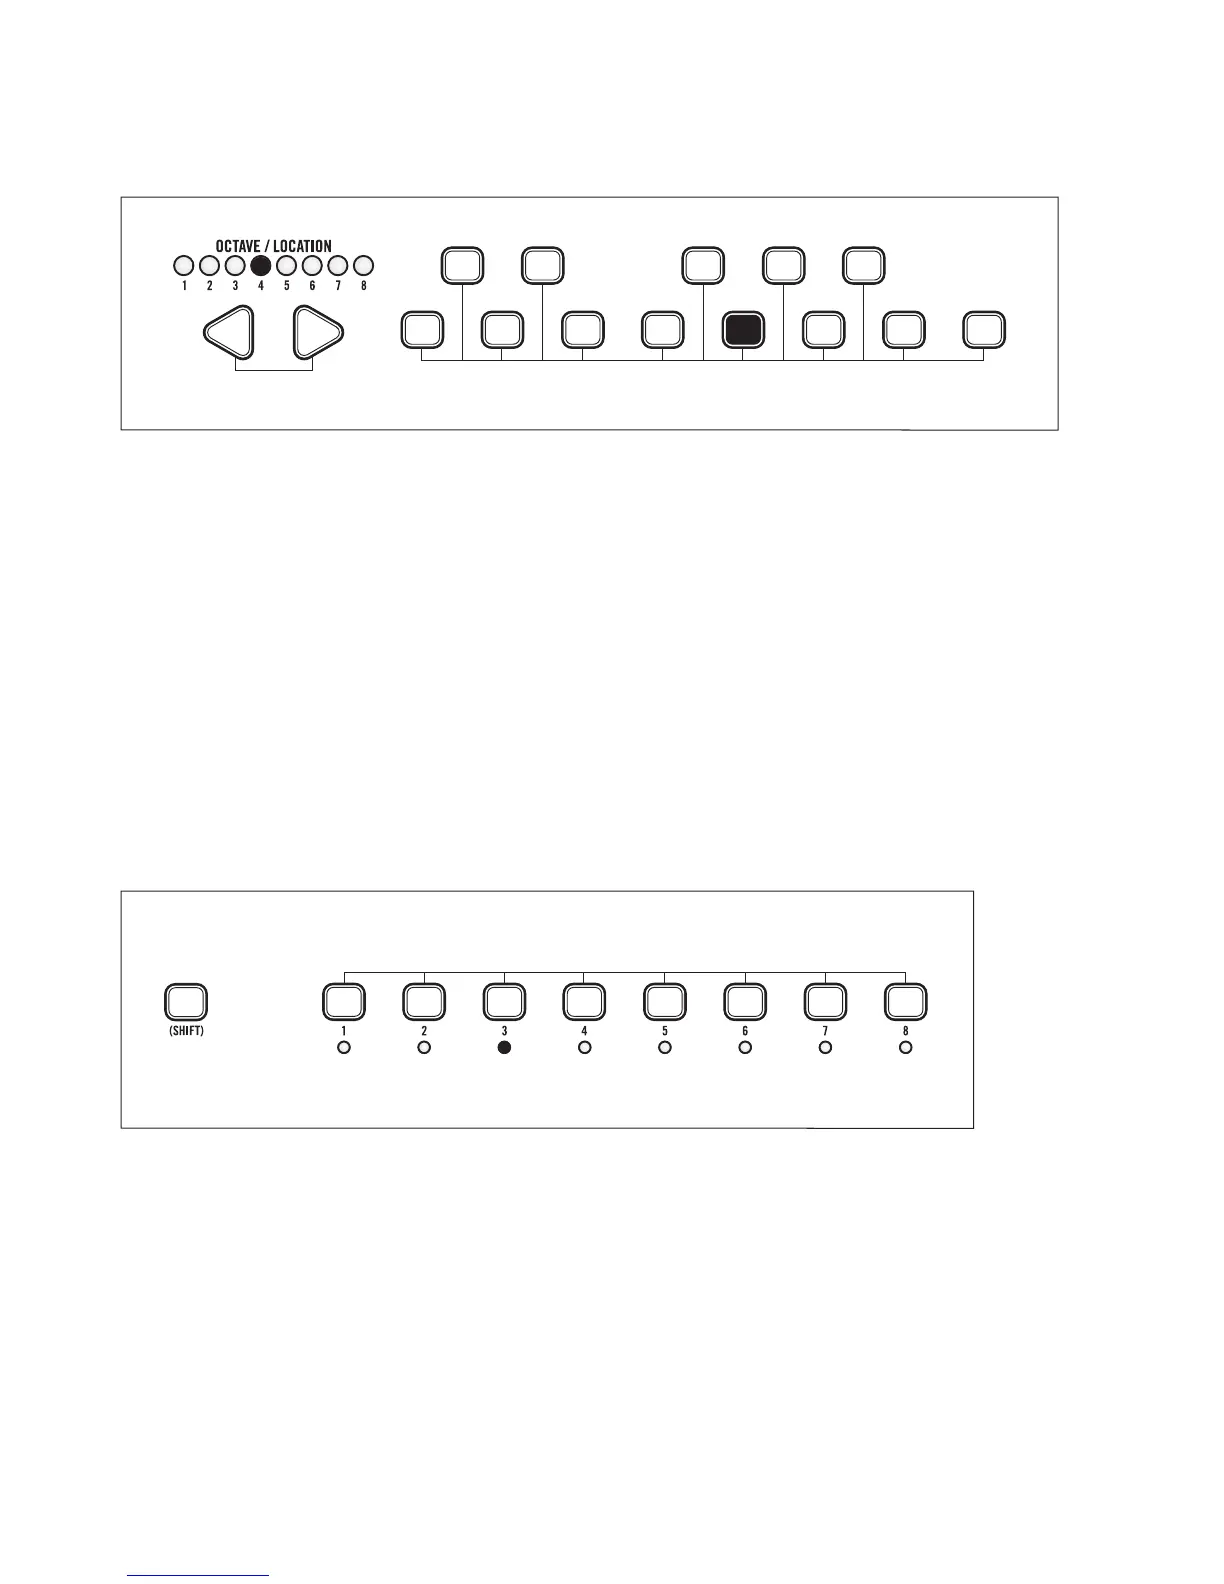
Press (SHIFT)+Step 3. Step LED 3 will blink rapidly indicating it is being edited. The changes made
to Step 2 are still active in the pattern.
Rotate the GLIDE control to the right so that Glide is turned ON. Octave LED 5 will turn yellow
indicating Glide is active on Step 3. Now you should hear a slide from the G in Step 2, to the C in Step 3.
EXIT THE STEP EDIT FUNCTION
Press (SHIFT)+Step 3 to exit the Step Edit function. You can now adjust the GLIDE control to
change how fast the G slides to the C.
Play A New Note For The Selected Step
Select Octave
+
Press Currently Selected Step To Exit Step Edit Function

 Loading...