23
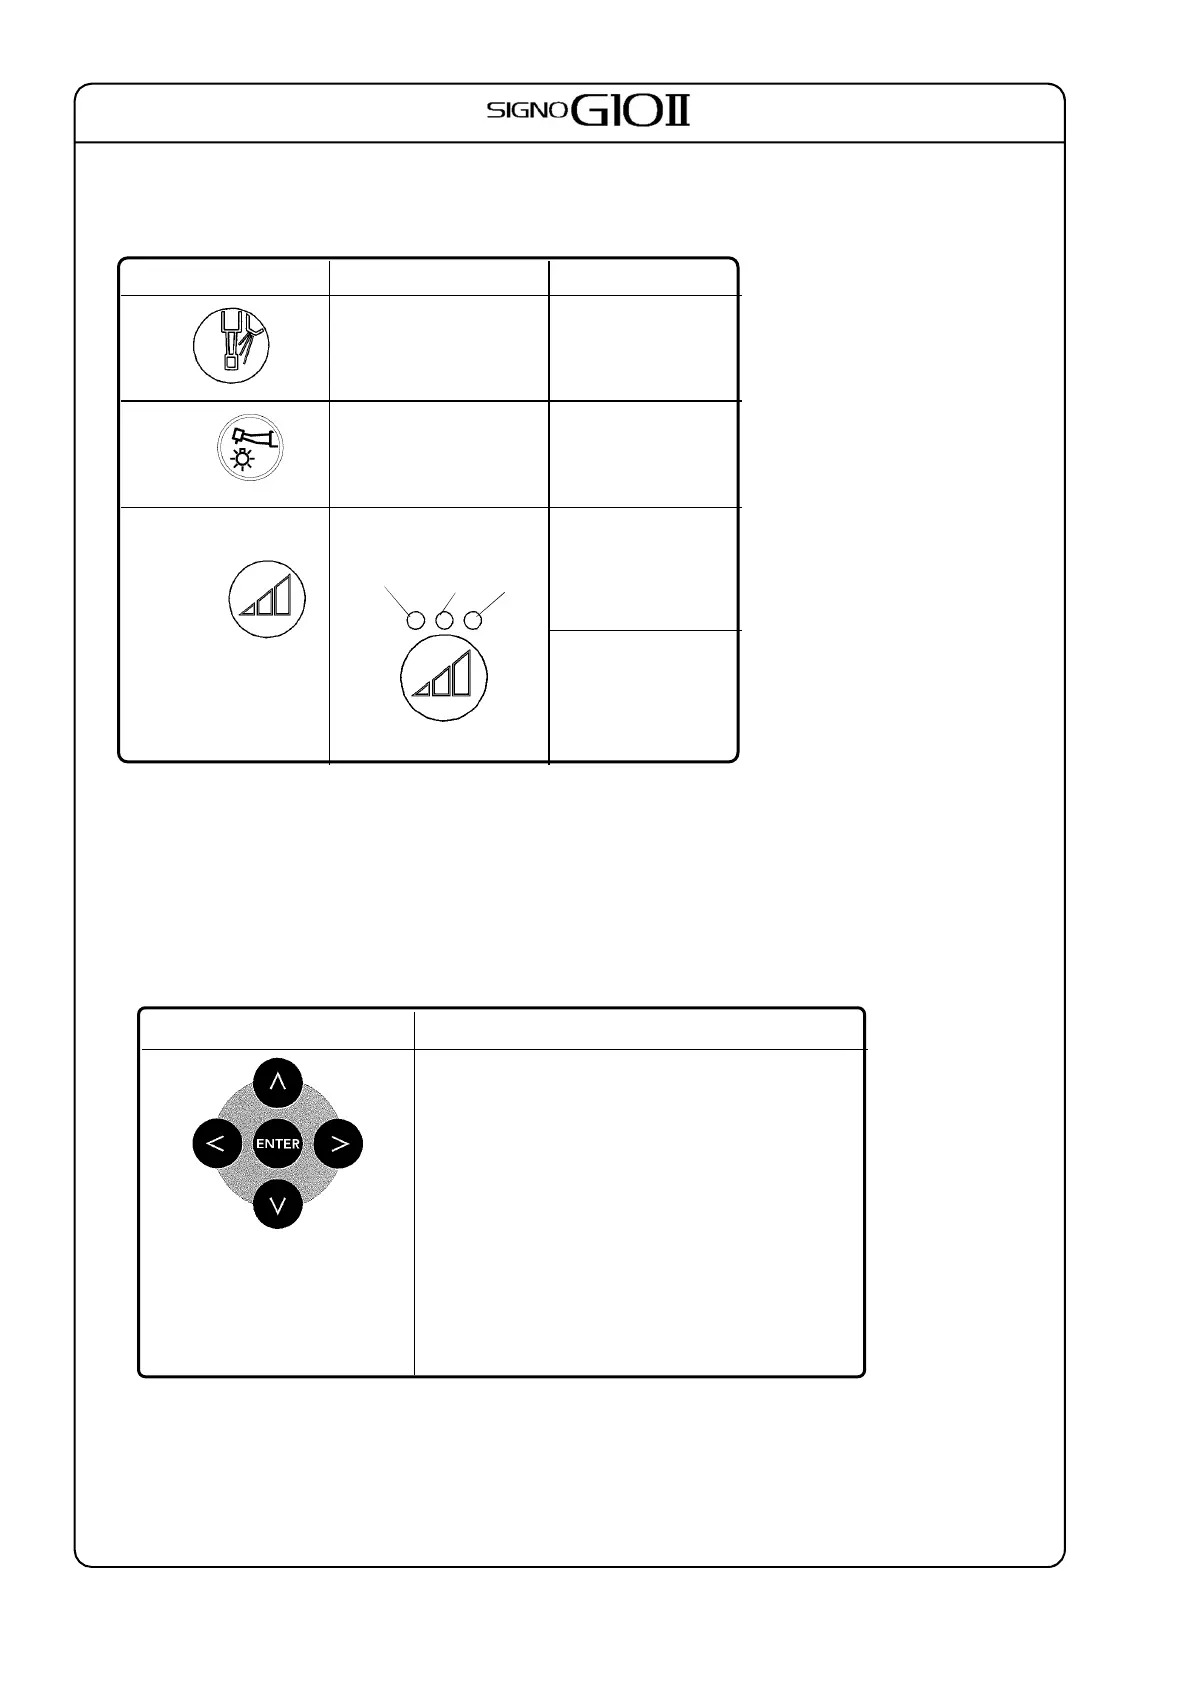
3) Switches used for all instruments
These switches work for which ever instrument has been
picked up. Each press of the switch changes the setting. The
lamp shows what the setting is. Refer to the chart below:
Switch Lamp Content
Spray
Green:Spray On
Amber:Spray Off
Turn spray on and
off
Light
*1
Amber:Off
Green:On
Green+Green:On(High
)
Turn light on and off
Speed Range *2
Selected range lamp lights
up
UL/L M H
(amber) (green) (green) (green)
Air Turbine
Low / Medium /High
Micromotor
Ultra Low Low Medium High
U L/L/M/H
*1 Does not work if not equipped with light
*2 Differs somewhat depending on instrument
4) Using Set Switches
Pick up the instrument and look at the display.
Use the triangle switches to move the cursor and select the
desired item. Use the plus and minus keys to make the
setting. Refer to the chart below.
Settings for each instrument will be memorized.
Set Switches Selections
Use the Left and Right Switches
to move the cursor and select
the item. Then press Enter.
Use the Up and Down Switches
to change the setting. Then
press Enter again.
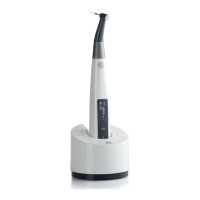
Air Turbine
Maximum: Speed Micromotor
Maximum: Speed for a speed range Convert
speed for attachment gear ratio Tip air
on or off
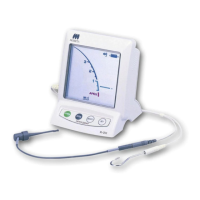
Ultra Sonic: Scaler Maximum Power Level *3
*3: Number of levels depends on scaler model
 Loading...