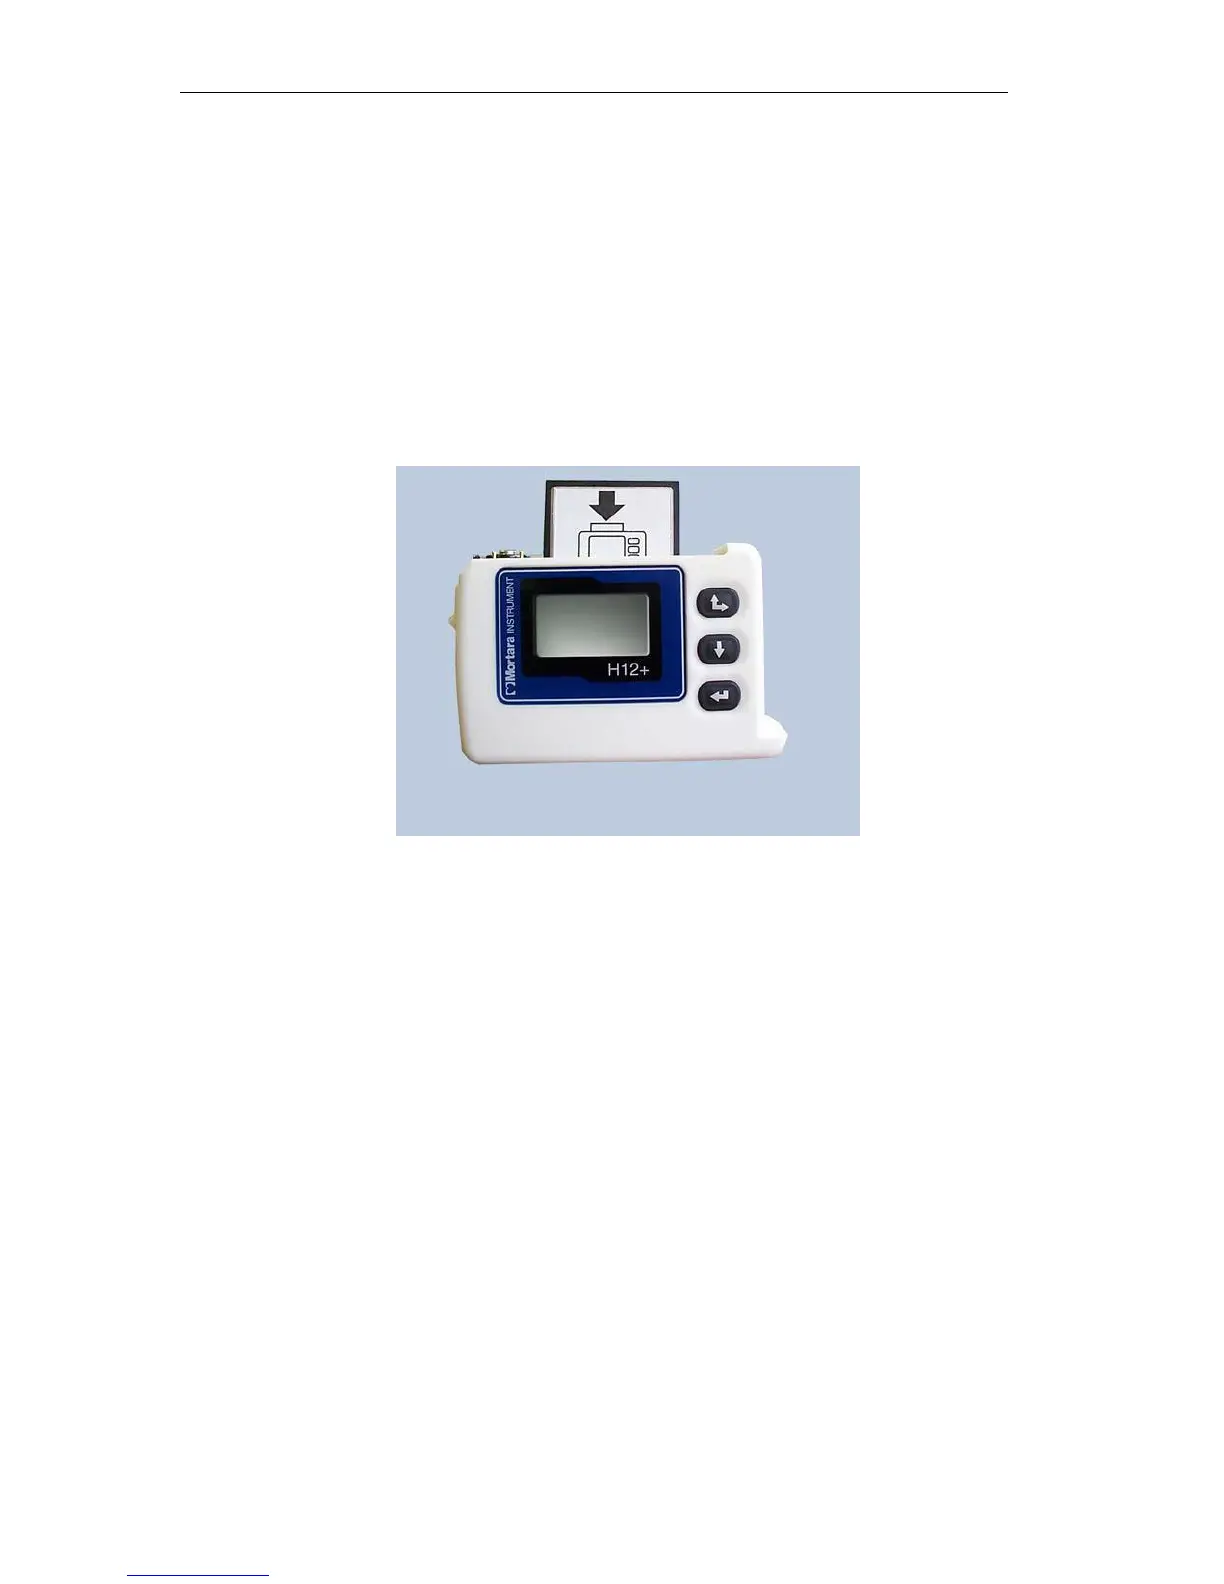
Inserting and Removing Flash Cards
To insert or remove a flash card, open the battery door of the H12+. Locate the card slot and the Eject button
located to the right of the card slot on the inside of the H12+.
Note: The Eject button has two positions: Up (card properly inserted) and Down (card ejected).
To insert a flash card in an empty card slot, position the card above the card slot with the arrow on the card pointing
down. Place the flash card in the card slot and gently push down on the card until it stops. To complete insertion,
push down on the top of the card until the Eject button pops up to the full-upright position.
To remove a flash card from the card slot, depress the Eject button. When fully depressed, the top of the Eject
button is flush with the opening of the card slot. Once ejected, grasp the top of the card and lift it out of the card
slot.
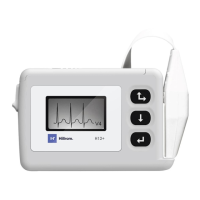
Inserting the Battery
The H12+ Recorder is powered with a single AA alkaline battery.
To insert a new battery into the battery compartment, open the battery door of the H12+. If a battery is present in the
compartment, remove and discard the battery. Insert a new battery with the ‘+’ end aligned with the top of the
recorder, as indicated on the back label. Close the battery door of the recorder.
Note: The H12+ recorder requires a fully-charged battery to record a 24-hour session. If you are not clear as to
the status of a battery’s voltage, use a new battery to insure operation for 24 hours.