LCD Removal & Replacement
1.
Open unit as described above.
2.
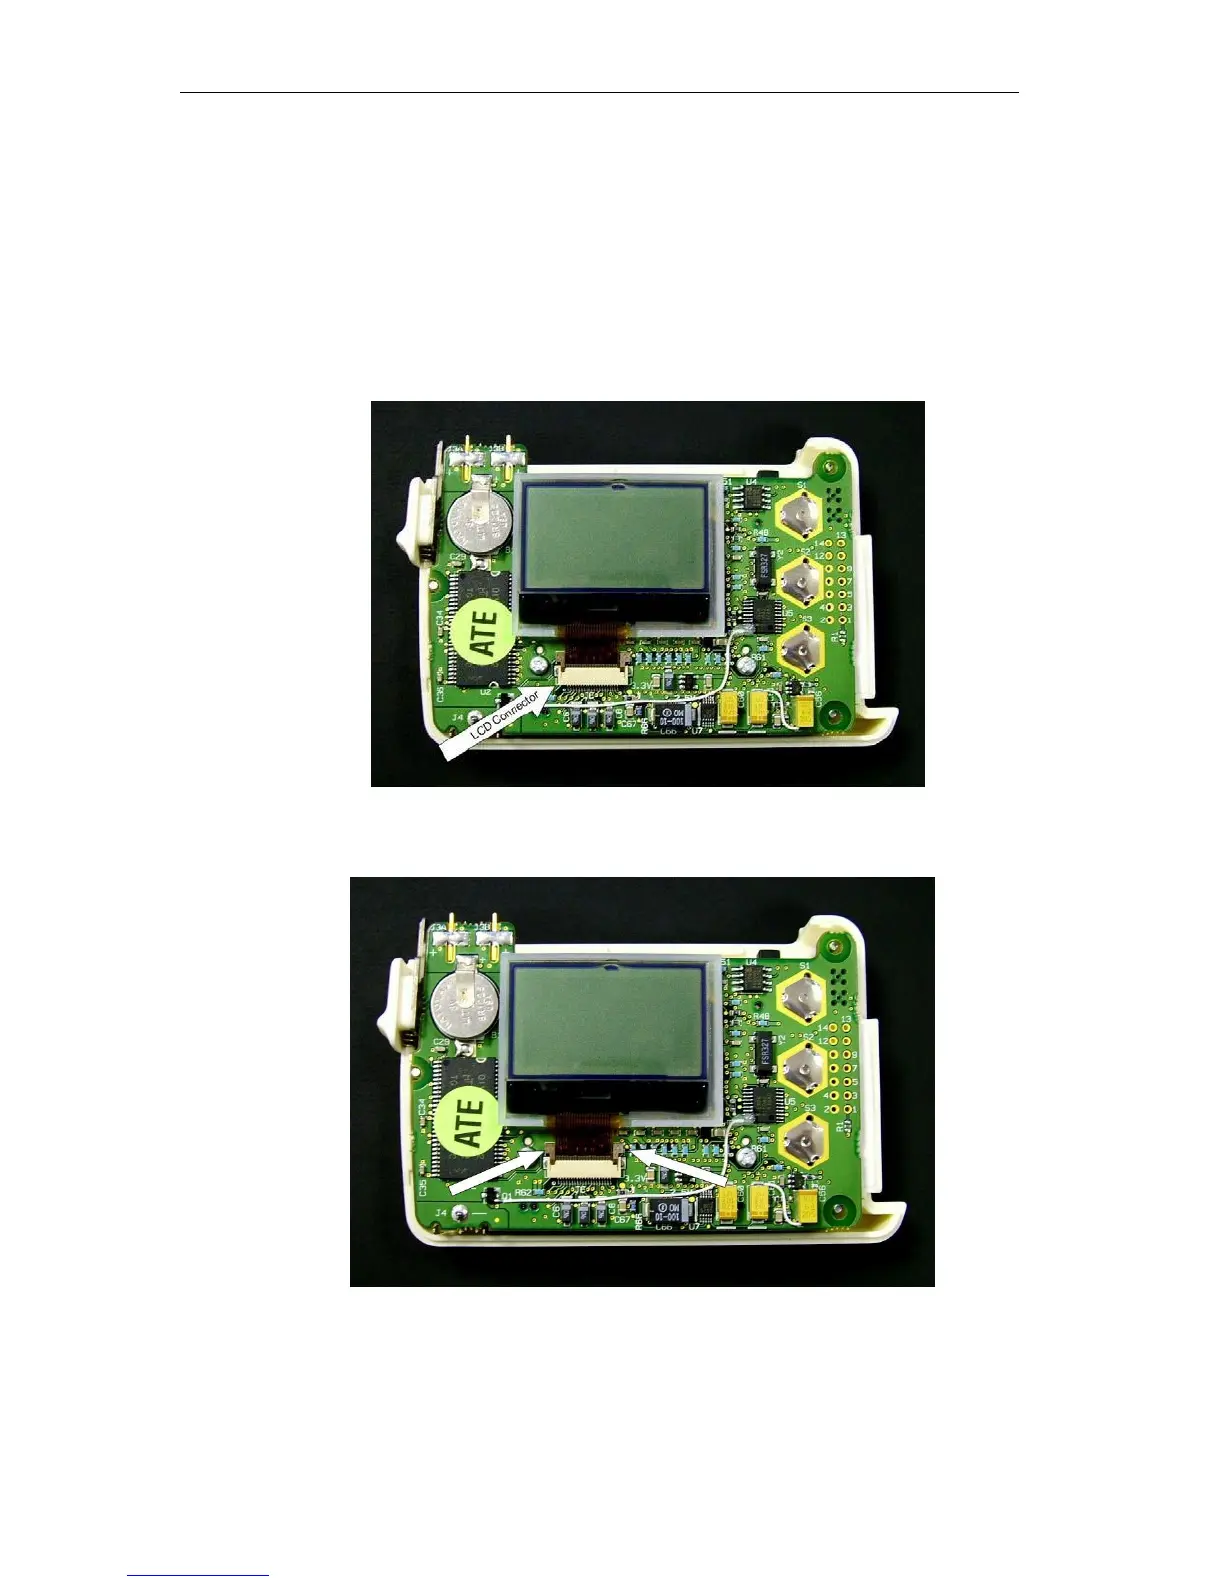
Locate LCD cable on Digital board.
3.
Remove the foam tape (item# 12) covering the LCD cable.
4.
Locate the LCD Cable connector on the digital board.
5.
Lift the ears of the LCD connector to release the cable from the connector.