Moxa Managed Ethernet Switch/Extender Getting Started
When connecting to the Moxa switch’s Telnet or web console, first connect one of the Moxa switch’s Ethernet
ports to your Ethernet LAN, or directly to your PC’s Ethernet port. You may use either a straight
The Moxa switch’s default IP address is 192.168.127.253.
After making sure that the Moxa switch is connected to the same LAN and logical subnet as your PC, open the
Moxa switch’s web console as follows:
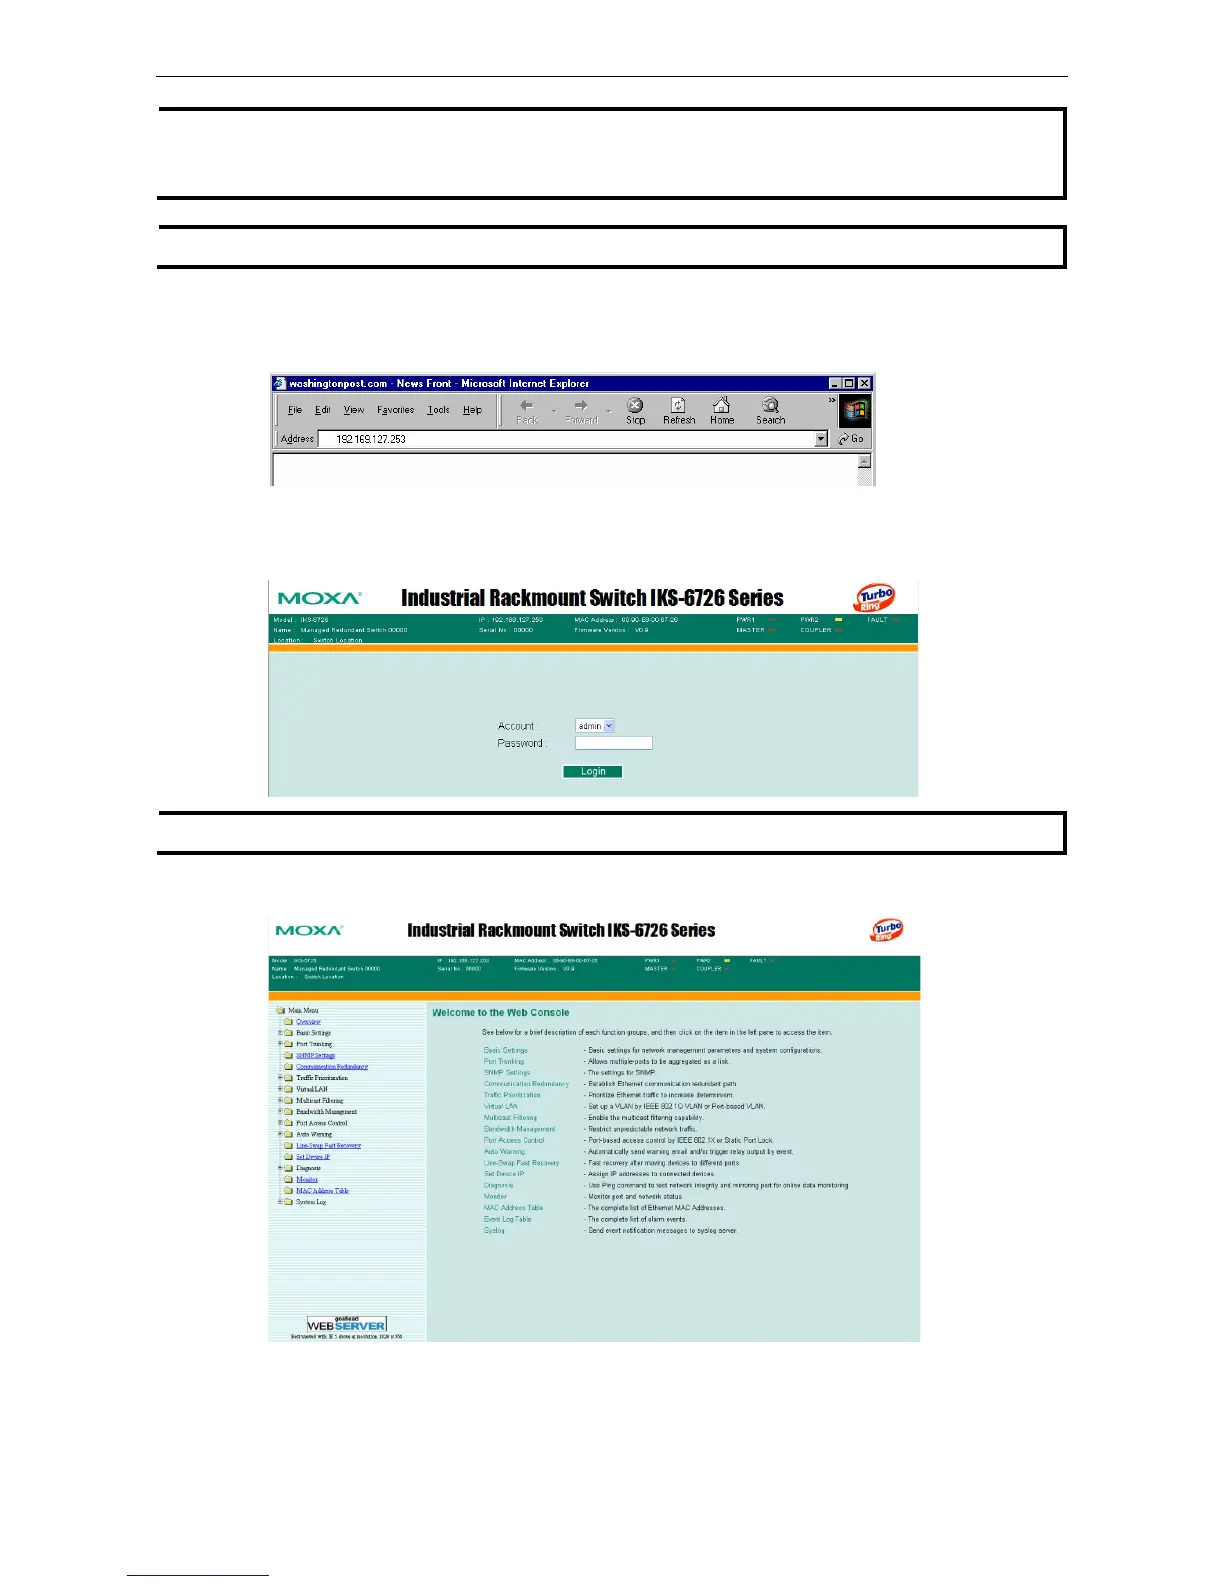
1. Connect your web browser to the Moxa switch’s IP address by entering it in the Address or URL field.
2. The Moxa switch’s web console will open, and you will be prompted to log in. Select the login account
(admin or user) and enter the Password. This password will be required to access any of the consoles (web,
serial, Telnet). If you do not wish to create a password, leave the Password field blank and press Enter.
By default, no password is assigned to the Moxa switch’s web, serial, and Telnet consoles.
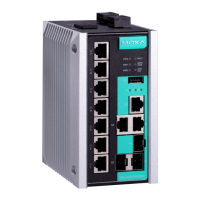
3. After logging in, you may need to wait a few moments for the web console to appear. Use the folders in the
left navigation panel to navigate between different pages of configuration options.